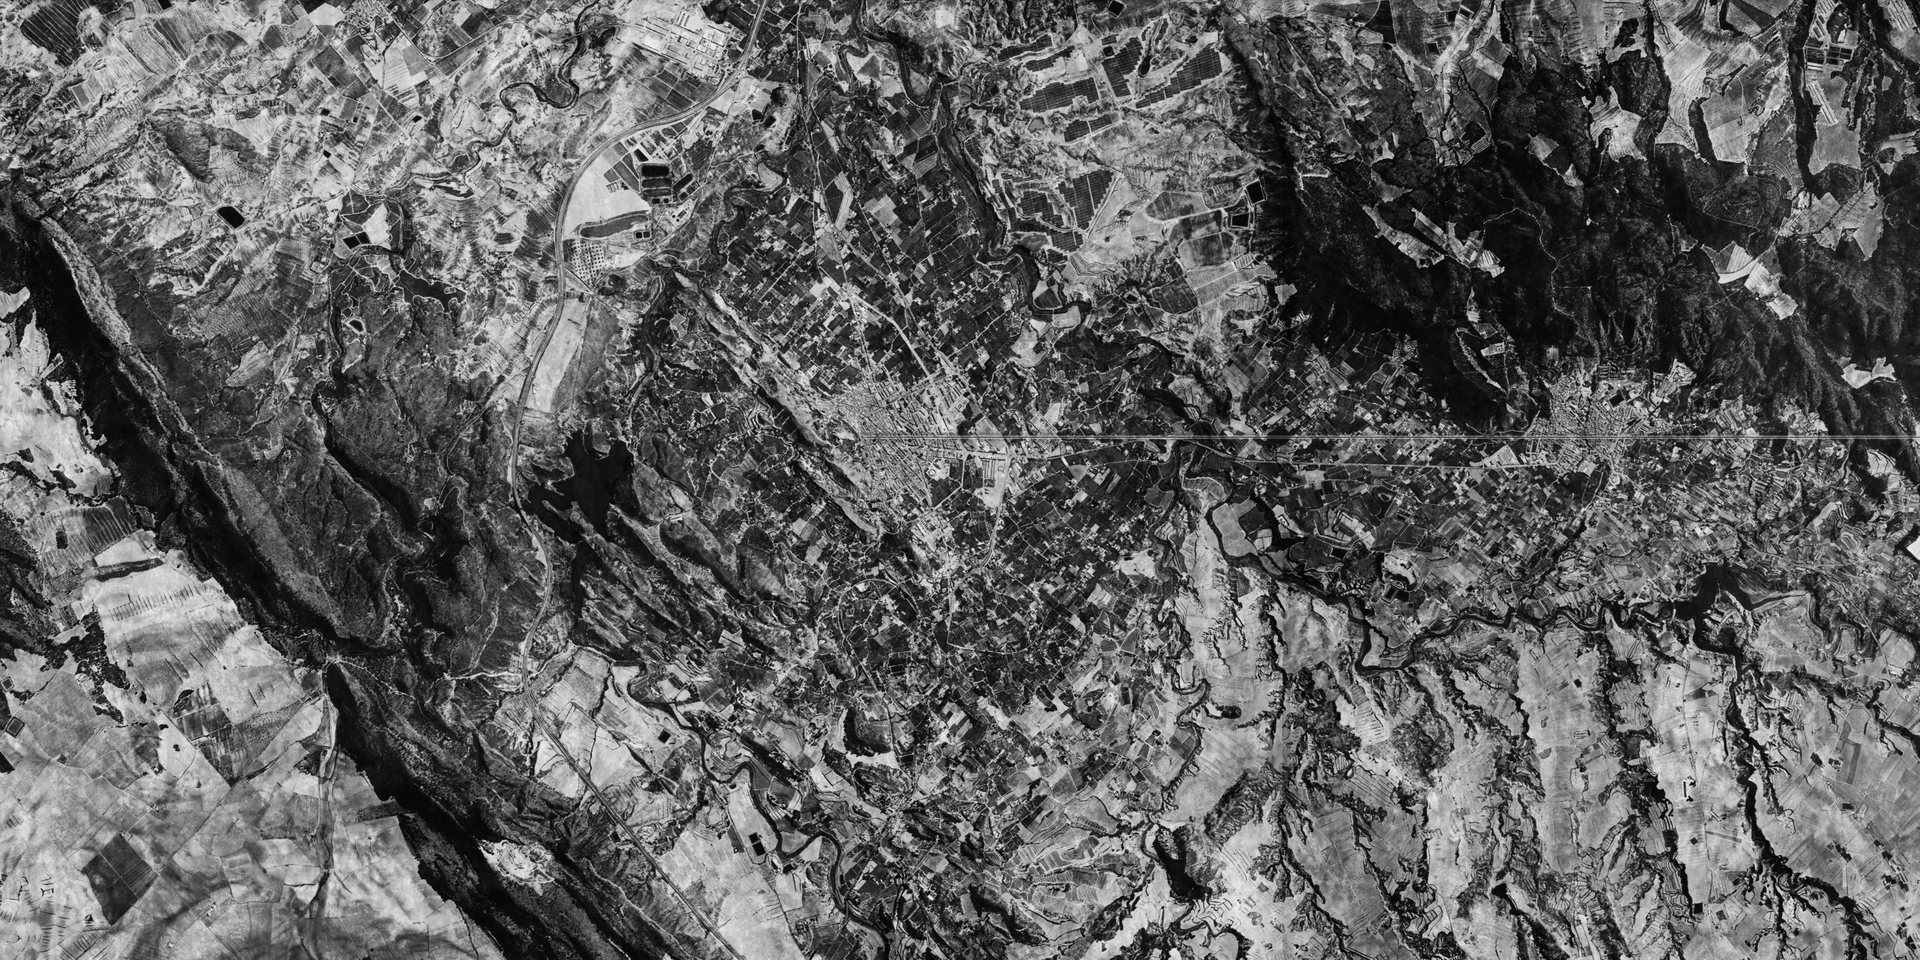
OPERATION OVERVIEW
These campaign values are guaranteed minimums when the mission loads, not a forced reset. Existing RC or Powder Charges above the listed amount are retained. Learn how the balance is used in the Requisition Credits guide.
Completion unlocks
Completing Iron Road unlocks the following Punchcards. Select a card to open its guide.
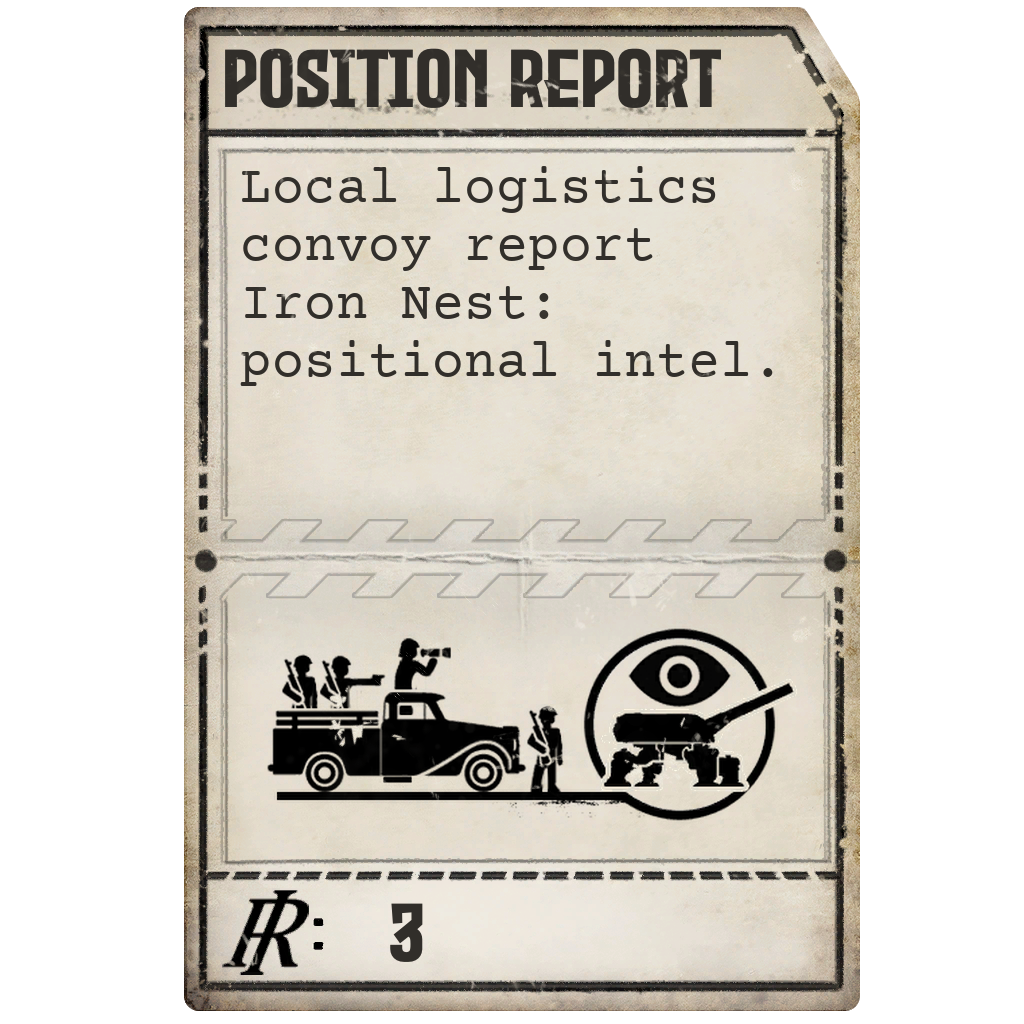 PunchcardPosition ReportOpen guide →
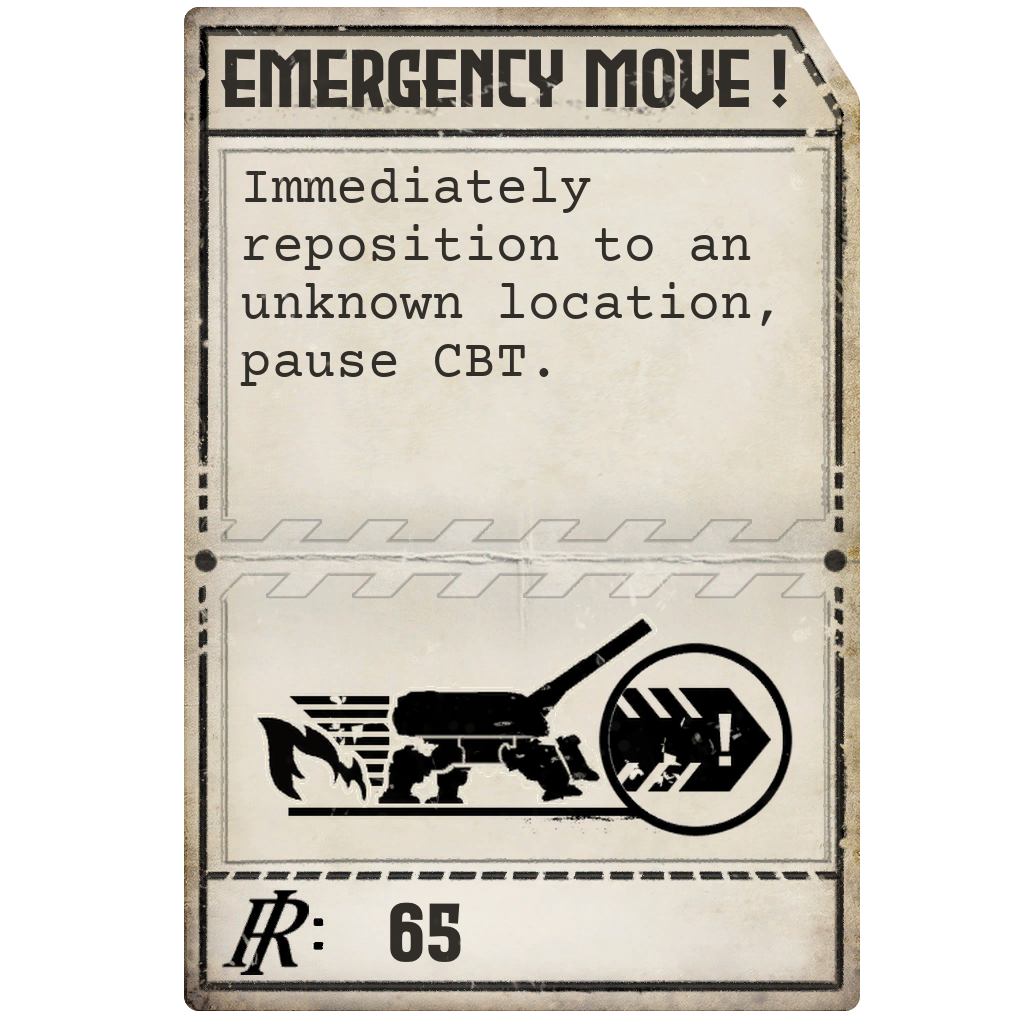 PunchcardEmergency MoveOpen guide →
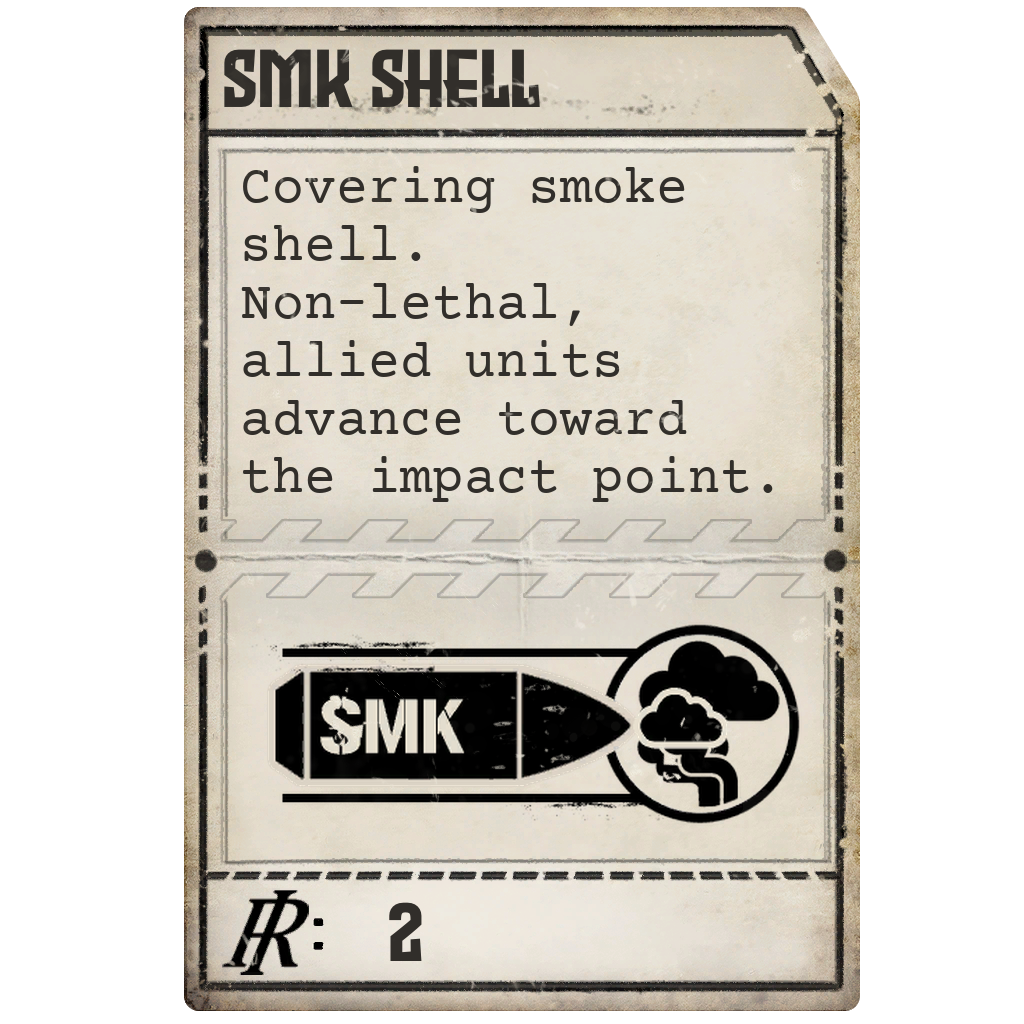 AmmunitionSmoke (SMK)Open guide →
Utility requests are processed at the Requisition Table.
OBJECTIVES
- 01
Intercept the incoming reinforcement train before or as it reaches Valle de Mula station.
- 02
Destroy surviving train cars and any reinforcements that disembark.
- 03
Destroy both armoured emplacements with AP, then sound the war horn to begin the assault.
- 04
Clear the approach; remaining town targets become optional after the primary operation succeeds.
TARGETS AND PROTECTED UNITS
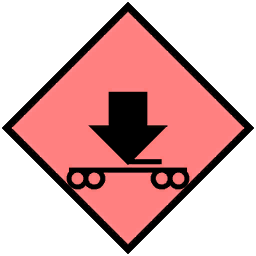
Reinforcement train
- Quantity
- 5 cars
- Priority
- 1 star each
- Armor
- Unarmored
- Placement
- Travels through waypoints A, B and C toward the station
The consist is a locomotive, platform car, two troop cars and a caboose. A direct strike can cripple it; a track strike can stop or derail it.
Disembarked reinforcements
- Quantity
- 3 infantry and 2 armor
- Priority
- 0 stars
- Armor
- Unarmored
- Placement
- Created relative to the train or station after arrival
These units are used when the train reaches its destination and unloads.

Armoured emplacements
- Quantity
- 2
- Priority
- 0 stars
- Armor
- Armored
- Placement
- Separate pillbox zones
Both must be destroyed before the assault signal is safe.
Town garrison
- Quantity
- 3 infantry, 1 mechanized and 1 commander
- Priority
- Commander: 2 stars
- Armor
- Unarmored
- Placement
- Town and station areas
The commander and garrison remain part of the battlefield after the approach is opened.
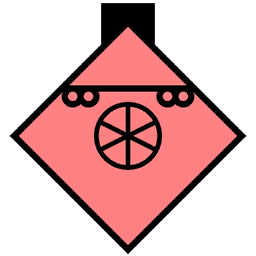
Rail station
- Quantity
- 1
- Priority
- 3 stars
- Armor
- Unarmored
- Placement
- Station zone
A separate high-priority station target is present.

Enemy hospital
- Quantity
- 1
- Priority
- 1 star
- Armor
- Unarmored
- Placement
- Town zone
The mission classifies this hospital as hostile.
REVEAL MAP DETAILS (SPOILER)View possible battlefield locations and mission-specific map information.REVEAL MAP DETAILS
These outlines show the areas from which the mission can select positions. They are possible placement zones, not fixed spawn coordinates. A numbered badge identifies an area; it does not enlarge that area.
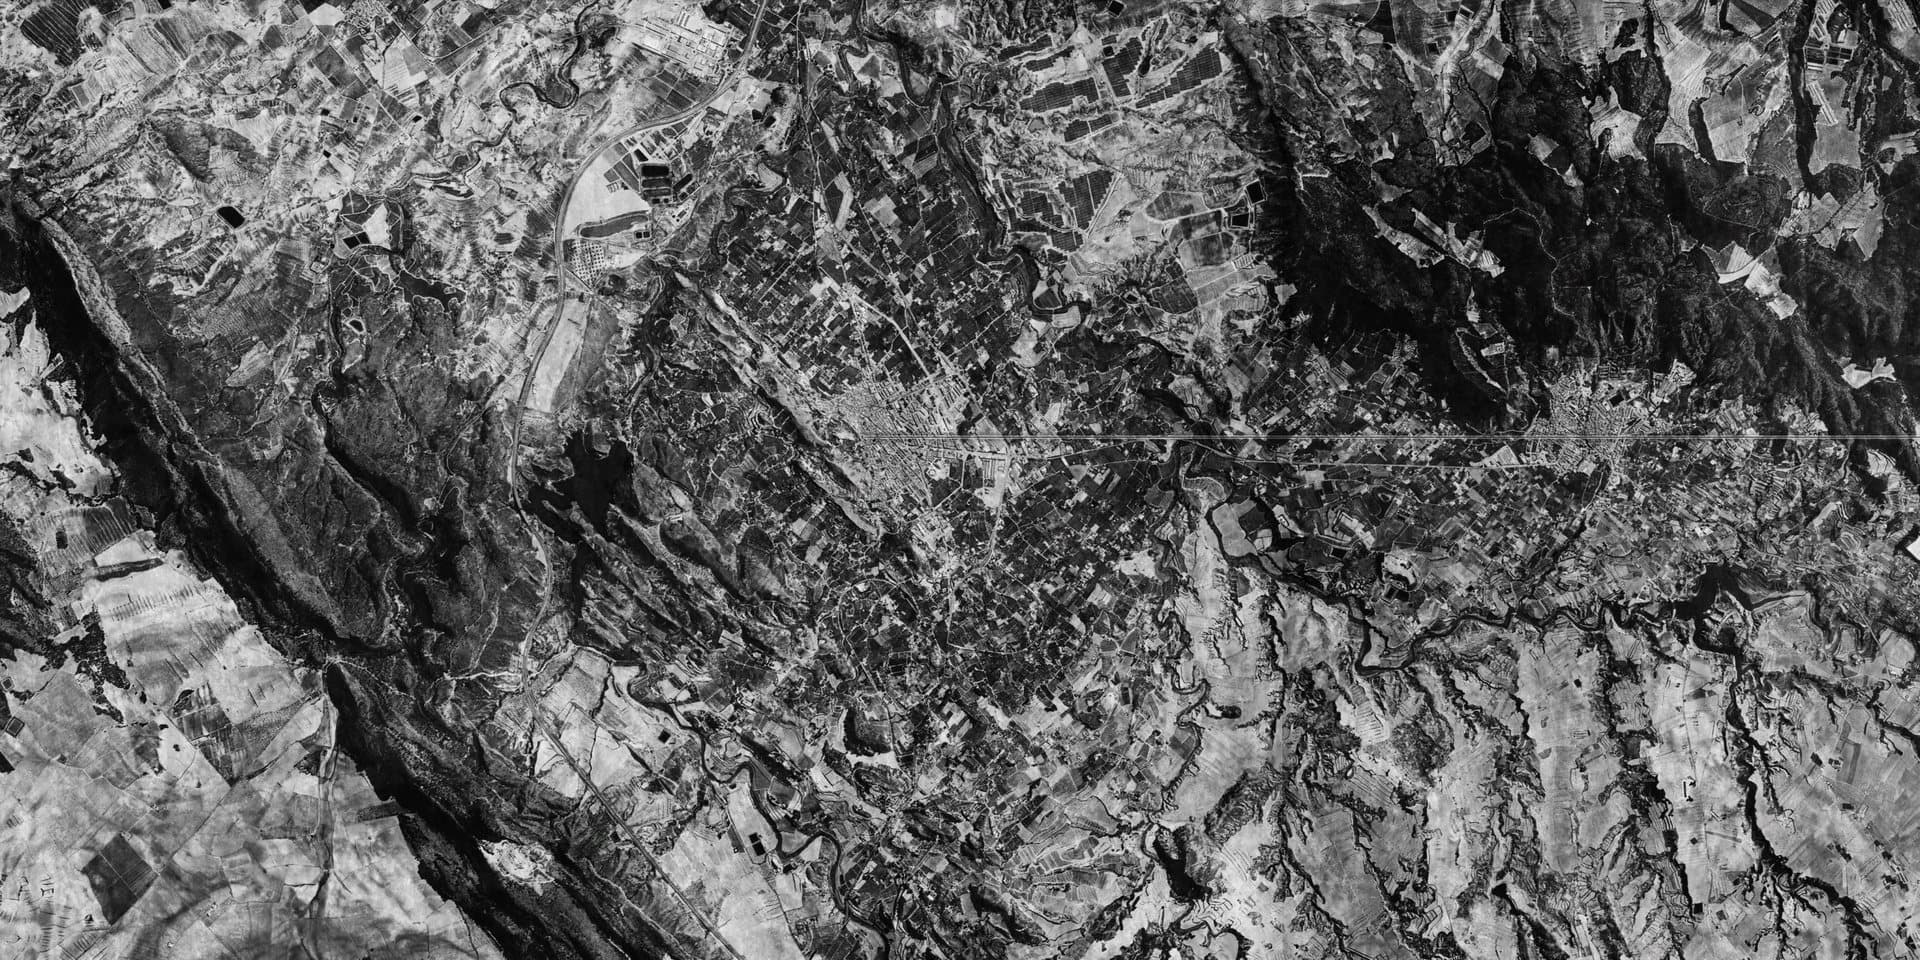
- 1Turret Spawn
1 Iron Nest. Mission-defined placement area.
- 2Train Car A Spawn
1 Locomotive. Mission-defined placement area.
- 3Train Car B Spawn
1 Platform Car. Mission-defined placement area.
- 4Train Car C Spawn
1 Troop Car A. Mission-defined placement area.
- 5Train Car D Spawn
1 Troop Car B. Mission-defined placement area.
- 6Train Car E Spawn
1 Caboose. Mission-defined placement area.
- 7Waypoint 1
1 Waypoint A. Mission-defined placement area.
- 8Waypoint 2
1 Waypoint B. Mission-defined placement area.
- 9Waypoint 3
1 Waypoint C. Mission-defined placement area.
- 10Enemy Backline
1 EnemyCommander, 1 EnemyHospital. Mission-defined placement area.
- 11Allied Frontline
6 Infantry, 2 Spotter, 2 Mechanized. Mission-defined placement area.
- 12Train Station
1 MainStation. Mission-defined placement area.
- 13Enemy Frontline
1 EnemyMechanized, 2 Pillbox, 3 EnemyInfantry. Mission-defined placement area.
The Tactical Map uses a 20 × 10 main grid, with ten subdivisions on each axis inside every square. The overlay follows those same boundaries. Large overlapping allied areas mean that individual units can appear across a broad part of the battlefield.
MISSION WALKTHROUGH
MISSION SPOILERSReveal the complete objective order and firing guidance.REVEAL WALKTHROUGH
Intercept the train
Use the printed timetable and reference waypoints to predict the train's movement. A hit on the consist or its track changes whether reinforcements reach the station.
Contain the station
Destroy remaining cars and engage any infantry or armour that disembarks if the train reaches Valle de Mula.
Signal the assault
Destroy both armoured emplacements with AP before sounding the war horn. Three premature assault signals trigger mission failure; after the approach is cleared, remaining town targets are optional.
Operational notes
- The train schedule names an arrival time of 10:16:50 and uses three fixed map reference waypoints.
- Train-arrival reinforcements use relative placement, so they do not have one fixed grid on the overlay.
- The war horn is a mission input with an explicit three-strike failure branch when used too early.
- Version 1.0 (1663) fixed a soft lock caused by two shells hitting the train at the same time and made the Unrelenting Volley Medal obtainable without changing its 5, 10 and 20-kill thresholds.
MEDAL REQUIREMENTS
| Medal | Bronze | Silver | Gold |
|---|---|---|---|
| Measured Fire Star | 2 or fewer allied kills | 1 or fewer allied kills | No allied kills |
| Unrelenting Volley MedalThe unobtainable-medal bug was fixed in version 1.0 (1663); the thresholds did not change. | Kill streak of 5 | Kill streak of 10 | Kill streak of 20 |
| Ordnance Efficiency CrossRequires at least 10 target kills at every rank. | 0.8 kills/shot | 1.5 kills/shot | 2 kills/shot |
| Unaided Fire Distinction | No recon; more than 5 kills | No recon; more than 10 kills | No recon; more than 18 kills |
Compare these awards with every other mission requirement in the Medal Guide.