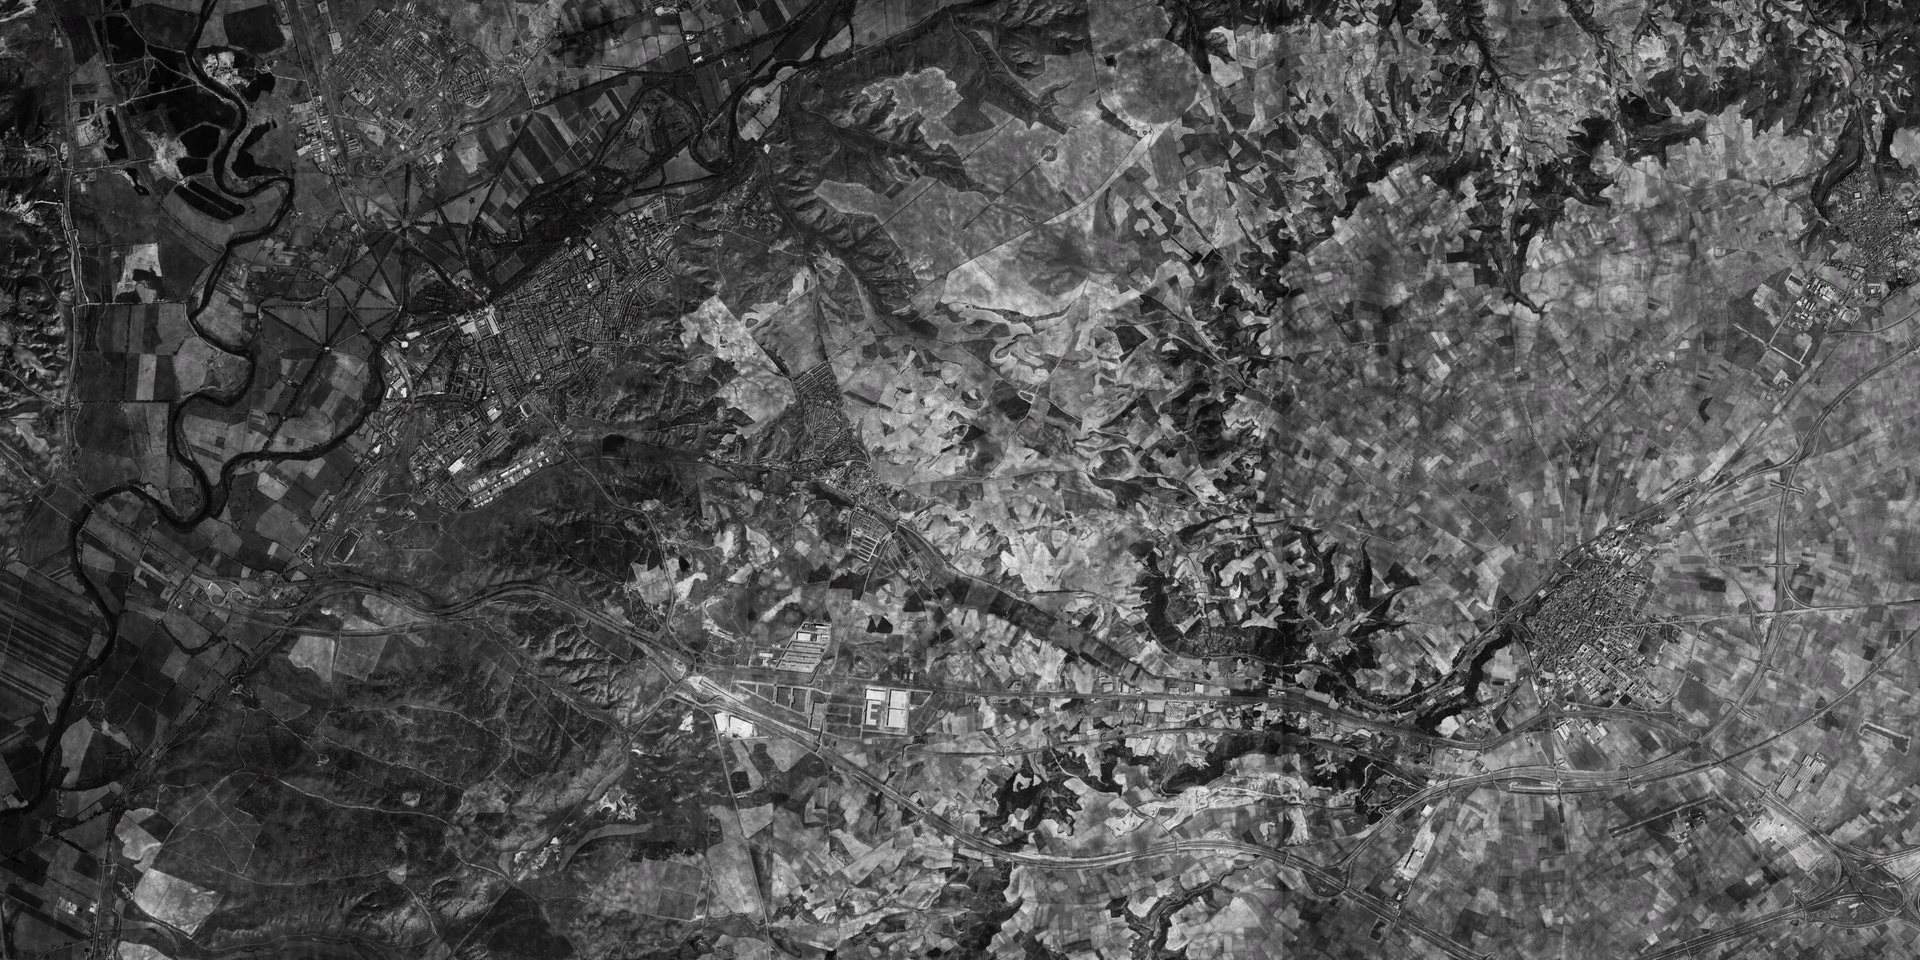
OPERATION OVERVIEW
These campaign values are guaranteed minimums when the mission loads, not a forced reset. Existing RC or Powder Charges above the listed amount are retained. Learn how the balance is used in the Requisition Credits guide.
Completion unlocks
Completing Fire & Light unlocks the following Punchcards. Select a card to open its guide.
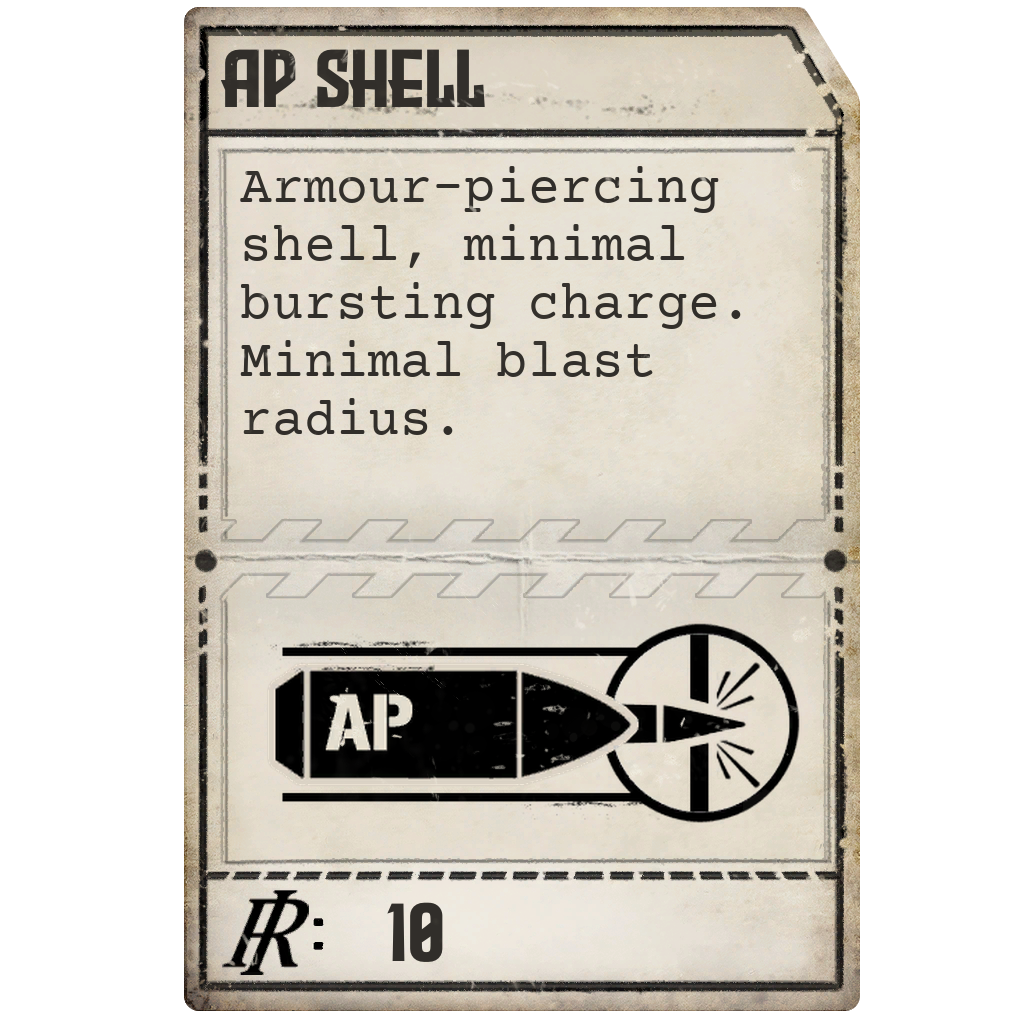 AmmunitionArmor-Piercing (AP)Open guide →
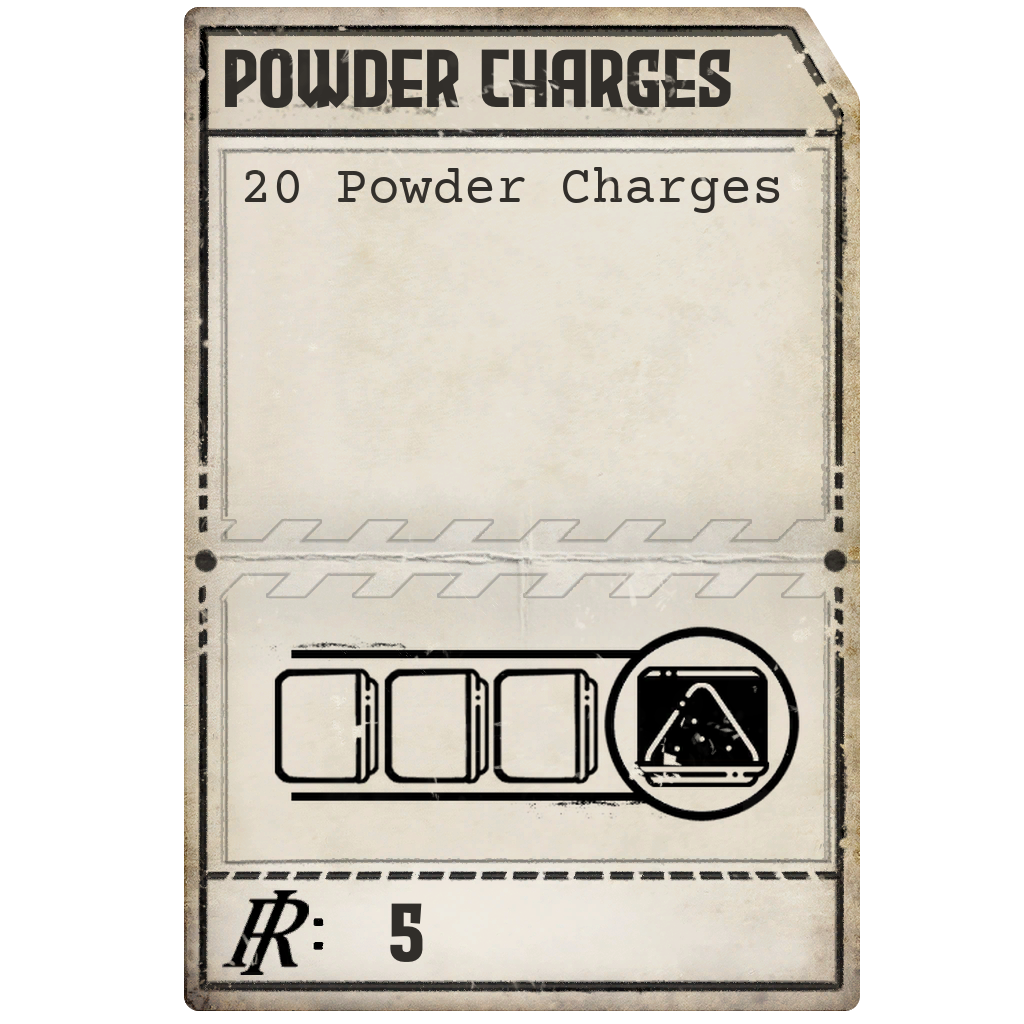 PunchcardPowder ChargesOpen guide →
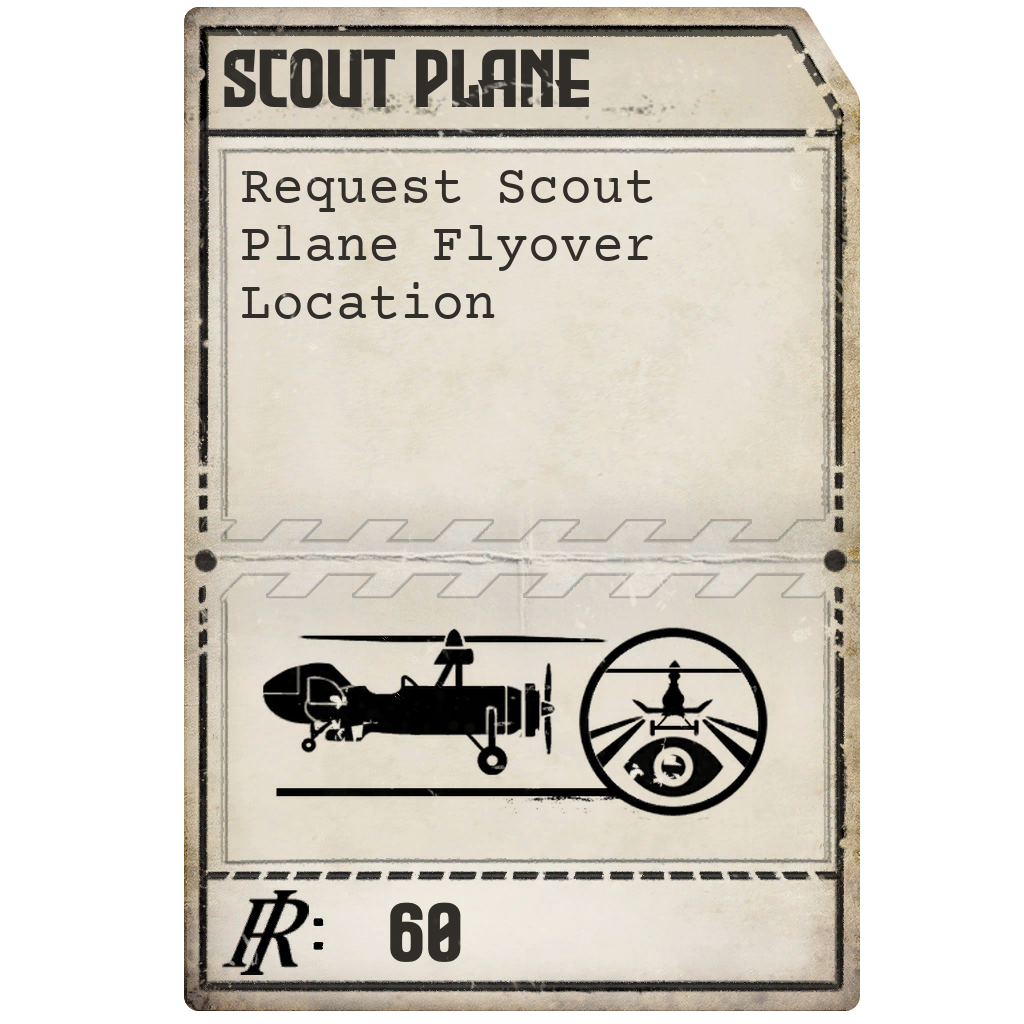 PunchcardScout PlaneOpen guide →
Utility requests are processed at the Requisition Table.
OBJECTIVES
- 01
Triangulate the first hostile target from two observer bearings and destroy it with HE.
- 02
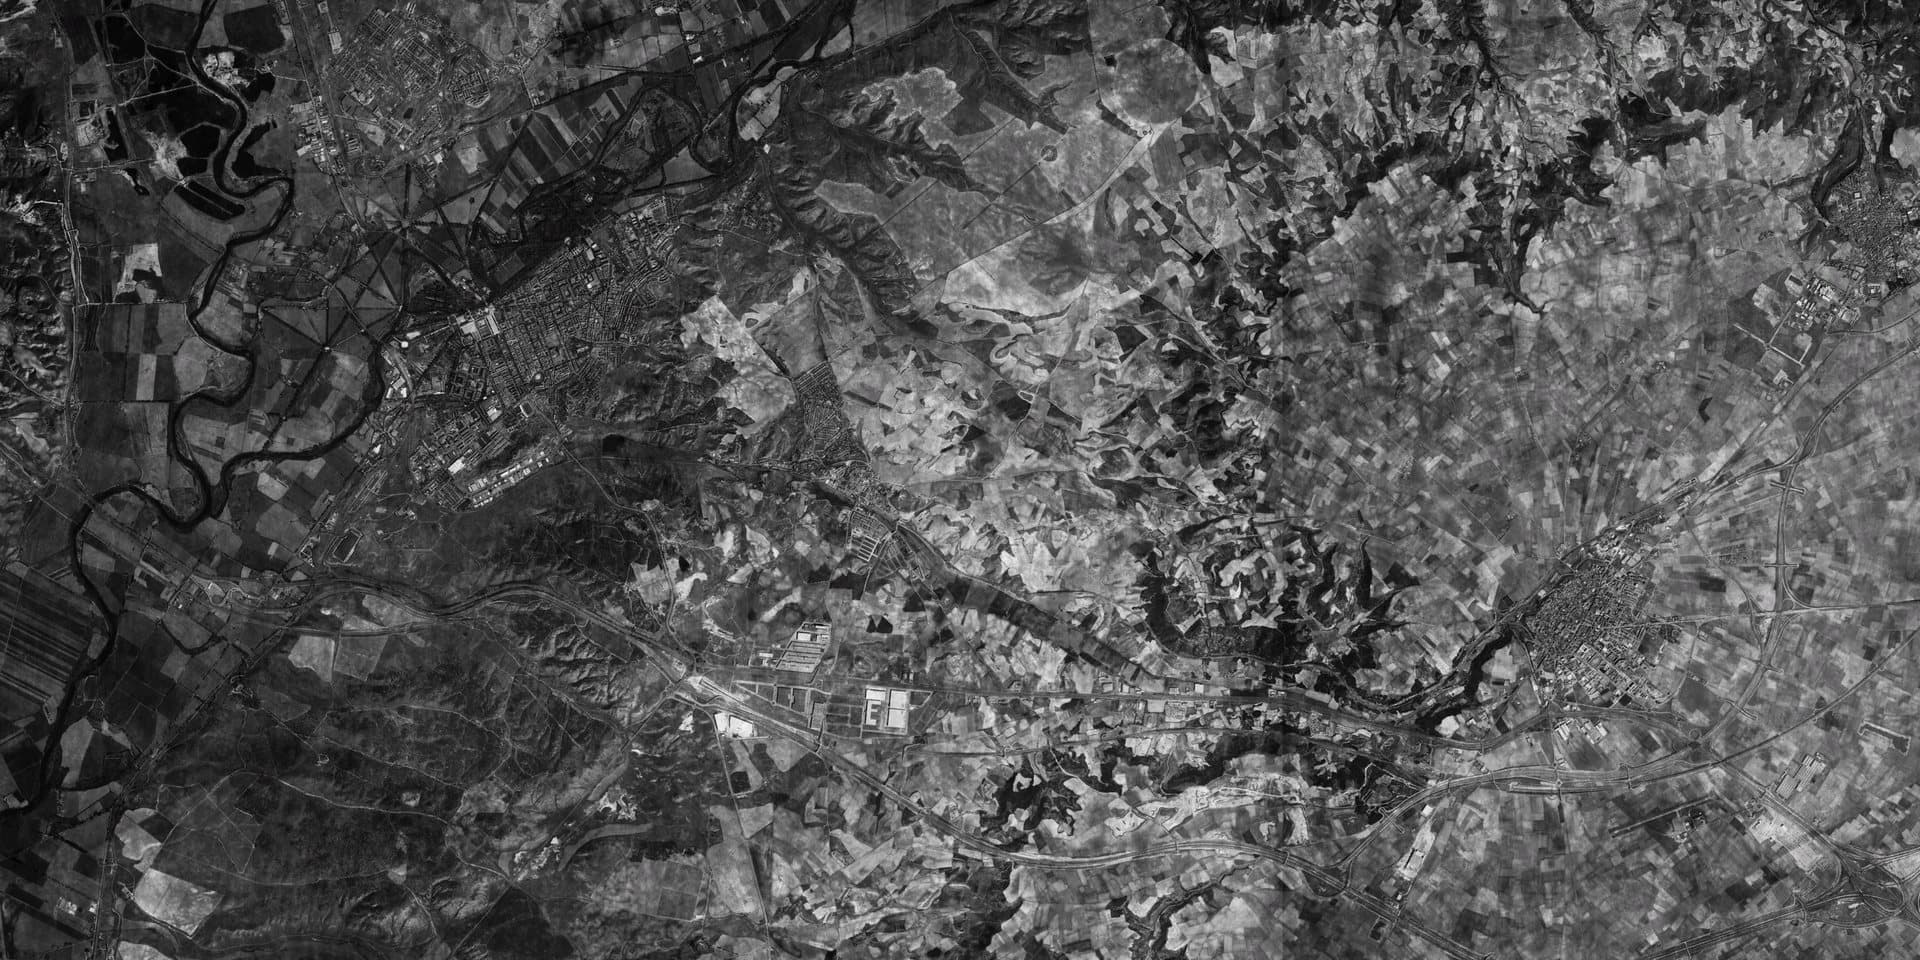
Use the reconnaissance photographs to find and destroy two additional hostile targets with HE.
- 03
Fire STAR shells near the Royal Palace and correct each impact until the burst position is accepted.
TARGETS AND PROTECTED UNITS

Initial hostile element
- Quantity
- 1
- Priority
- 1 star
- Armor
- Unarmored
- Placement
- Selected within the first hostile city zone
Two spotter positions provide the bearings needed to triangulate this target.
Additional hostile elements
- Quantity
- 2
- Priority
- 1 star each
- Armor
- Unarmored
- Placement
- Selected within two separate hostile city zones
These targets are introduced after the first target is destroyed and are shown through reconnaissance photographs.
REVEAL MAP DETAILS (SPOILER)View possible battlefield locations and mission-specific map information.REVEAL MAP DETAILS
These outlines show the areas from which the mission can select positions. They are possible placement zones, not fixed spawn coordinates. A numbered badge identifies an area; it does not enlarge that area.
- 1Initial hostile target
1 enemy target. Combat phase; located through the two spotter bearings.
- 2Additional hostile target A
1 enemy target. Revealed after the initial hostile target is destroyed.
- 3Additional hostile target B
1 enemy target. Revealed after the initial hostile target is destroyed.
- 4The King
1 protected unit. Present from mission start.
- 5The General
1 protected unit. Present from mission start.
- 6Spotter area A
1 allied spotter. Present from mission start; supplies one triangulation bearing.
- 7Spotter area B
1 allied spotter. Present from mission start; supplies one triangulation bearing.
- 8Allied backline areas
8 allied artillery units. Present from mission start; each unit is placed separately within these areas.
- 9Allied frontline areas
4 allied artillery units. Present from mission start; each unit is placed separately within these areas.
- 10Reference point A
Mission reference point. Present from mission start.
- 11Reference point B
Mission reference point. Present from mission start.
- 12Iron Nest
Player firing position. Mission starting position.
The Tactical Map uses a 20 × 10 main grid, with ten subdivisions on each axis inside every square. The overlay follows those same boundaries. Large overlapping allied areas mean that individual units can appear across a broad part of the battlefield.
MISSION WALKTHROUGH
MISSION SPOILERSReveal the complete objective order and firing guidance.REVEAL WALKTHROUGH
Triangulate the first target
The initial Field Report gives two bearings from separate observation points. Extend both bearing lines on the Tactical Map; their intersection identifies the target position. High Command specifies HE for this combat phase.
Clear the additional targets
Destroying the first target releases reconnaissance photographs and reveals two additional hostile elements. Use the yellow intelligence markings on those photographs to correct fire and destroy both with HE.
Illuminate the Royal Palace
After all three hostile targets are destroyed, the mission changes to a non-combat illumination task. Fire STAR shells near the reported palace position. Yellow distance numbers and direction arrows on each impact photograph show how the next shot should be corrected.
Receive confirmation
The mission ends when High Command accepts the STAR burst position. HE impacts during the illumination phase and STAR impacts during the combat phase produce wrong-ordnance warnings instead of advancing the correct objective.
Operational notes
- The hostile targets are placed through mission zones; their exact grids can differ between playthroughs.
- The first phase uses bearing triangulation, while the illumination phase uses distance-and-direction corrections from impact photographs.
- Destroying protected Castilian units can activate the mission's traitor and failure sequence.
- The mission tracks total shots across both the combat and illumination phases for its medal.
MEDAL REQUIREMENTS
| Medal | Bronze | Silver | Gold |
|---|---|---|---|
| Ordnance Efficiency Citation | Complete the mission in 8 shots or fewer | Complete the mission in 6 shots or fewer | Complete the mission in 4 shots or fewer |
Compare these awards with every other mission requirement in the Medal Guide.