
OPERATION OVERVIEW
These campaign values are guaranteed minimums when the mission loads, not a forced reset. Existing RC or Powder Charges above the listed amount are retained. Learn how the balance is used in the Requisition Credits guide.
Completion unlocks
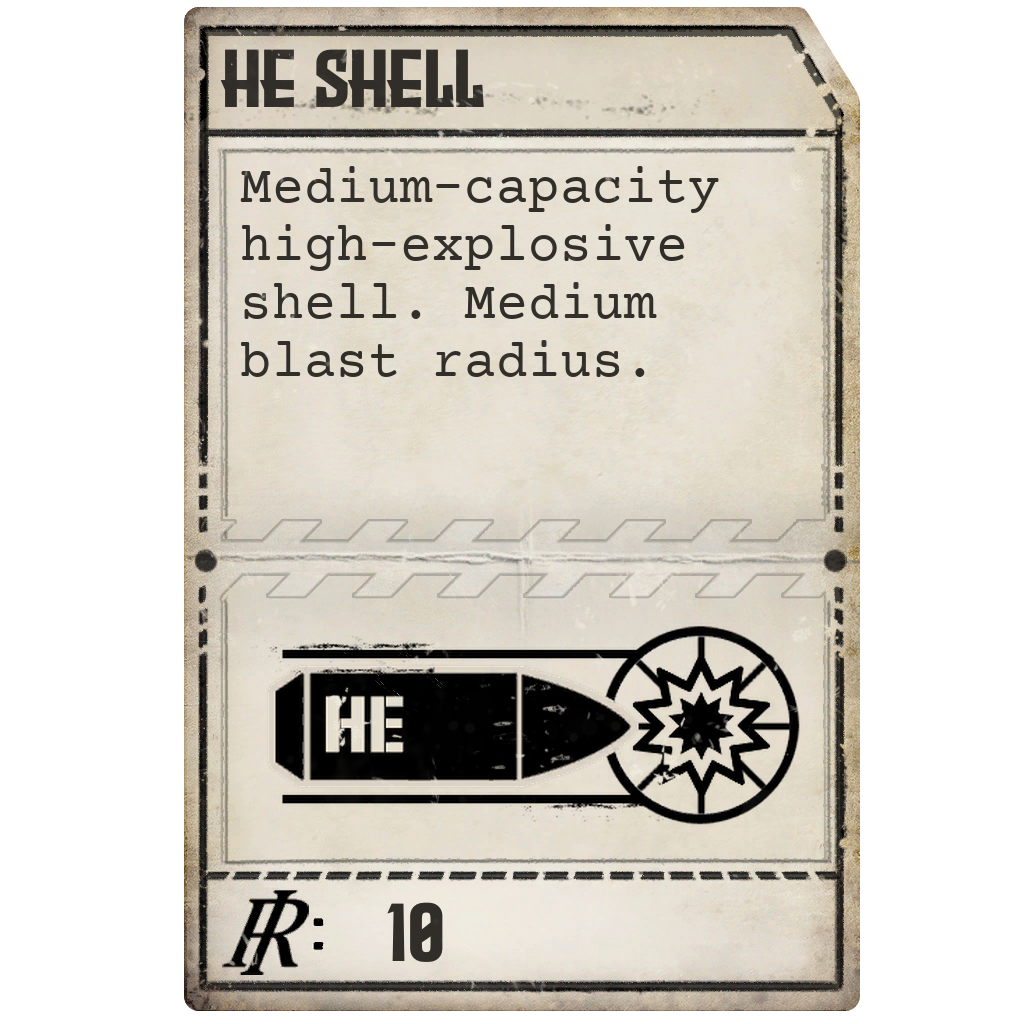
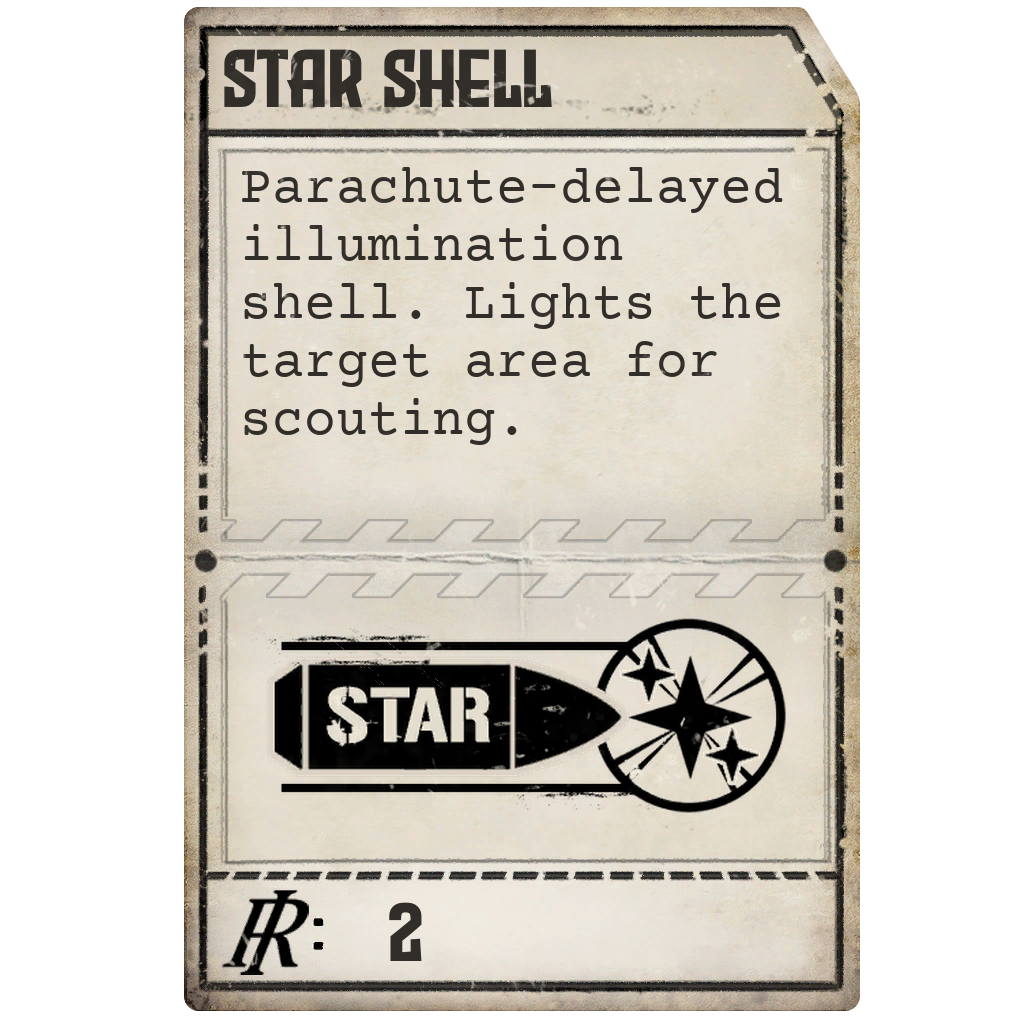
Completing Calibration Fire unlocks the following Punchcards. Select a card to open its guide.
OBJECTIVES
- 01
Read the target grid supplied by High Command.
- 02
Plot the bearing and range from the Iron Nest to the designated target.
- 03
Fire an HE shell and destroy the target.
TARGETS AND PROTECTED UNITS

Target
- Quantity
- 1
- Priority
- 1 star
- Armor
- Unarmored
- Placement
- A position selected within the Riot mission zone
This is the only required hostile target. Its exact grid is supplied during the operation and is not fixed by the mission page.
REVEAL MAP DETAILS (SPOILER)View possible battlefield locations and mission-specific map information.REVEAL MAP DETAILS
These outlines show the areas from which the mission can select positions. They are possible placement zones, not fixed spawn coordinates. A numbered badge identifies an area; it does not enlarge that area.

- 1Designated target
1 enemy target. Present from mission start.
- 2Hospital
1 hospital. Present from mission start.
- 3City protected-unit areas
8 civilians, 1 propaganda office and 3 police units. Present from mission start; each unit is placed separately within these areas.
- 4Iron Nest
Player firing position. Mission starting position.
The Tactical Map uses a 20 × 10 main grid, with ten subdivisions on each axis inside every square. The overlay follows those same boundaries. Large overlapping allied areas mean that individual units can appear across a broad part of the battlefield.
MISSION WALKTHROUGH
MISSION SPOILERSReveal the complete objective order and firing guidance.REVEAL WALKTHROUGH
Read the order
High Command prints both the Iron Nest position and the target grid. Transfer those two positions to the Tactical Map before preparing the gun.
Calculate the firing solution
Measure the bearing and distance from the Iron Nest to the reported target. Select a powder charge that covers that range, then calculate the required elevation.
Fire HE
The order specifies HE. A miss produces a Field Report asking the Operator to review the Iron Nest position, bearing and range before firing again. Destroying the designated target completes the mission.
Operational notes
- The target is placed through a mission zone, so its precise grid belongs to the current playthrough.
- Miss reports are generated after shell impacts and direct the Operator back to the plotted position and firing solution.
- The mission tracks the number of shots fired for its single medal.
MEDAL REQUIREMENTS
| Medal | Bronze | Silver | Gold |
|---|---|---|---|
| Ordnance Efficiency Laurel | Complete the mission in 3 shots or fewer | Complete the mission in 2 shots or fewer | Complete the mission in 1 shot |
Compare these awards with every other mission requirement in the Medal Guide.