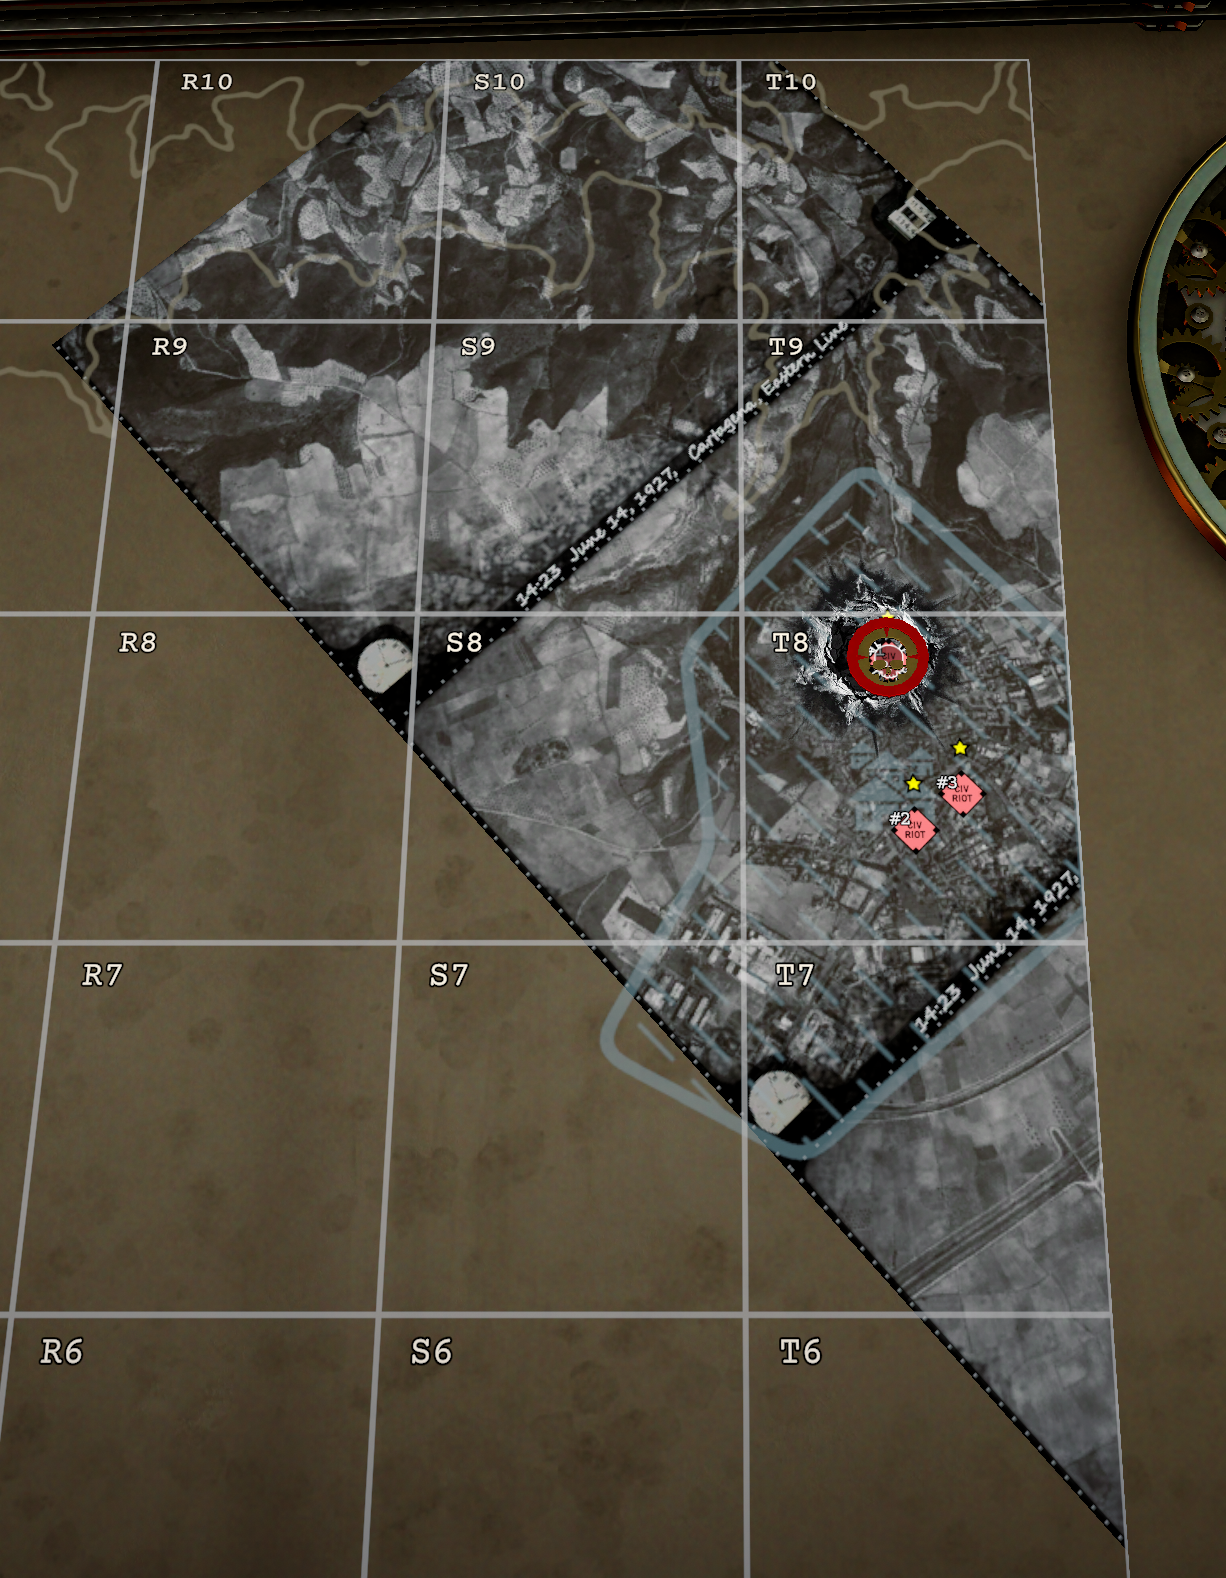
Map basics
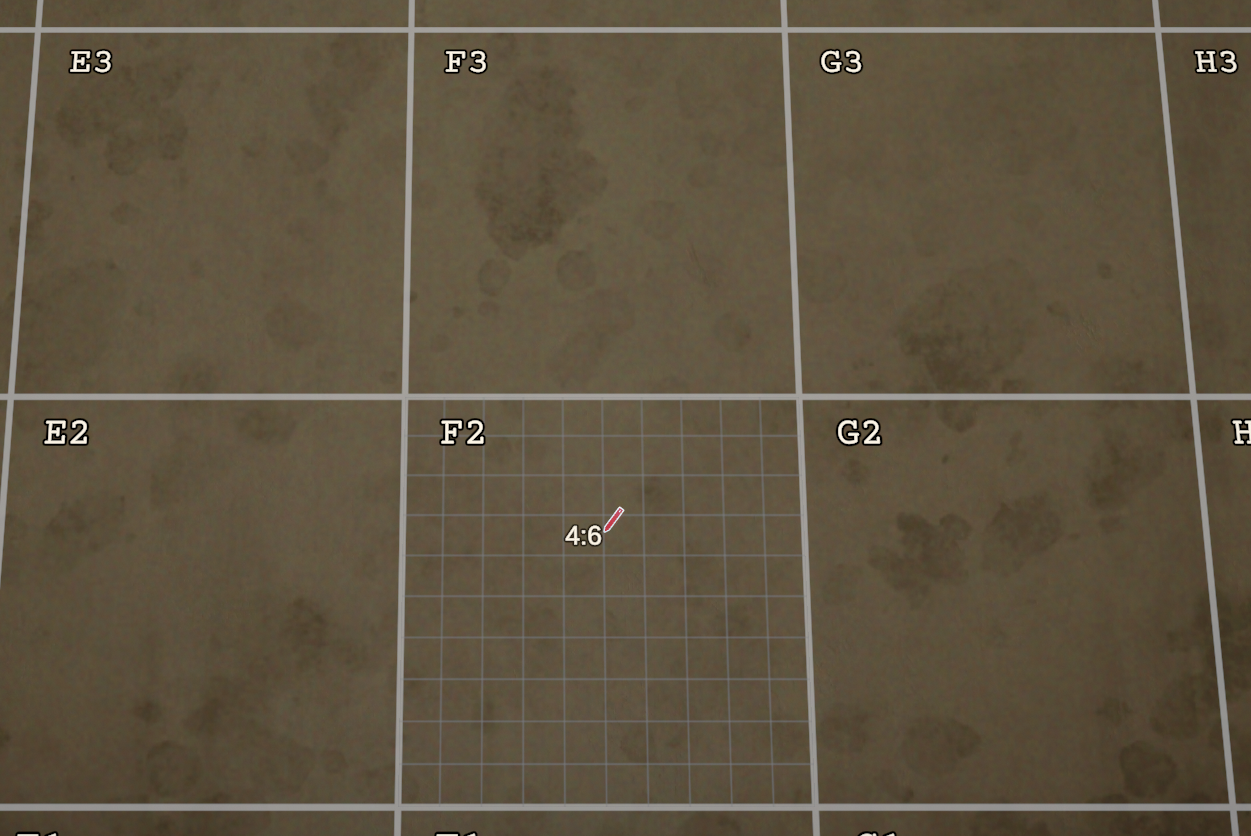
The map is divided into grid tiles from A1 through T10. Each tile spans 1 km by 1 km and is divided into one hundred smaller squares, addressed from 0:0 through 9:9. Each smaller square spans 100 m by 100 m. The coordinate F2 4:6 therefore means square 4:6 inside tile F2.
Use the left mouse button and drag to draw a measurement line. Right-click a line to remove that selected line.
Bearings and distances received from High Command—and especially from Field Reports—may be imperfect. Be careful when plotting a new target from a point that is itself uncertain. This target chaining carries the original error into the next measurement and can make the final error larger.
Map tools
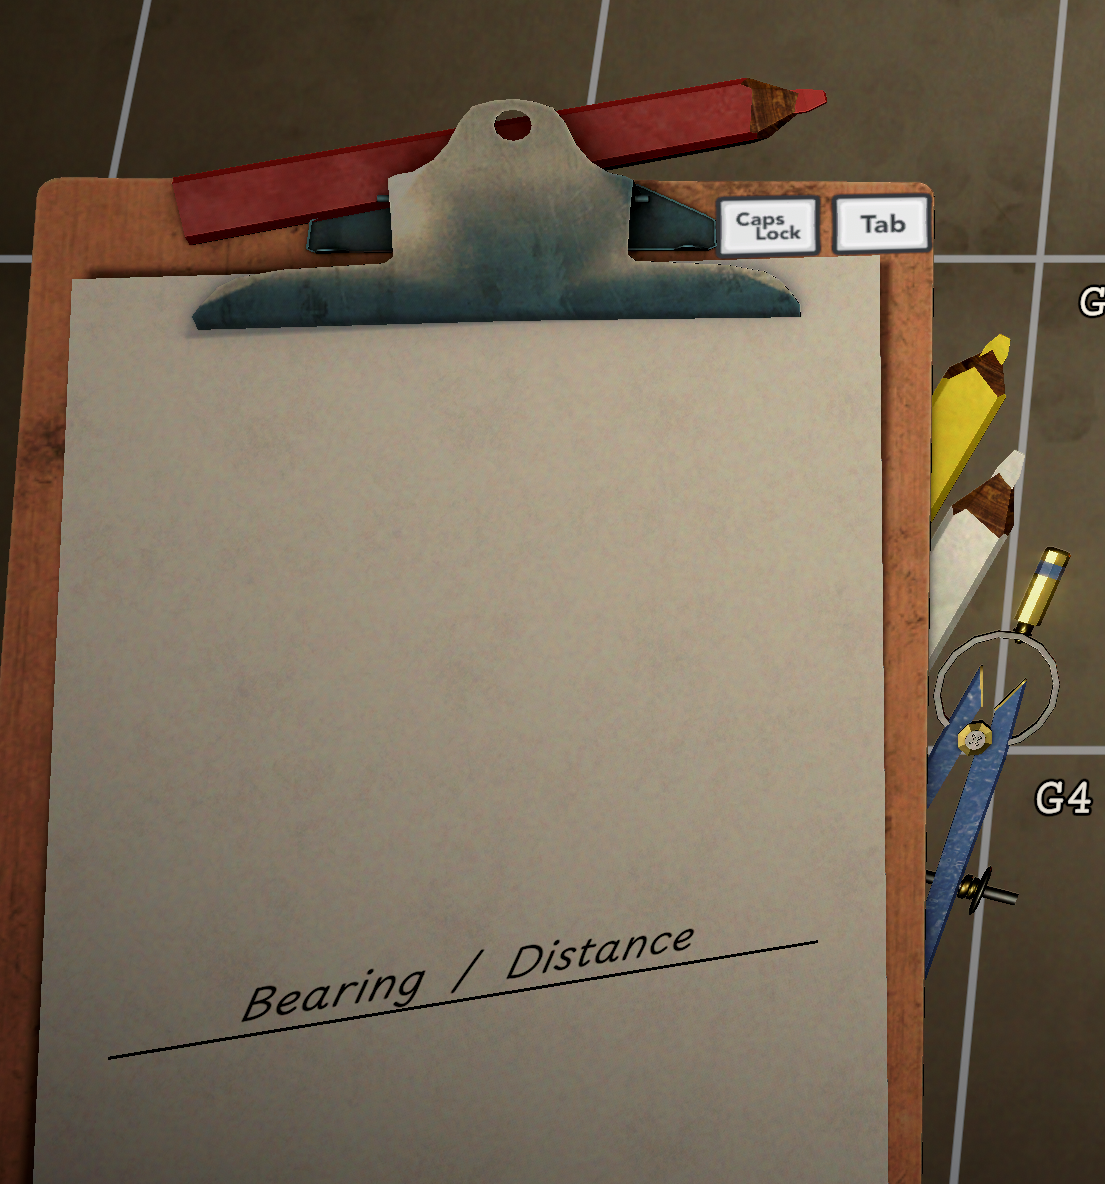
The pencils and compass are the map's drawing instruments. Use the red pencil for shell trajectories; every red line automatically places its bearing and distance on your clipboard. The yellow pencil plots allied troops, reference points, enemy troops, targets and objectives. Yellow lines display bearing and distance but are not copied to the clipboard. The white pencil is intended for movement or other planning: it draws without displaying bearing or distance. Use the compass by starting at the centre and dragging outward to the required radius.
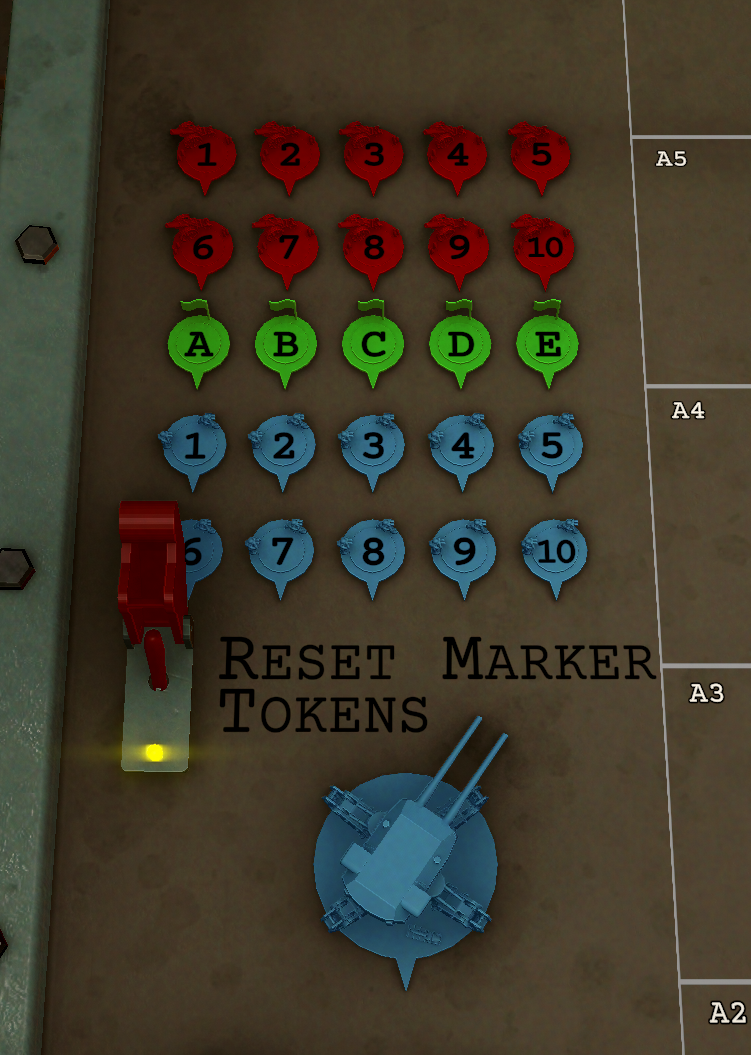
Marker tokens are stored on the left side of the table. Drag them onto the map or your clipboard to mark friendly forces in blue, enemy forces and targets in red, and reference points with the green A–E tokens. The large token at the bottom represents the Iron Nest. RESET MARKER TOKENS removes the placed tokens except for the Iron Nest token.
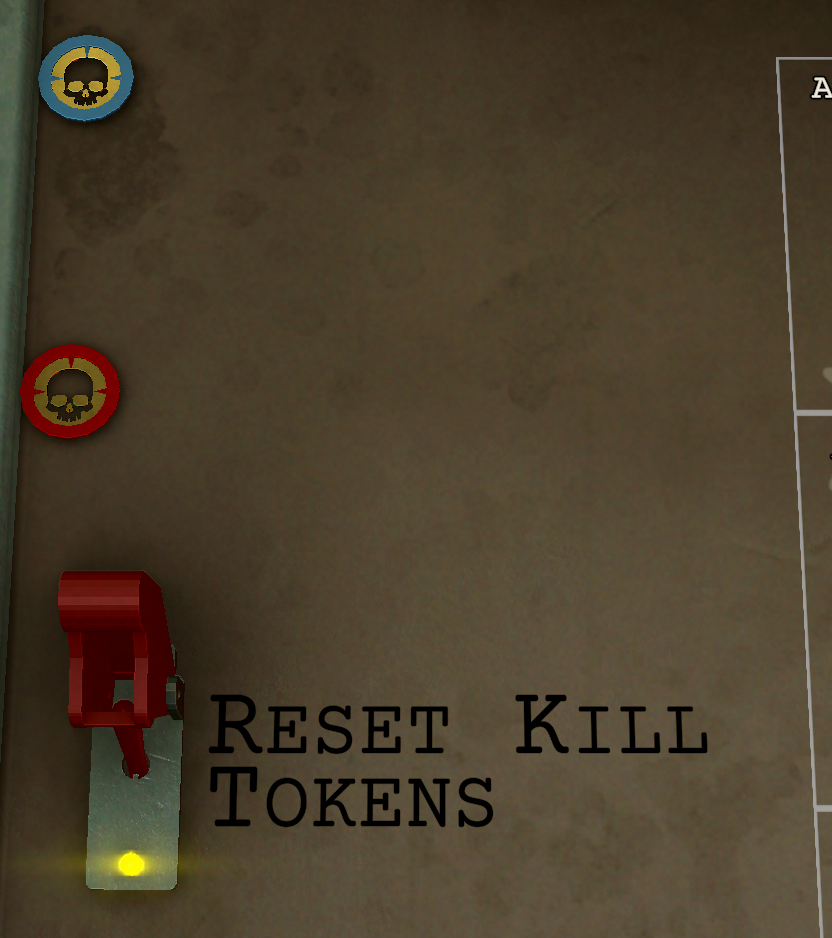
Kill tokens sit at the upper-left side of the table. The game automatically places them over destroyed units and targets: red for enemies and blue for friendlies. RESET KILL TOKENS clears these tokens to reduce clutter on the map.
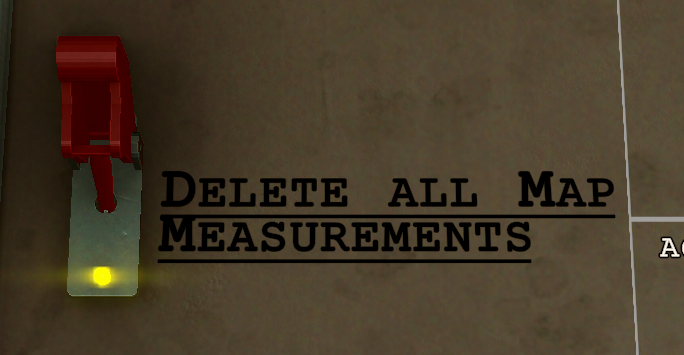
DELETE ALL MAP MEASUREMENTS removes every drawn line from the map. It does not remove the bearing and distance of a red trajectory that has already been placed on your clipboard.
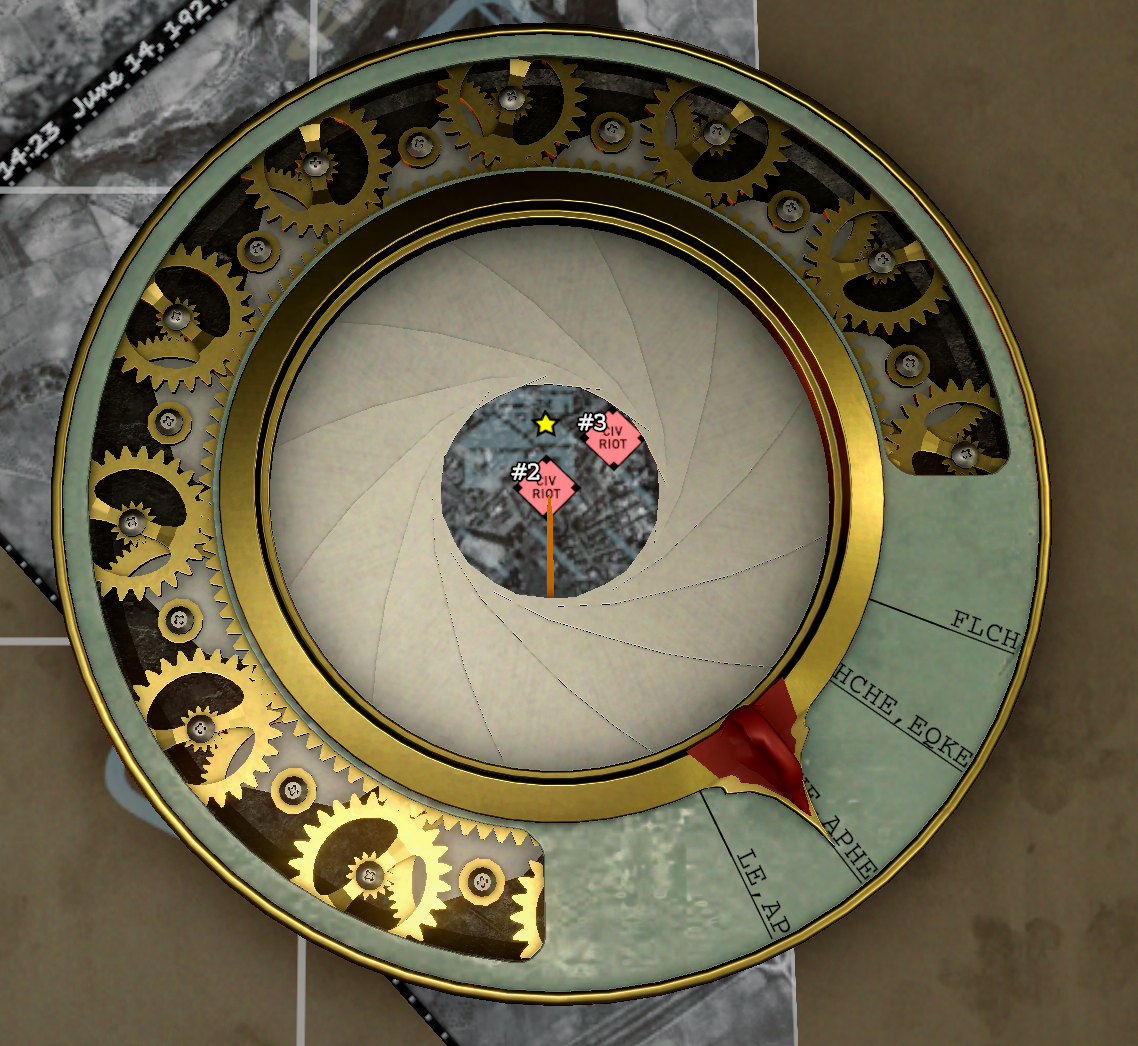
The AoE template at the upper-right side of the table shows a shell's damage radius on the map. Use it to avoid friendly casualties or to include several enemy units within one impact area. The correct radius depends on the selected shell.
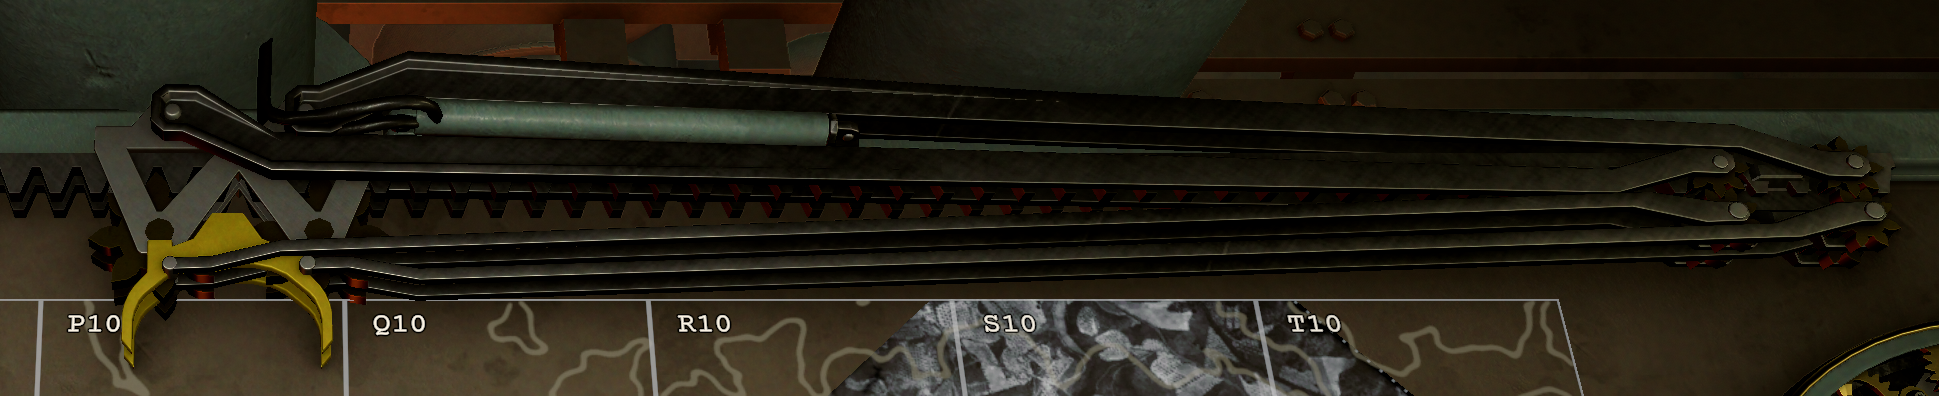
Two shell followers are mounted along the top of the map table. Their arms follow the exact trajectories of the left and right shells from firing until impact. Click a moving or stopped arm to reset it whenever it obstructs the map.
Map units
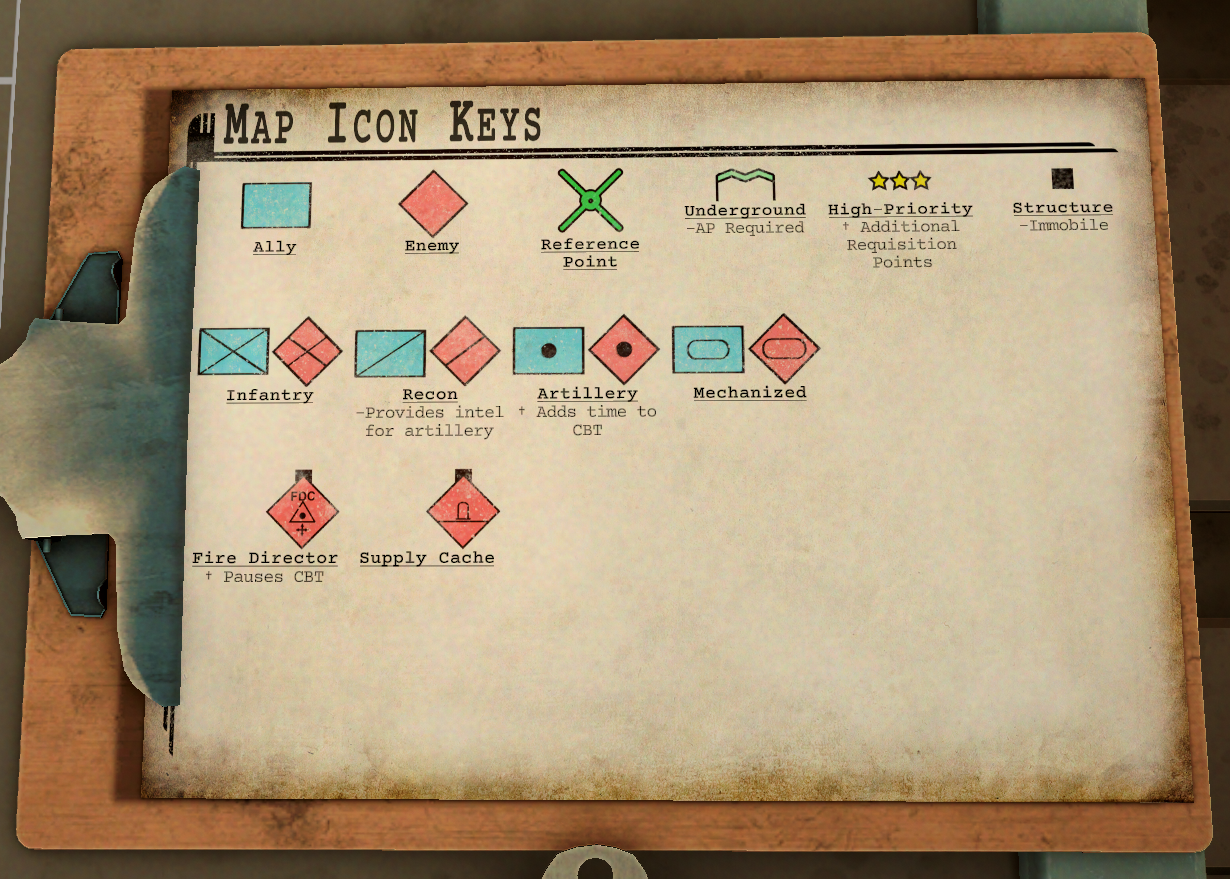
The clipboard at the lower-right corner of the map table explains the unit symbols used in reports and on the map. A unit may combine several icons, and each icon adds a property. For example, an Underground Fire Director must first be penetrated with AP before the Fire Director can be destroyed.
The complete Map Icons reference shows the general legend together with the individual enemy, friendly, reference and system markers.
- Underground — Requires armor-piercing ammunition.
- High-Priority — Awards additional Requisition Credits when destroyed.
- Structure — Cannot move.
- Recon — Provides intelligence for enemy artillery.
- Artillery — Adds time to the counter-battery timer when destroyed.
- Fire Director — Pauses the counter-battery timer when destroyed.
Triangulation
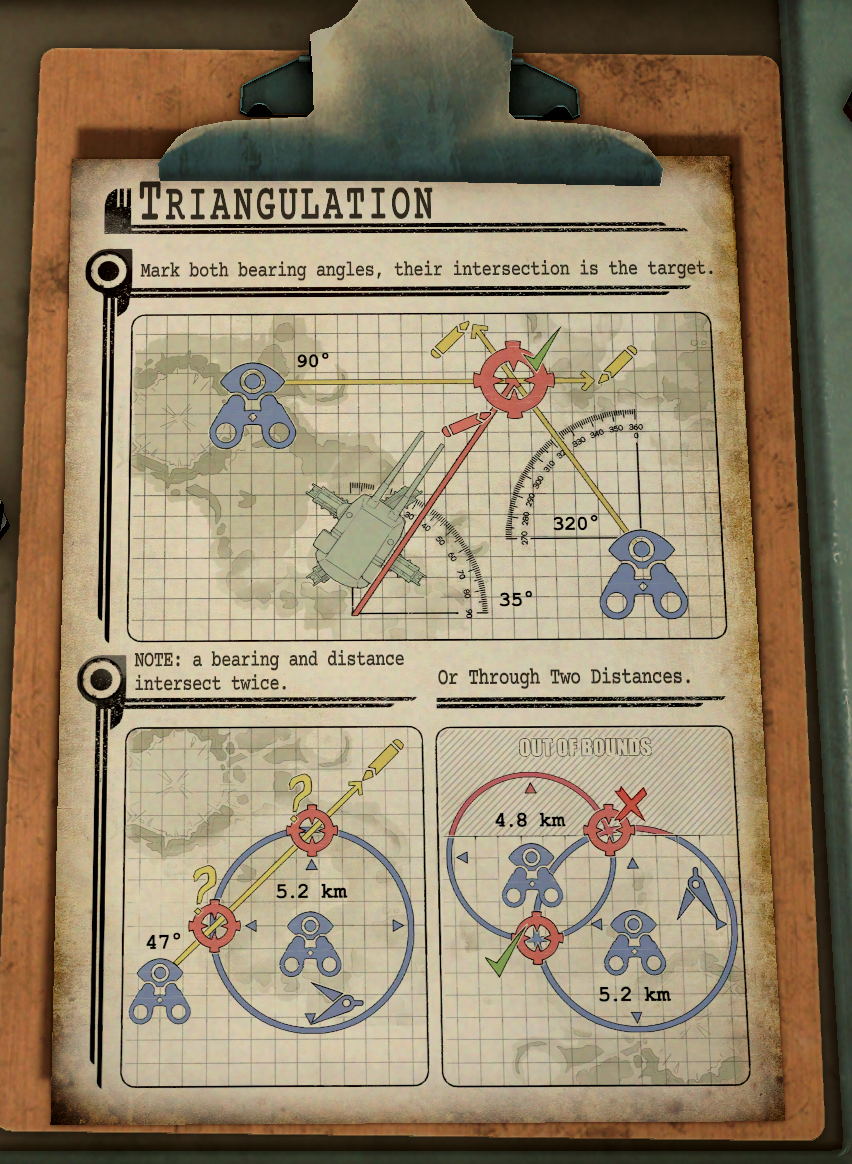
Triangulation uses two or more pieces of information to determine the position of a target, objective, unit or reference point. You can combine multiple bearings, multiple distances, or bearings and distances together.
Two distance circles often intersect at two possible positions. Use the surrounding geography and the wording of High Command or Field Reports to eliminate the impossible point. If the answer remains uncertain, obtain another observation from a Scout Plane or Forward Observer.
The shape of the intersection affects accuracy. Two bearings that are almost parallel can produce a much larger positional error than bearings that cross close to a right angle. Report inaccuracies also translate into larger errors in metres as the measured distance increases.
Map information
When Scout Plane flights are available, reconnaissance places three photographs on the map around the impact point of a fired shell. Enemy anti-aircraft guns prevent these photographs from appearing until the anti-aircraft threat has been destroyed.
Each photograph is a snapshot of the units visible at that moment. Treat photographed positions as exact at the time the image was taken, but remember that a mobile unit may have moved since then.