Cycle overview
The firing protocol connects seven stations into one complete shot. Use this overview to keep the sequence clear before working through each station in detail.
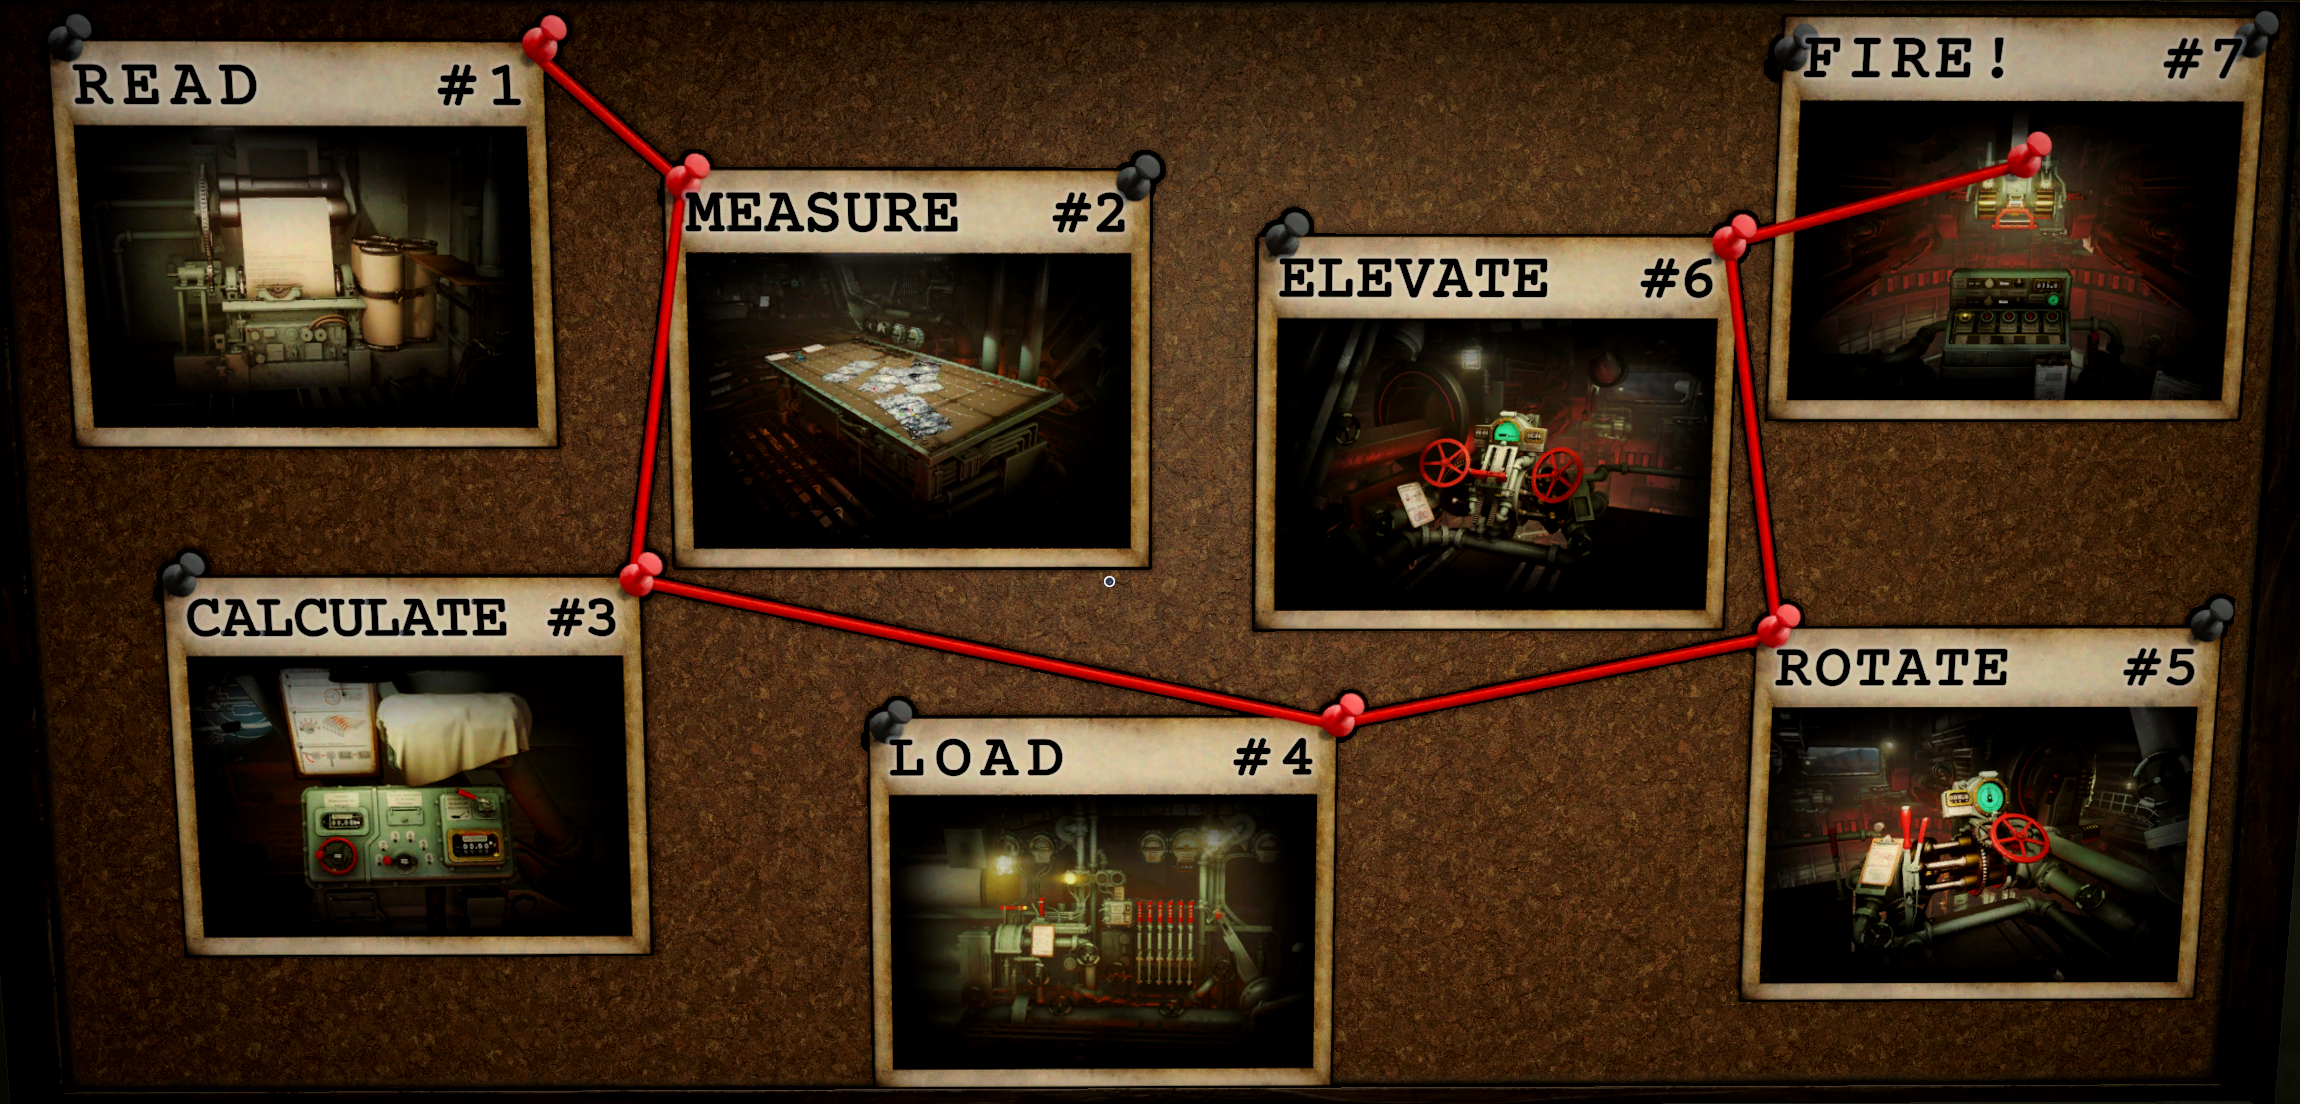
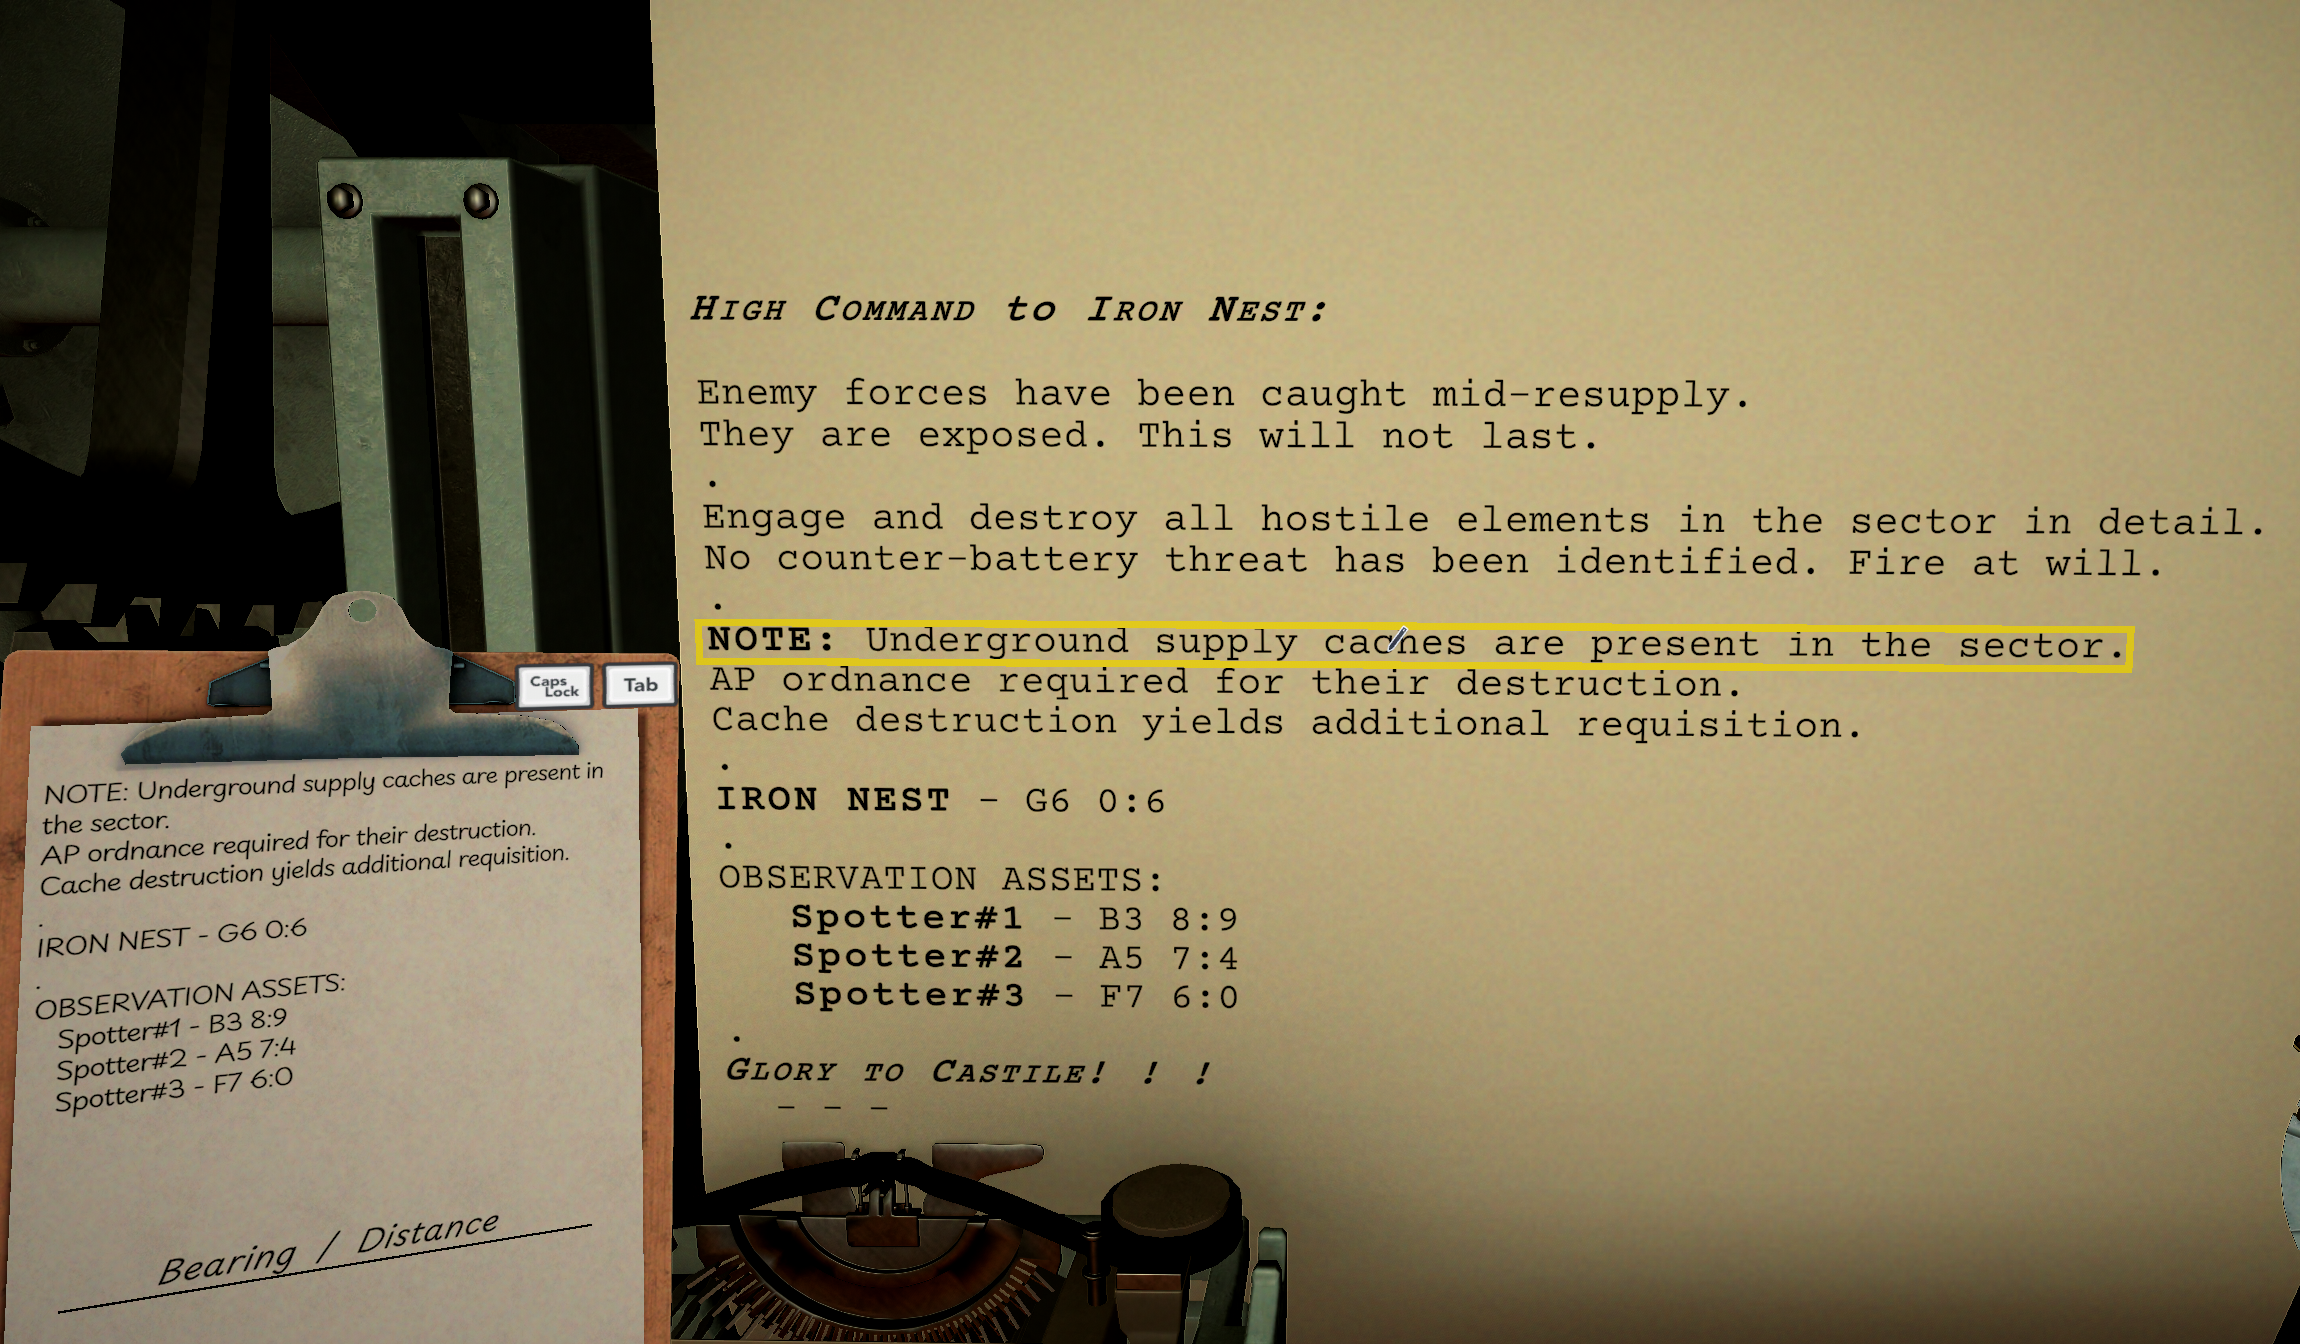
Read the order
Receive the mission at the Receiver and record the target information needed for the shot. Confirm the objective and any restrictions before leaving the station. The Receiver contains the High Command and Field Reports machines.
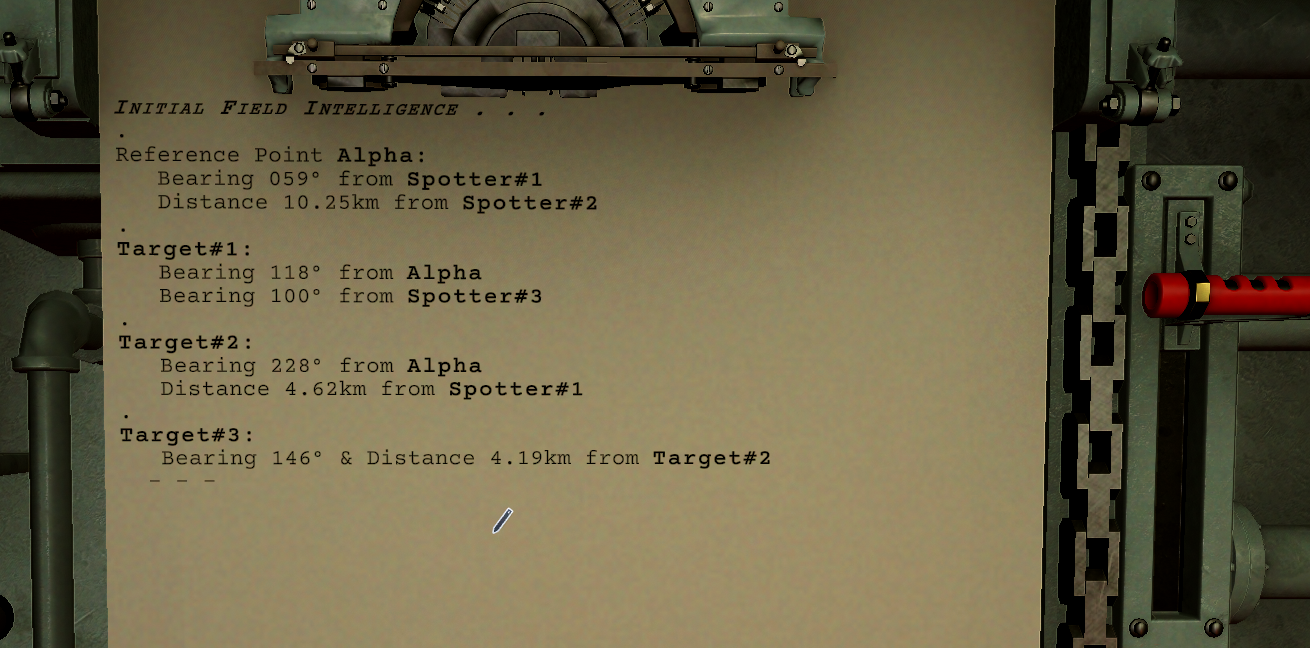
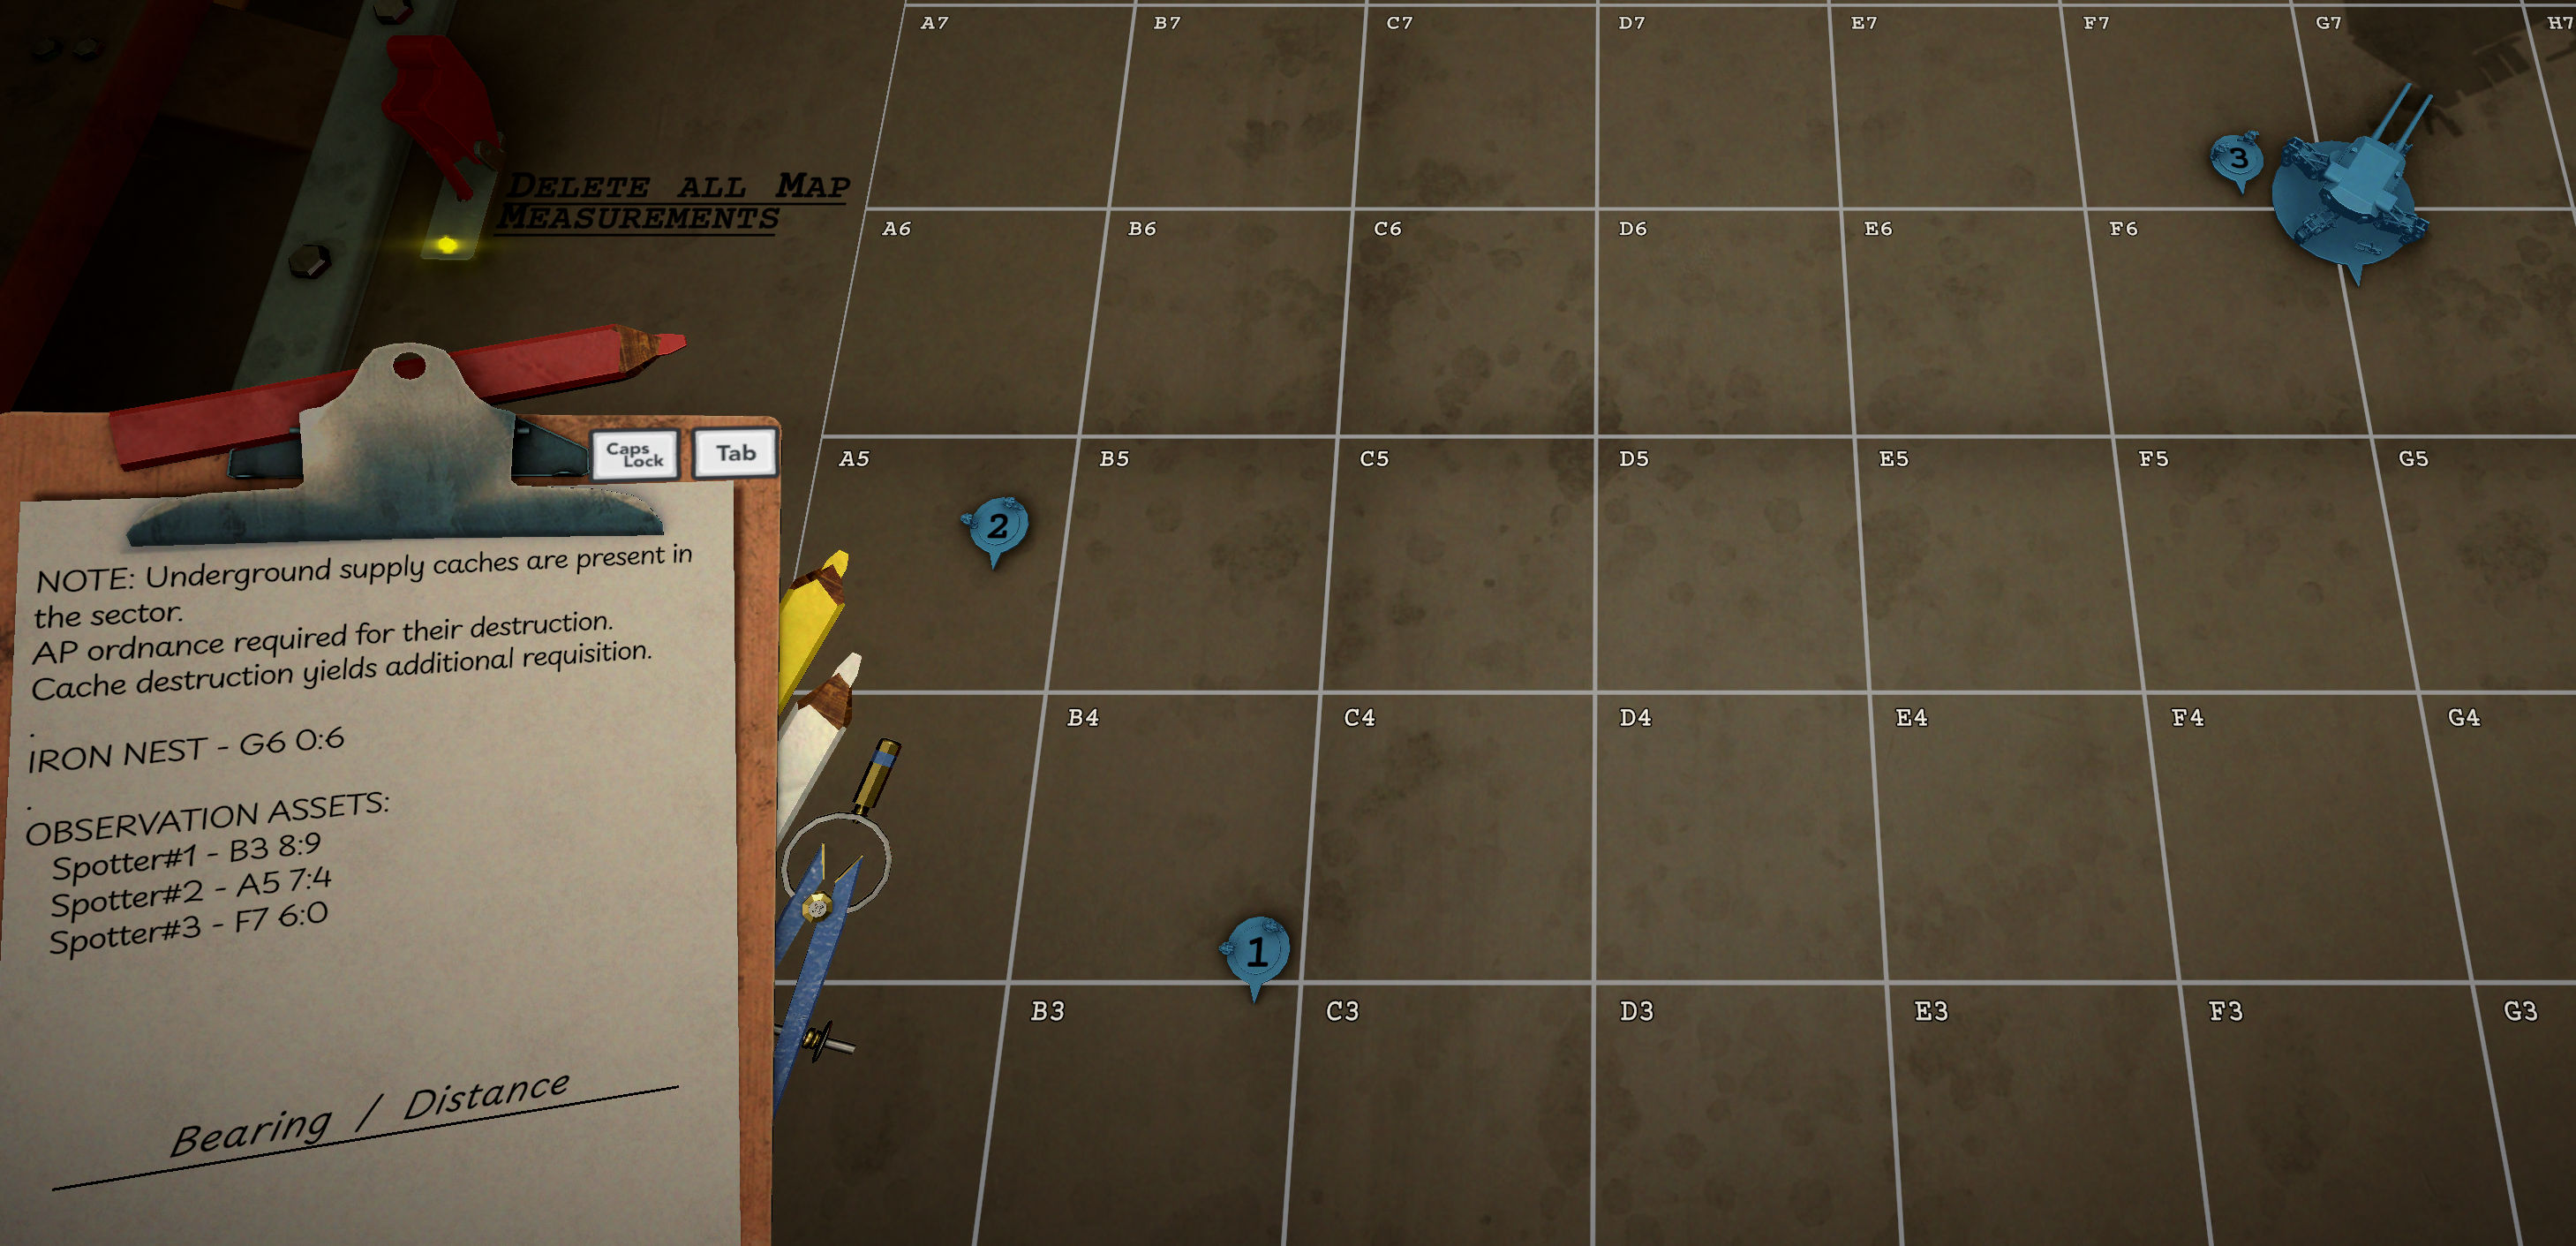
Measure the target
Before plotting targets, establish the position of the Iron Nest and any allied units or observation assets. High Command usually provides the coordinates needed to place them on the Tactical Map.
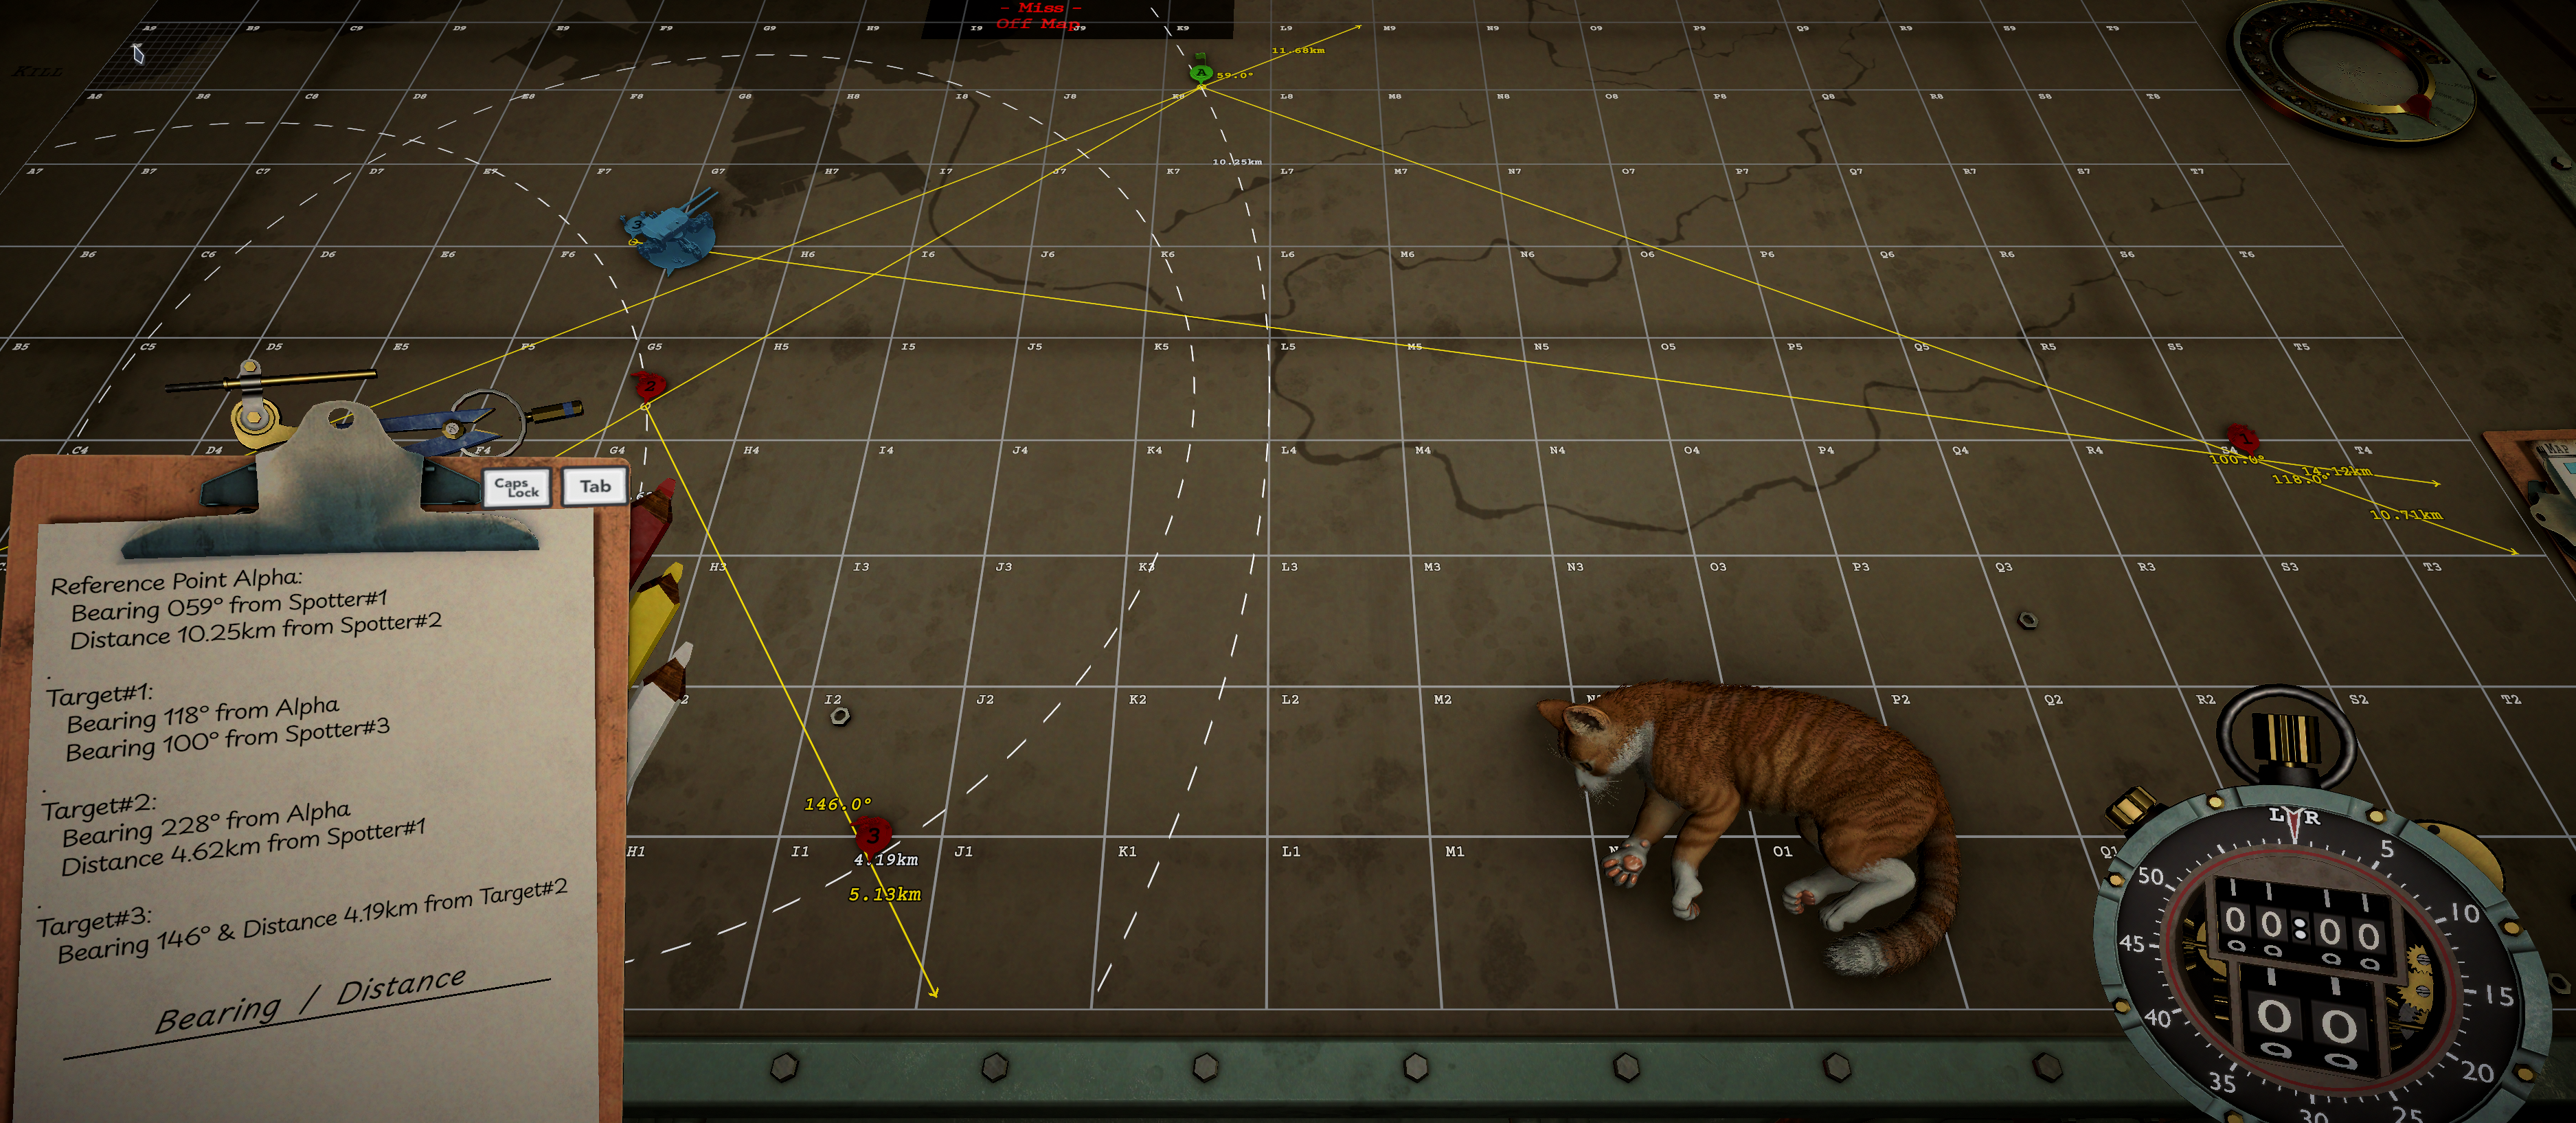
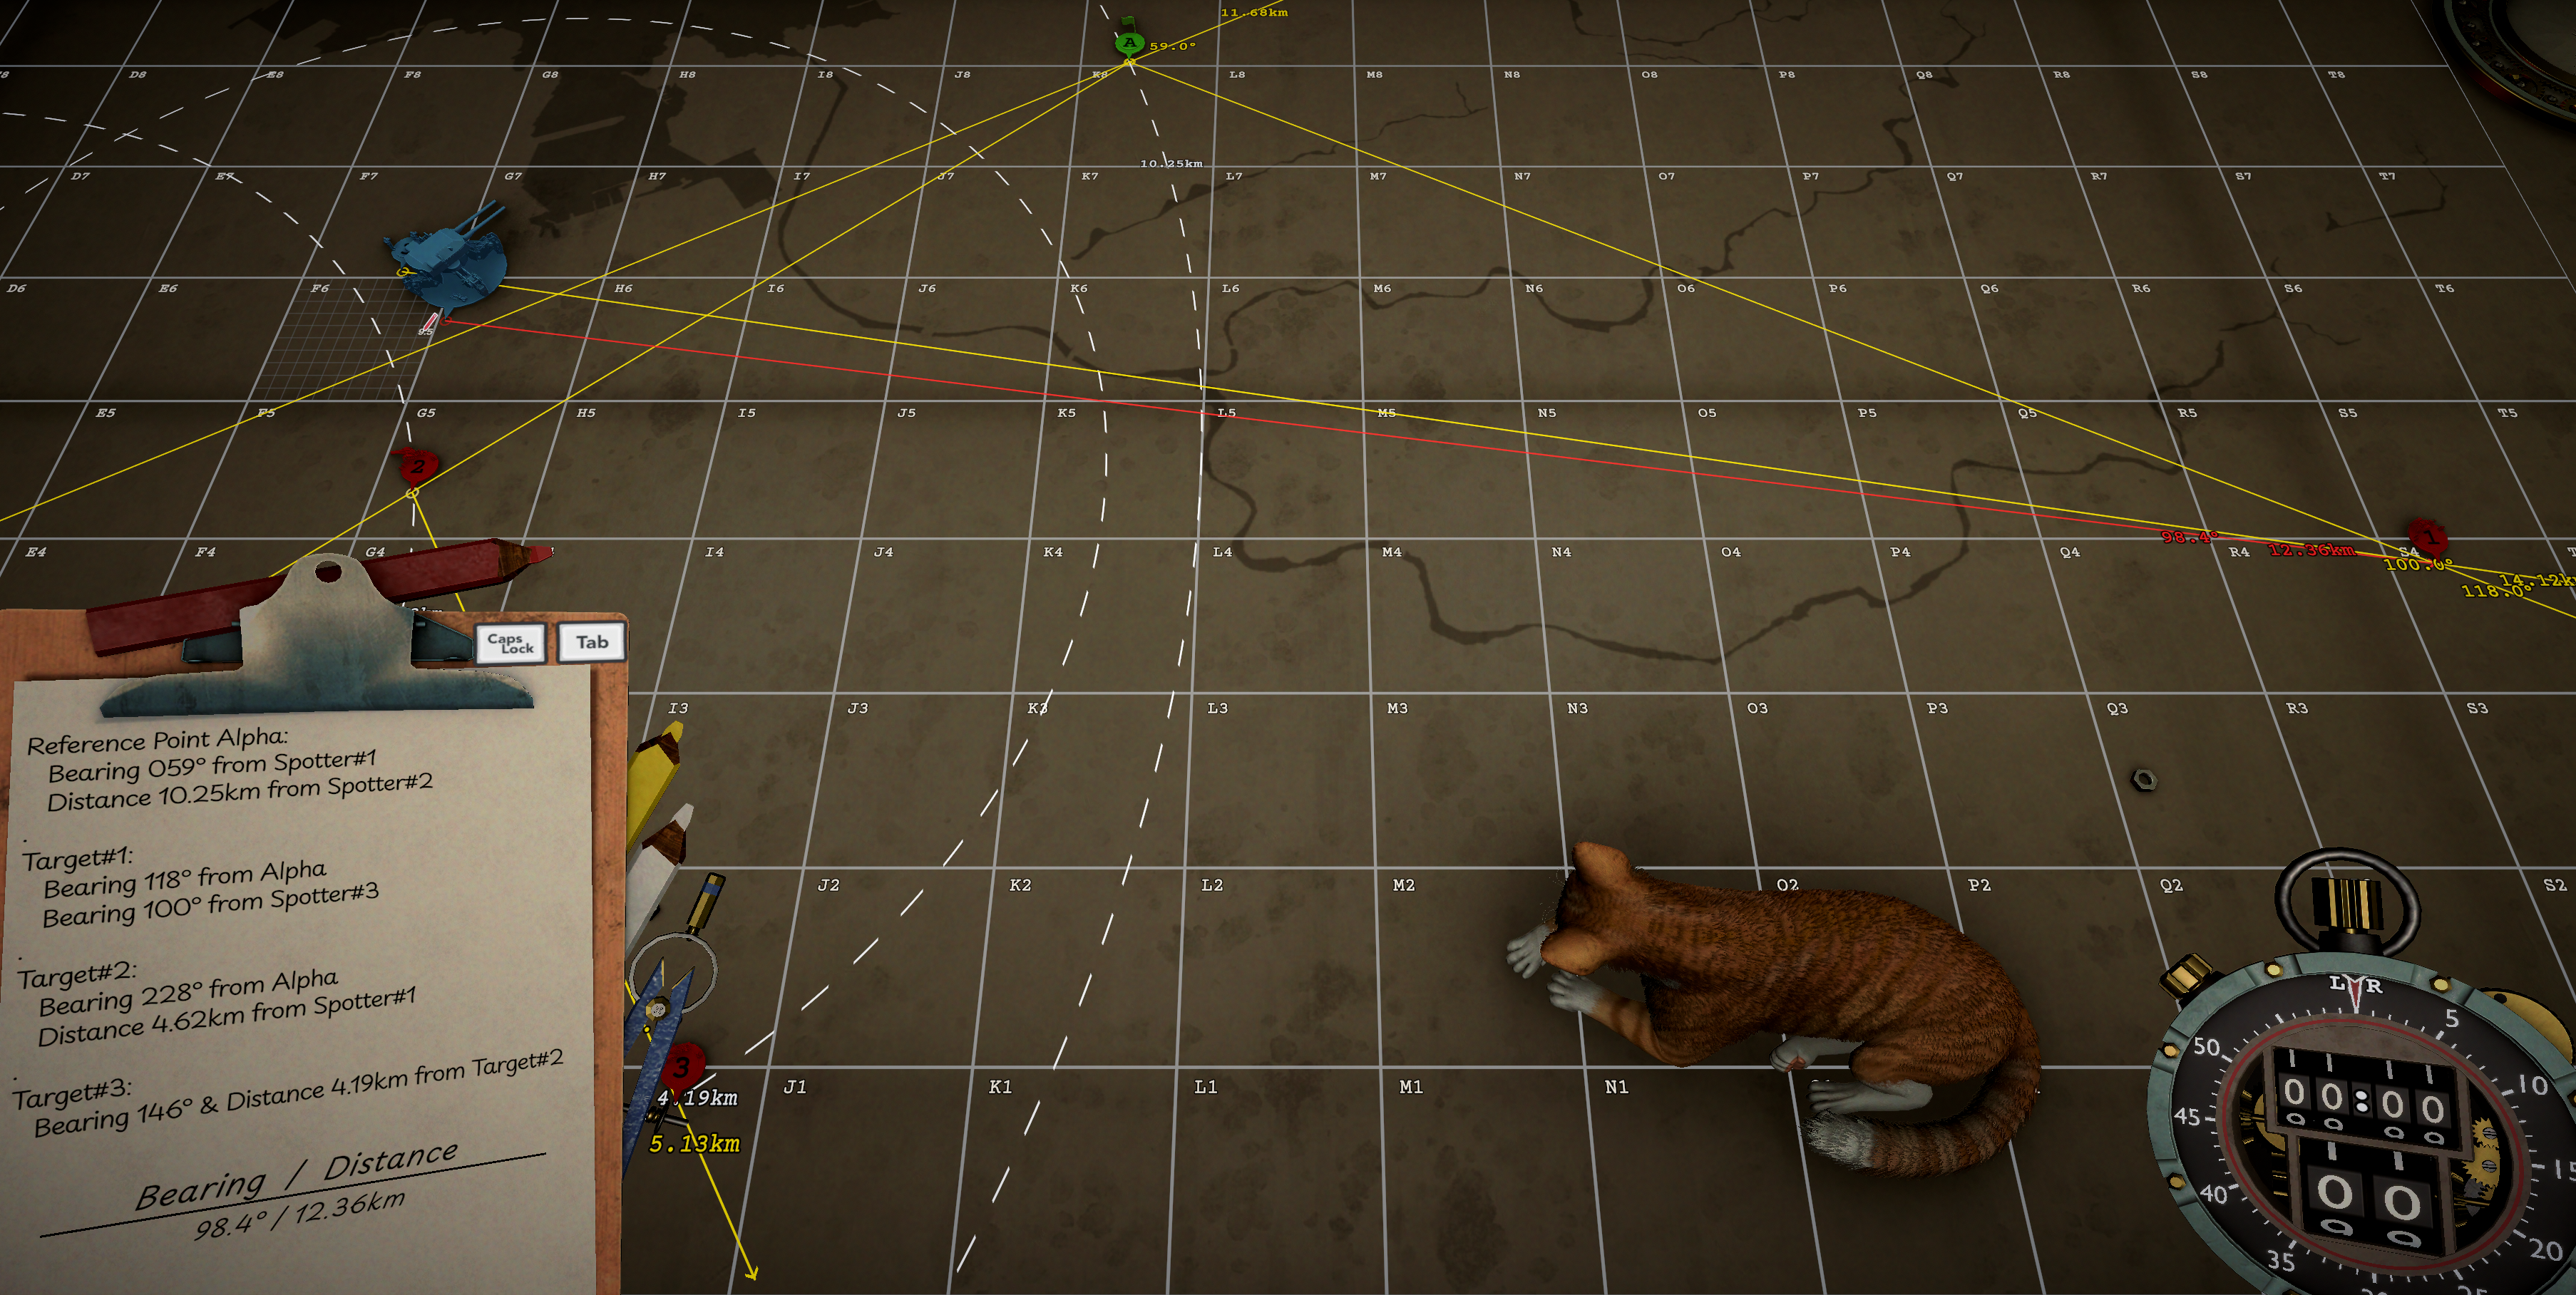
Calculate the firing solution
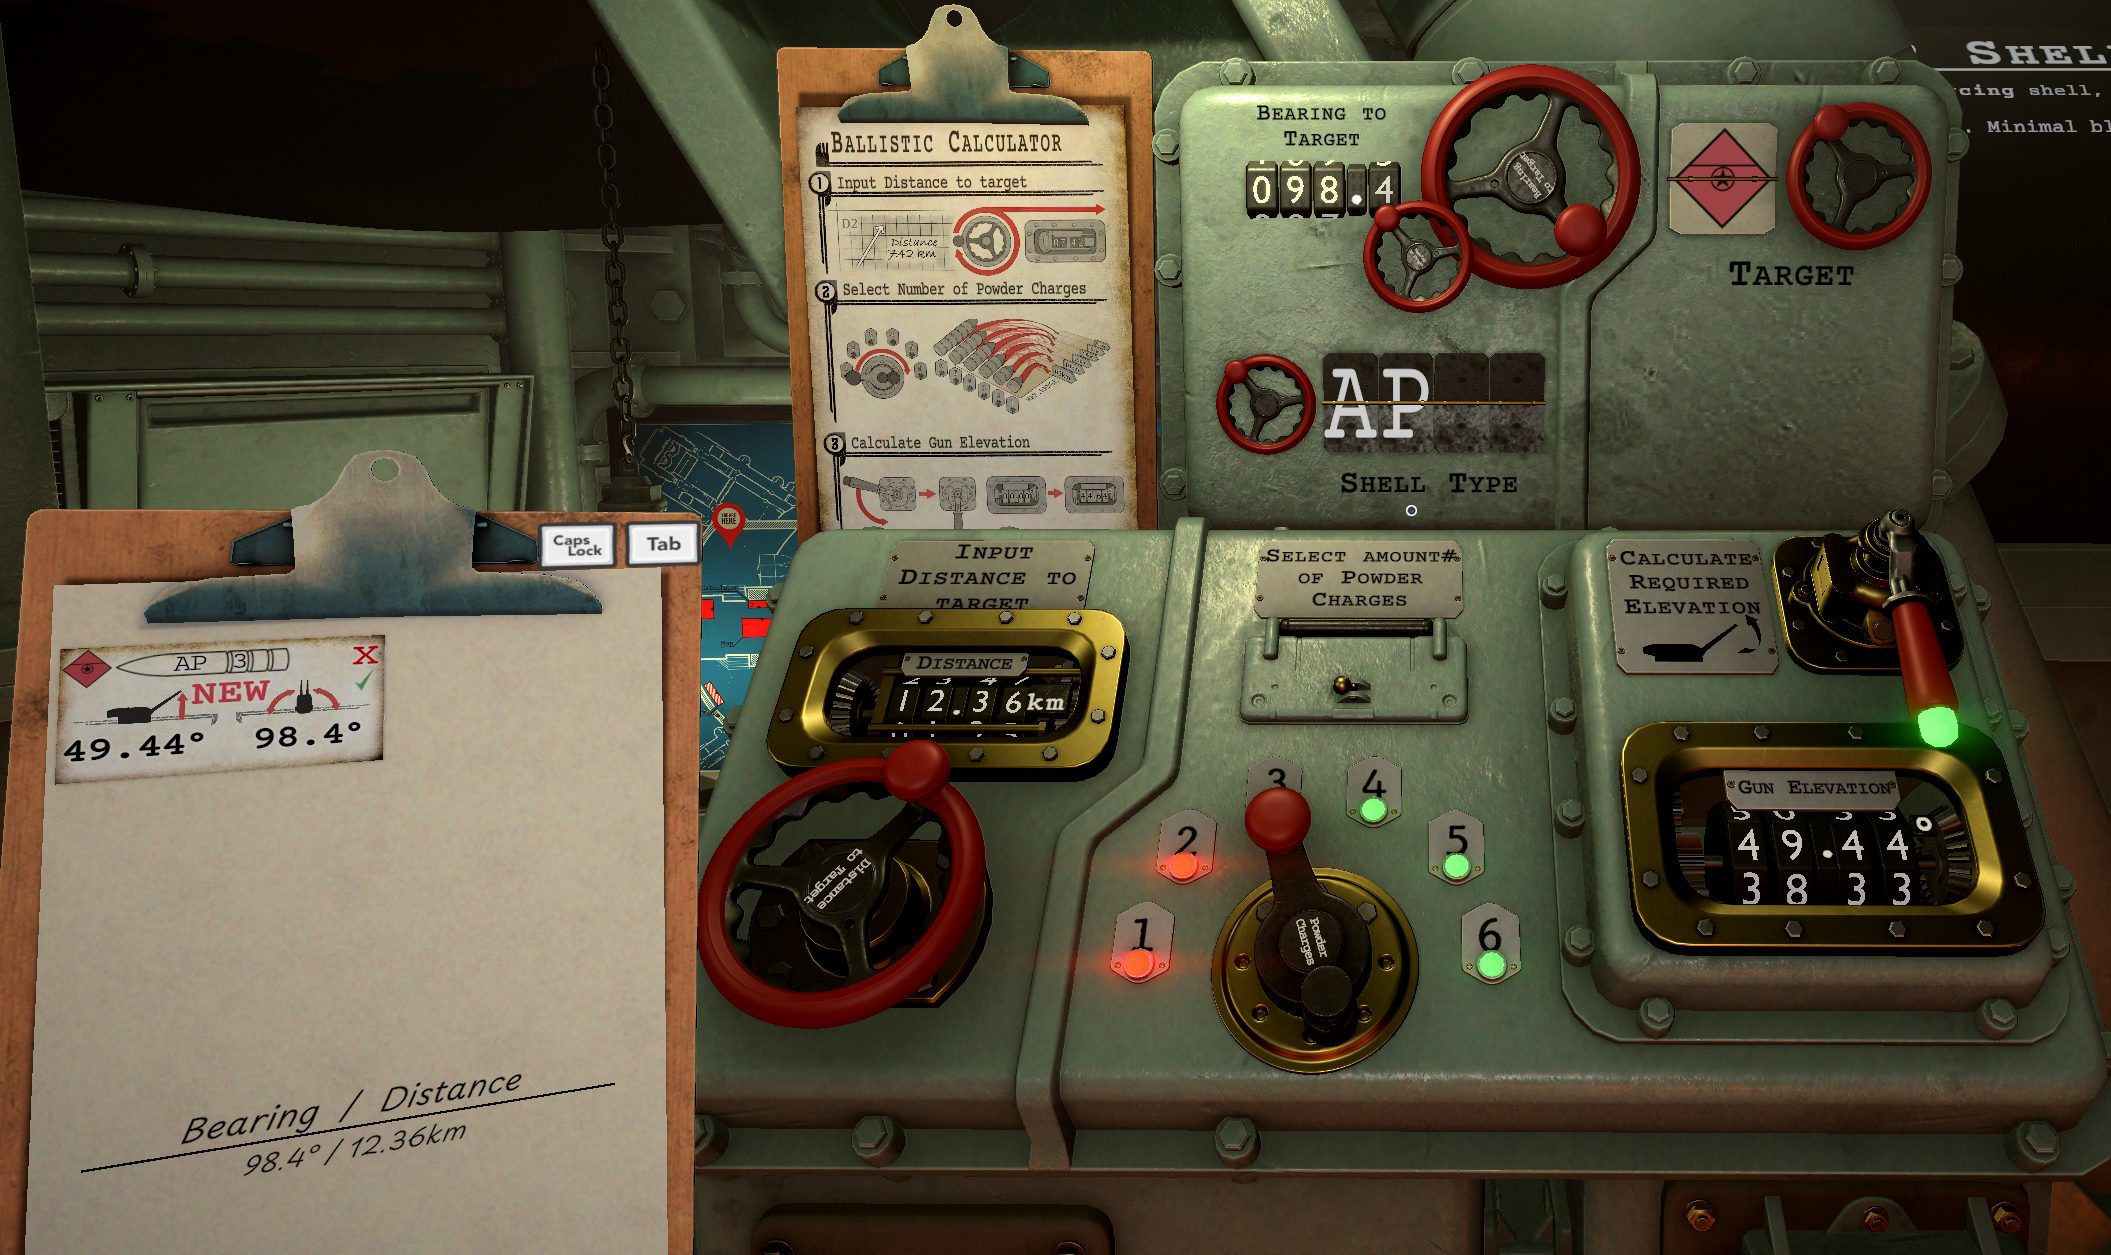
Enter the measured distance to the target, then select the number of powder charges you intend to load. Pull the Calculate Required Elevation lever to produce the gun-elevation setting for that combination.
Bearing, shell type and target are optional inputs. Adding them does not change the elevation calculation, but includes those details on the printed solution card.
Fun fact: you can calculate every shot with six powder charges and still reach short-range targets. Additional charges require a lower gun elevation for the same distance.
Load the guns
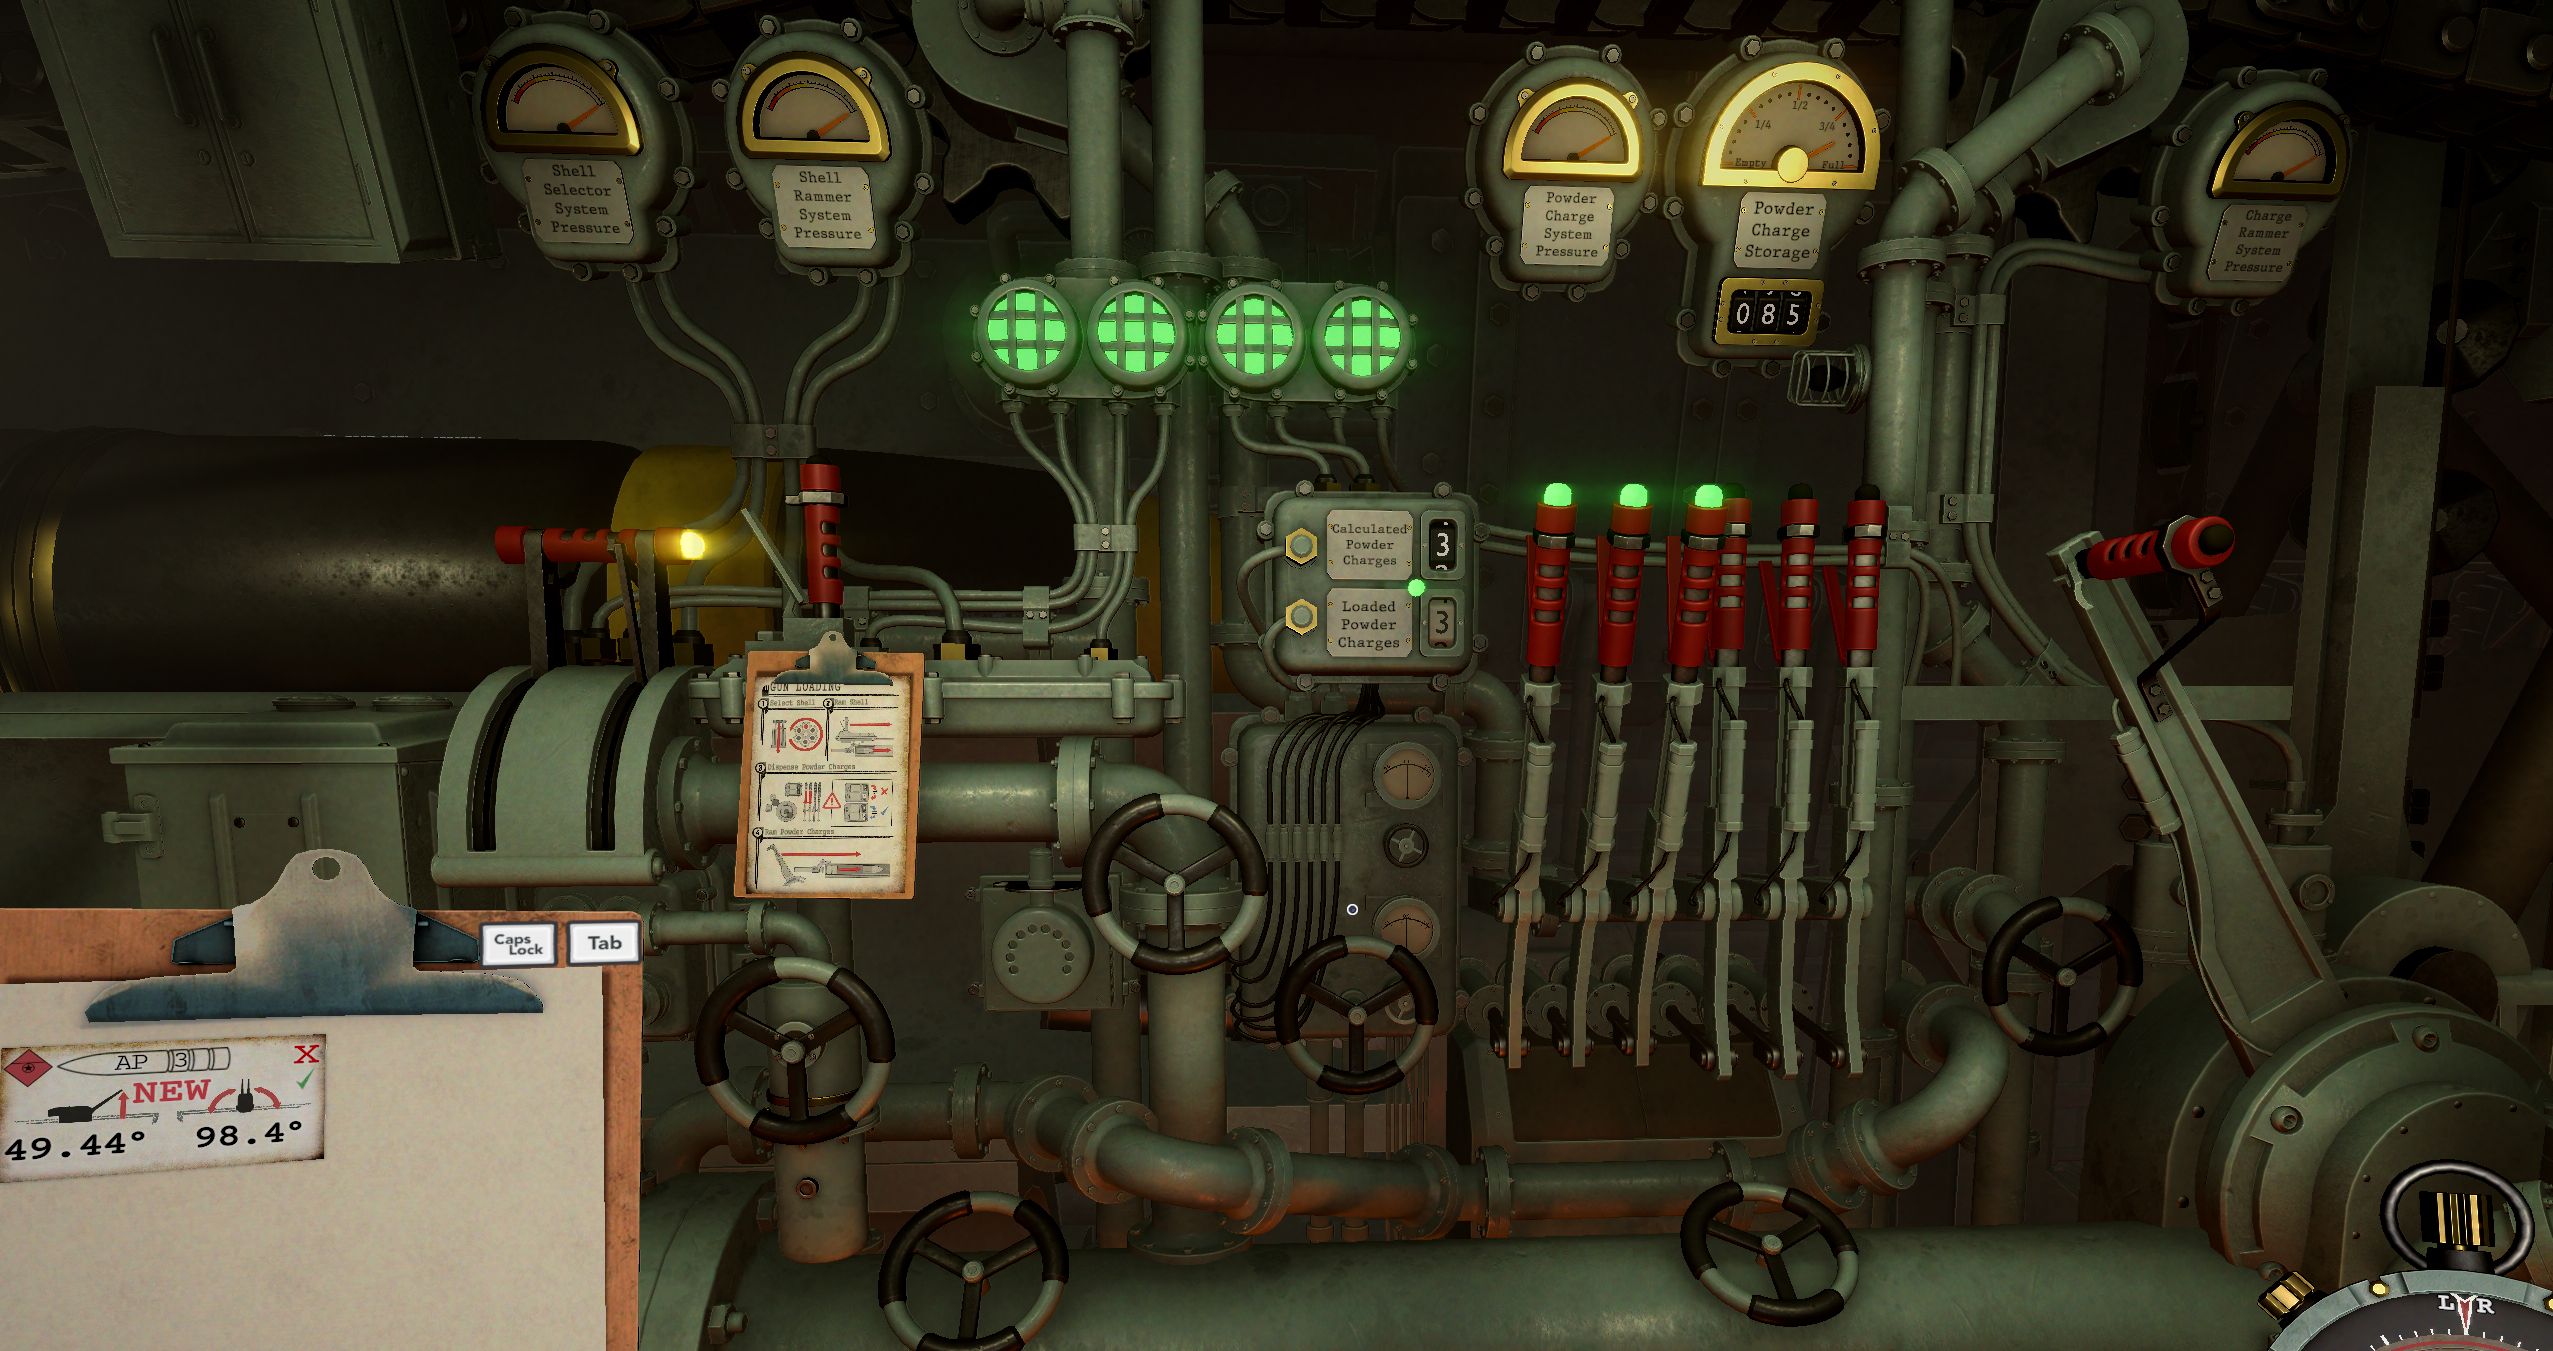
The loading process can be completed at either the left or right Loader because the Iron Nest has two separate guns. Both guns can be loaded at the same time with different shell types, or operated independently.
Select the required shell type and load it into the gun. If that shell is out of stock, obtain additional ammunition through the Requisition system.
After loading the shell, pull one powder-charge lever for every charge specified by the firing solution. Then operate the loading mechanism again to place those charges behind the shell.
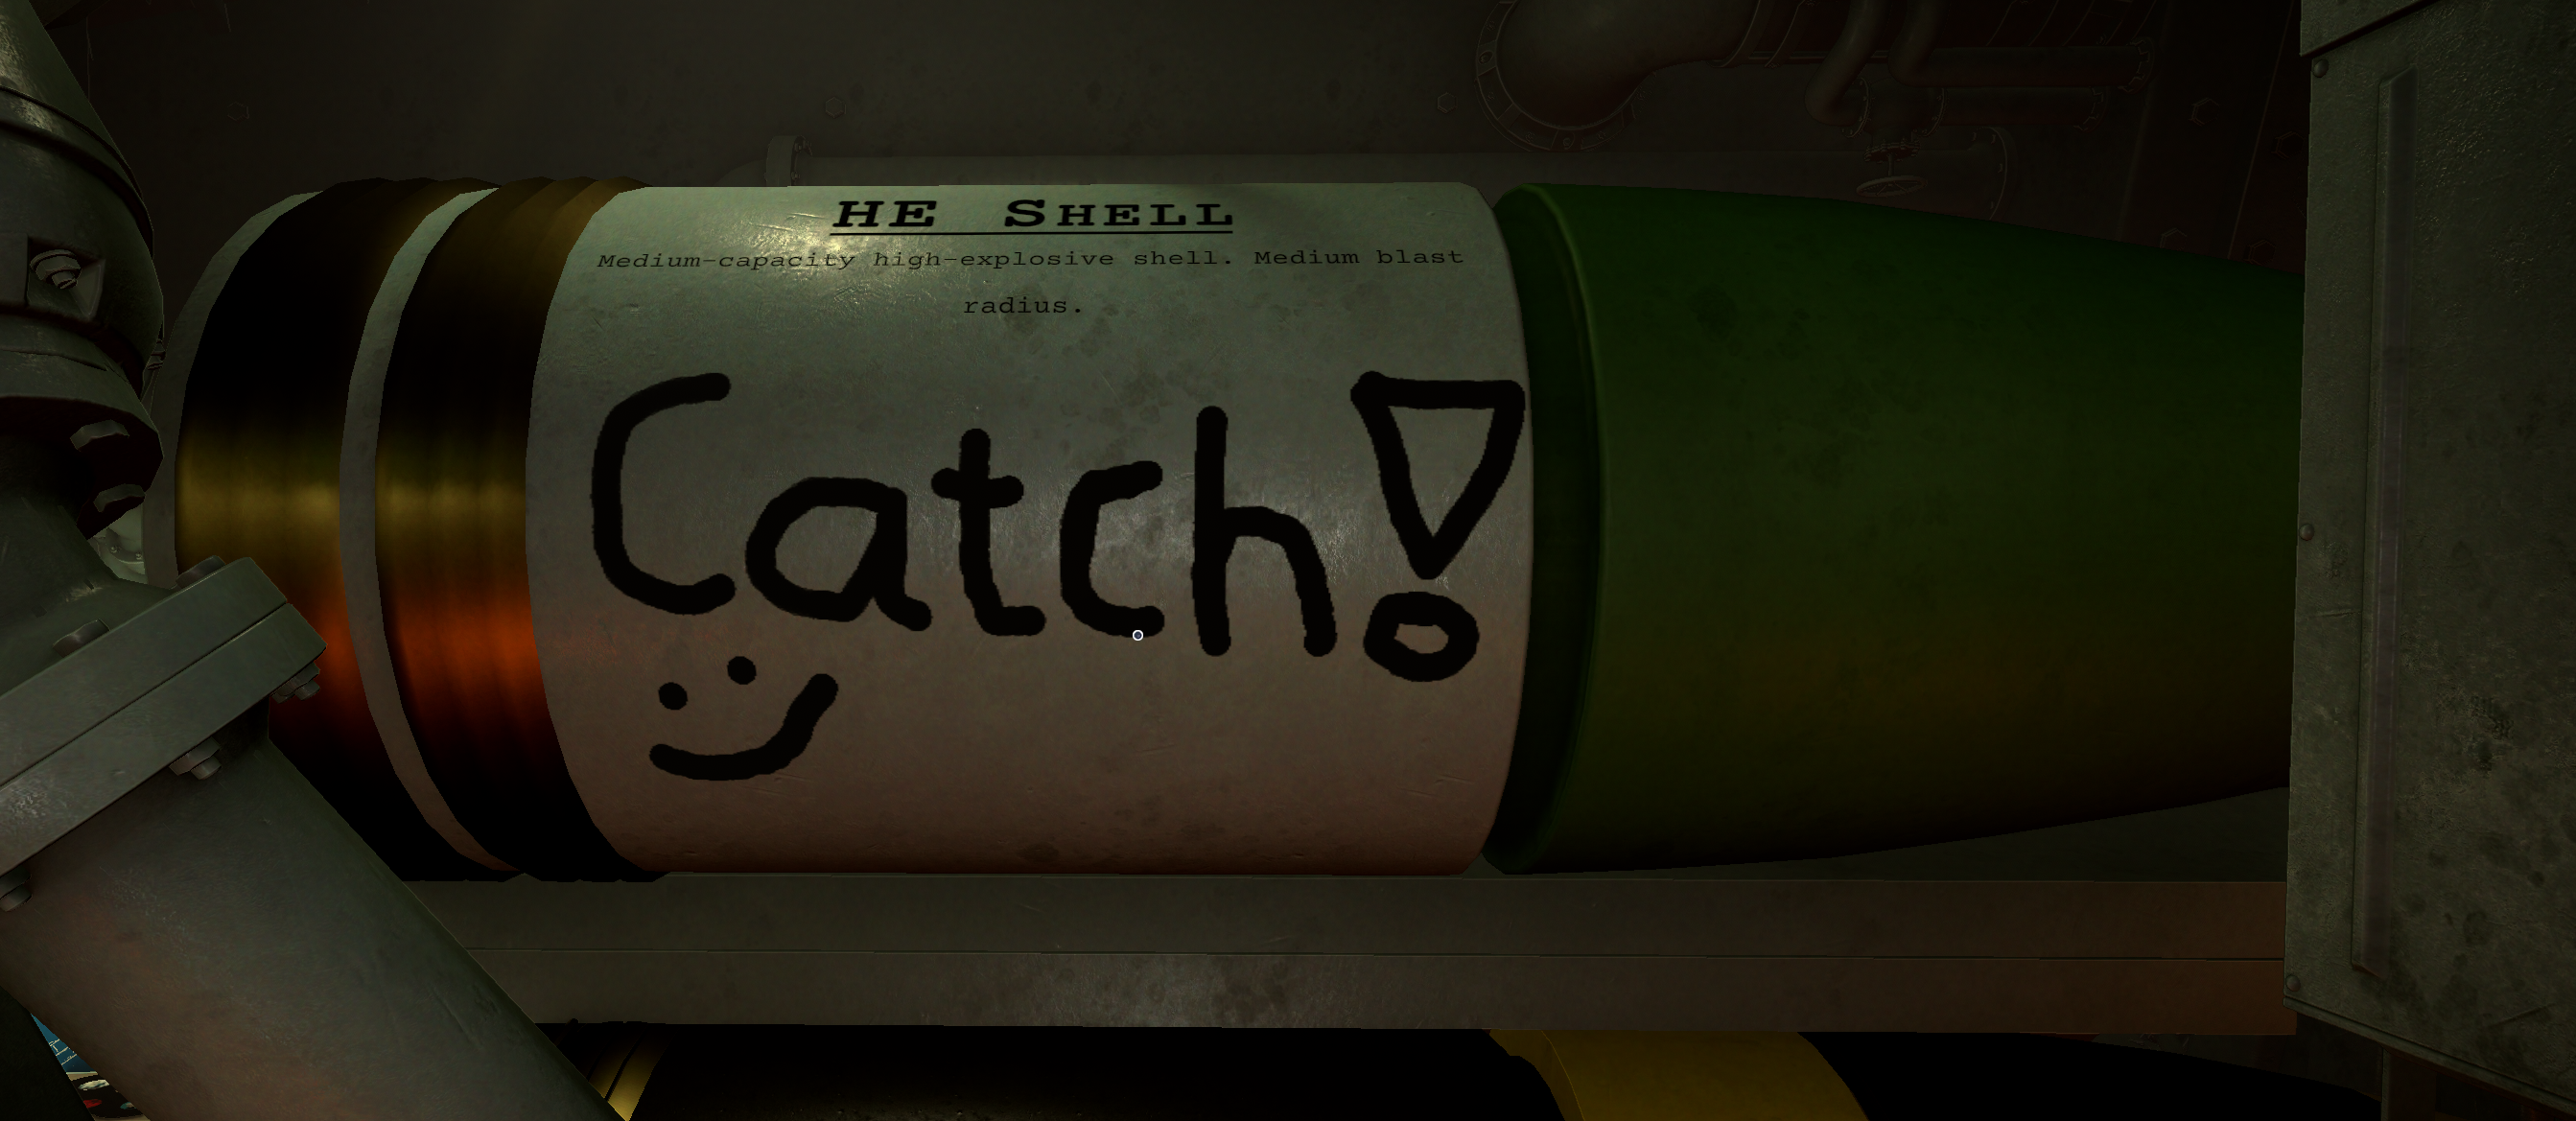
Fun fact: shells can be written on before they are loaded.
Rotate the turret
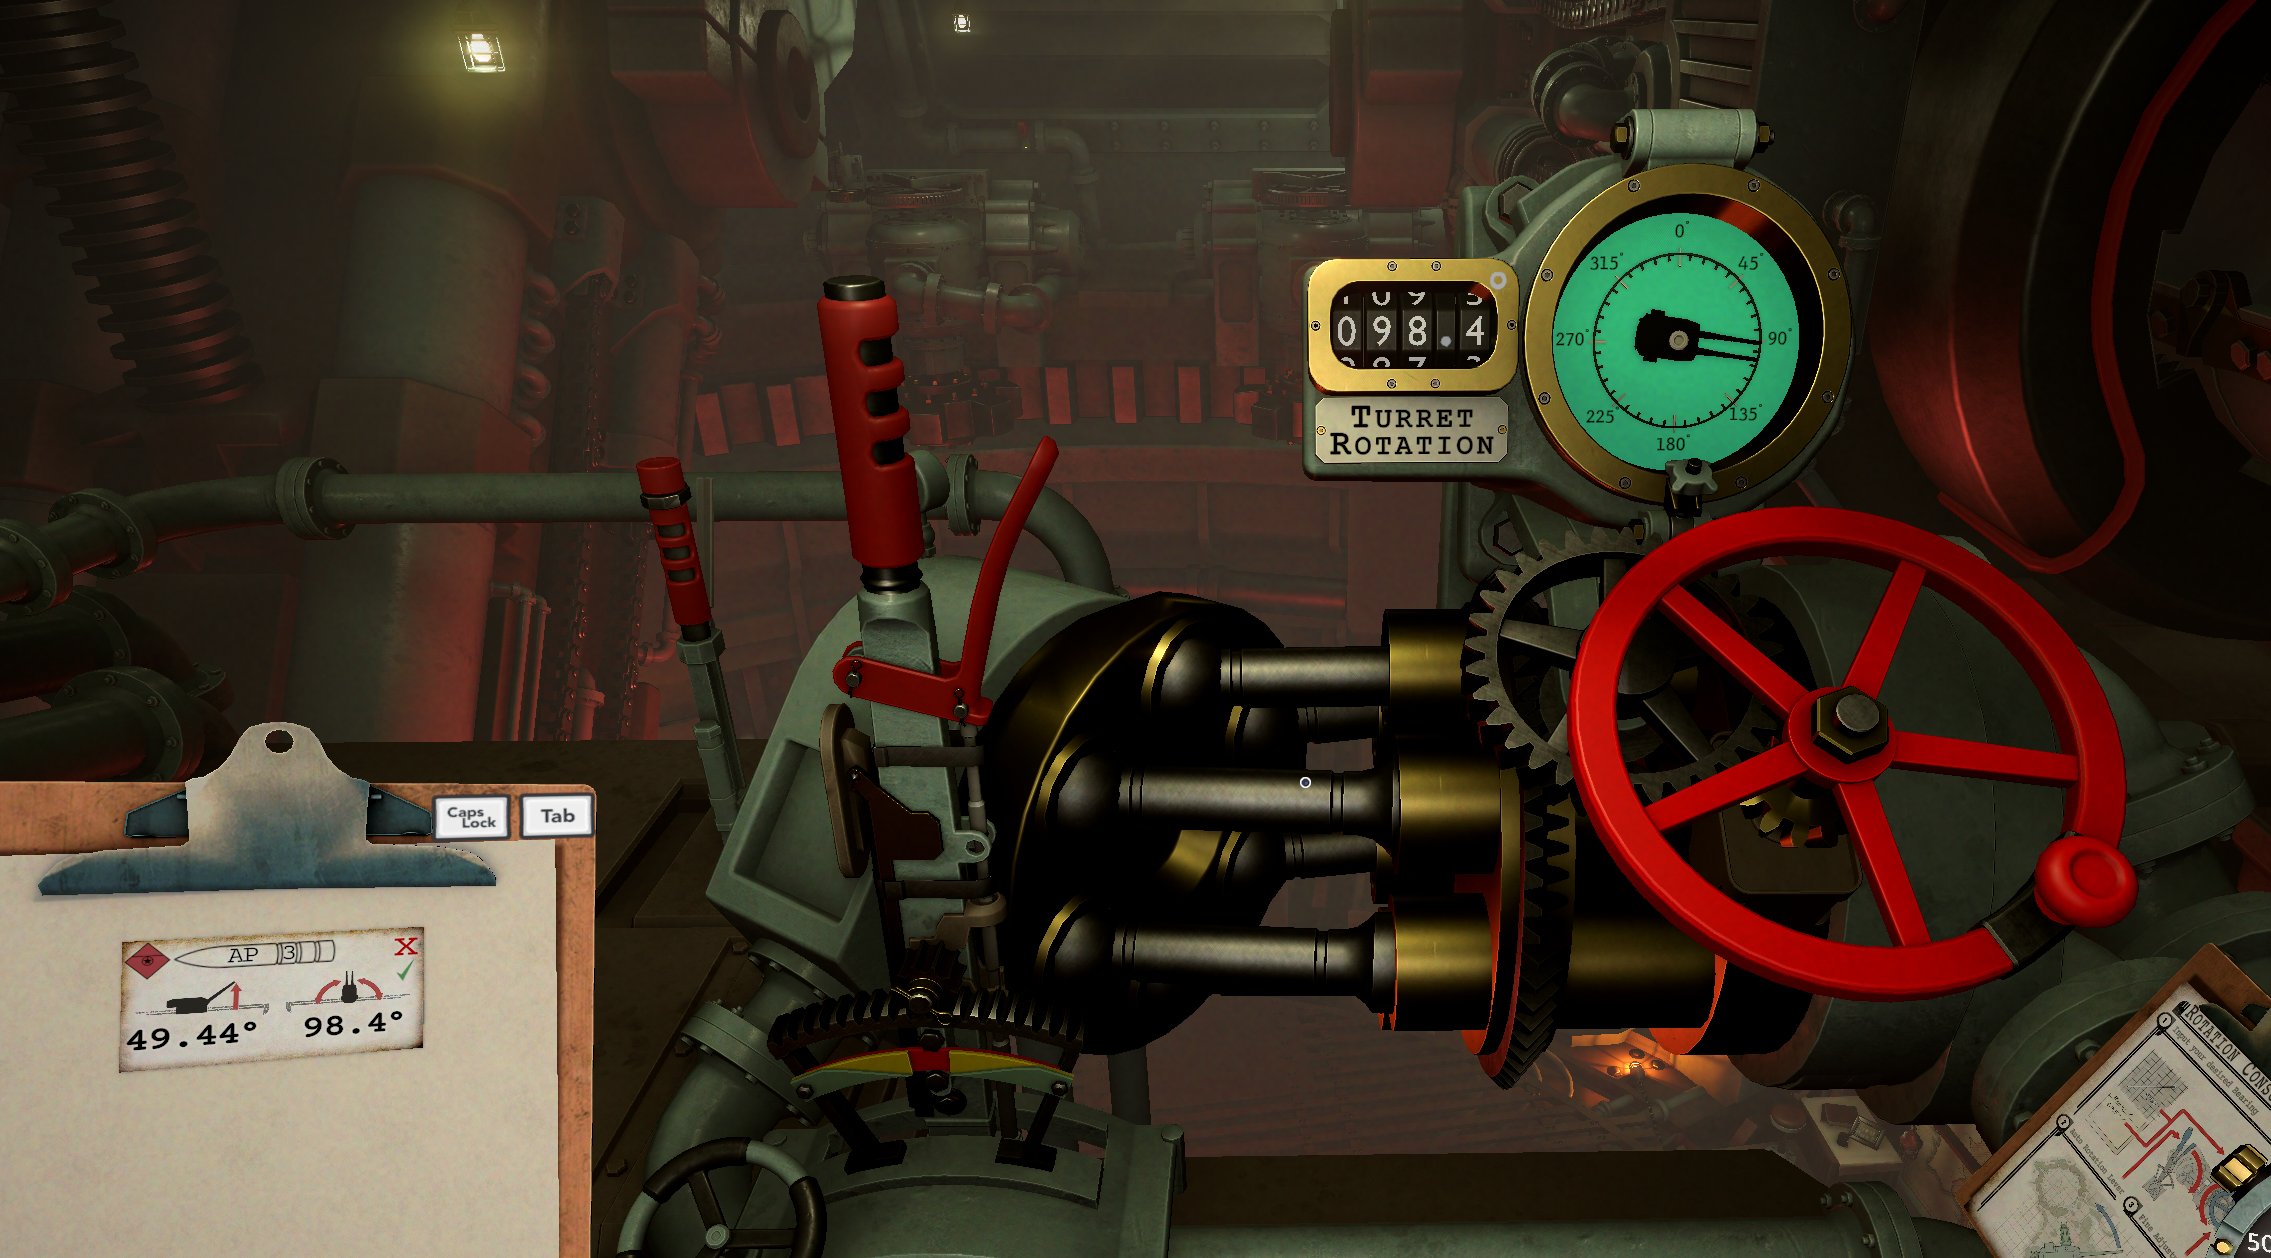
Rotate the turret until its displayed bearing matches the value measured on the Tactical Map. Turn the wheel on the right to control the rotation directly and make precise adjustments.
For semi-automatic rotation, move the lever on the left away from its centre position. The turret continues rotating by itself until you return the lever to the centre.
Tip: most Operators use the semi-automatic lever for faster, larger rotations and the handwheel for fine-tuning the final bearing.
Set gun elevation
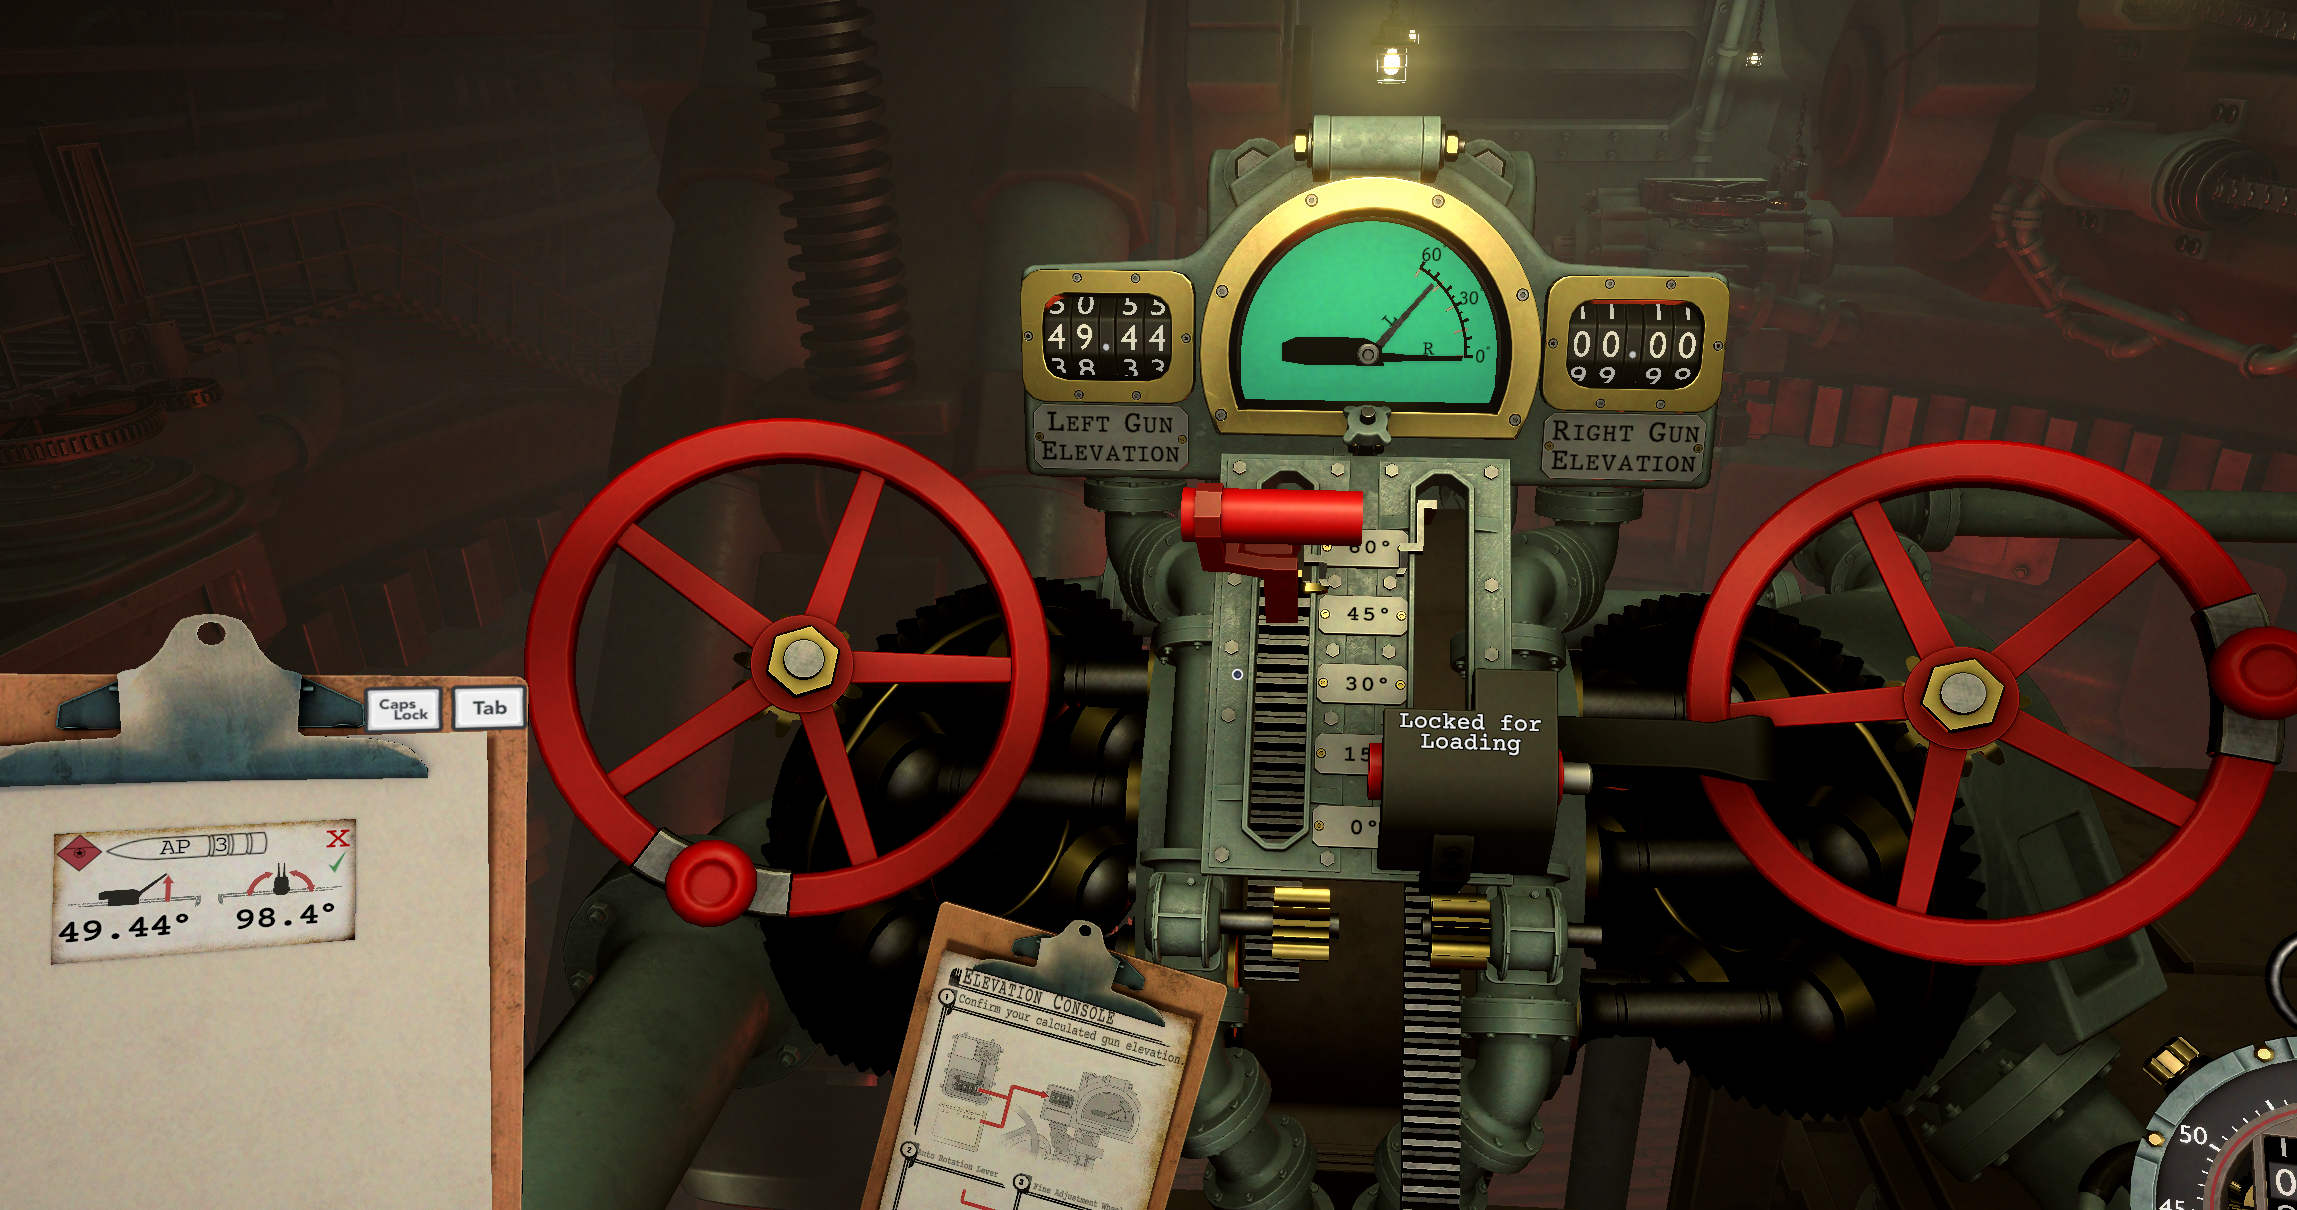
Set the gun or guns to the elevation supplied by the Ballistic Calculator. Move the centre lever up or down for faster, larger adjustments. Return it to the centre when the guns approach the required angle.
Use the left and right handwheels to fine-tune each gun independently until its displayed elevation matches the firing solution.
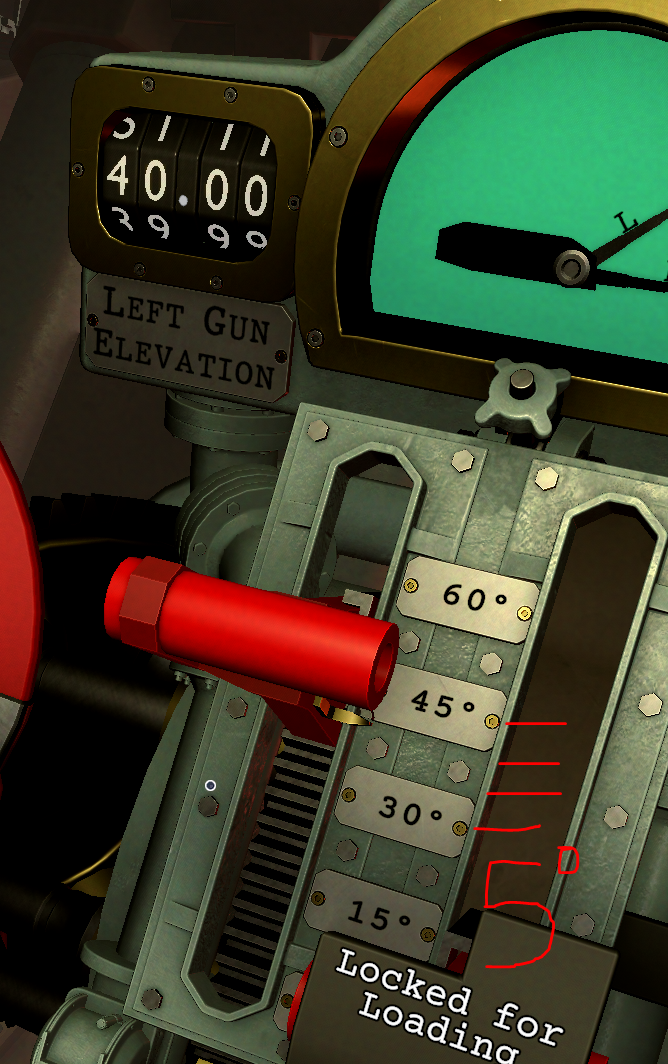
Tip: the metal scale is labelled from 0° to 60° in 15° intervals. Each interval contains three 5° steps. Estimate the two intermediate positions halfway between the centre of a mounting bolt and the neighbouring numbered plate; do not use the edges of the plates as reference points.
Verify and fire
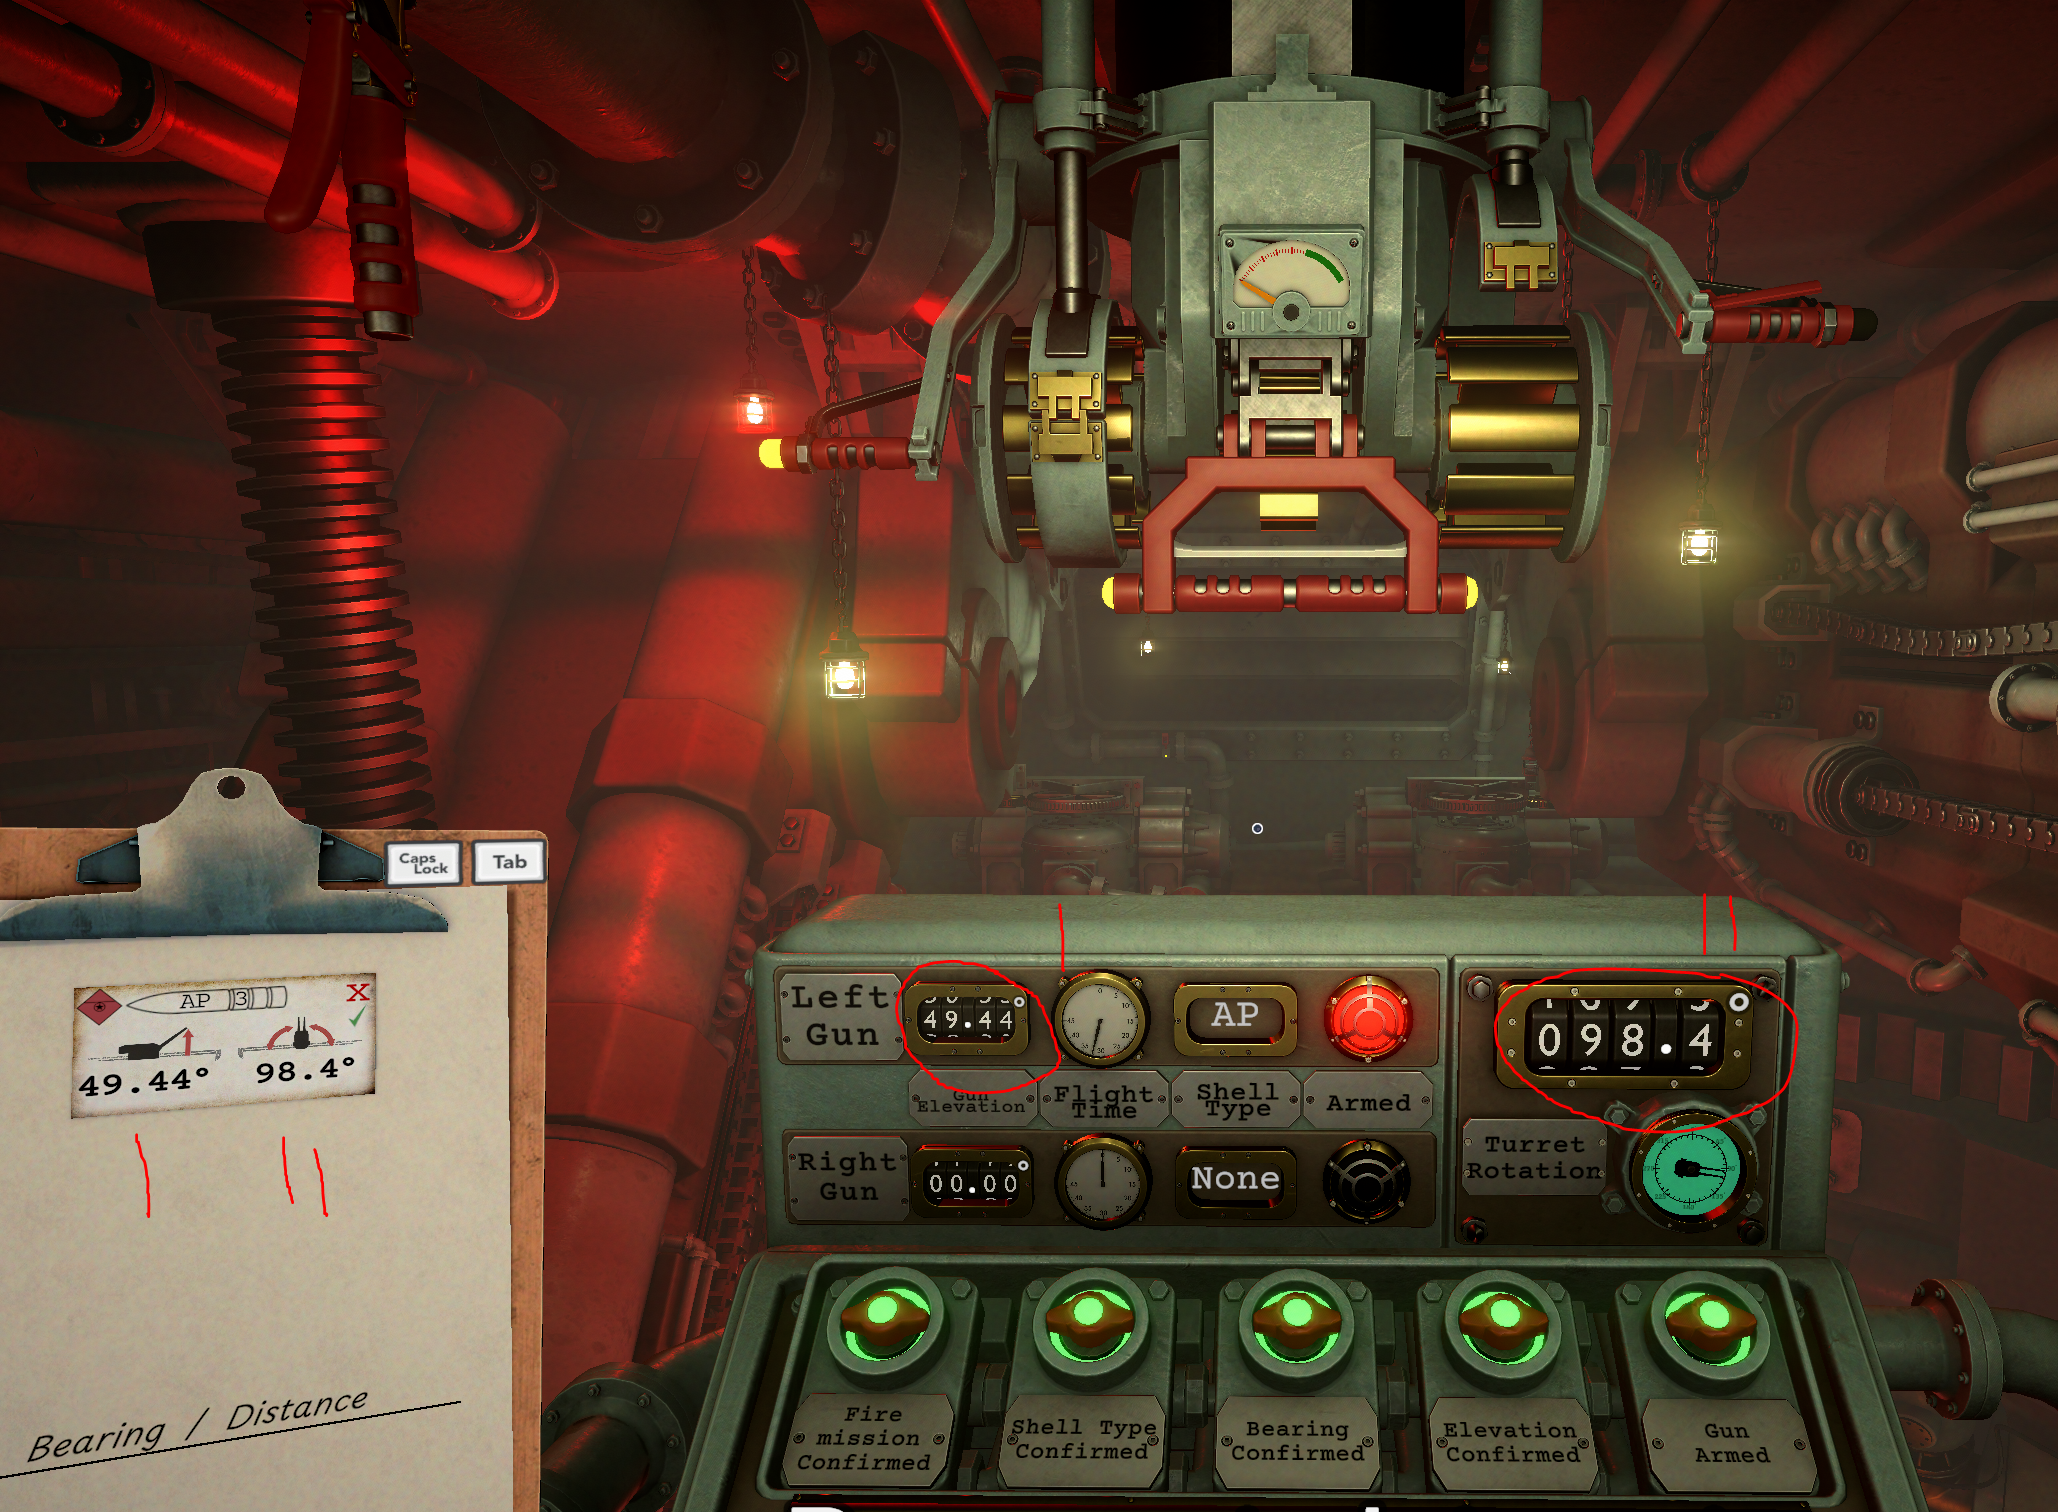
At the Fire Control Console, verify that the firing solution and selected gun are correct. You can keep track of the checks with the illuminated buttons along the bottom of the console. This checklist is optional, so you can also skip it and proceed directly to firing.
Arm the gun you intend to use. Once it is armed and ready, pull the large firing lever in the centre down to fire.
What is not automated
IRON NEST is built around manual operation. Levers, valves, the loading bridge, chamber locks and powder charges all require direct input. If a mechanism has not been operated, the corresponding action does not happen automatically.