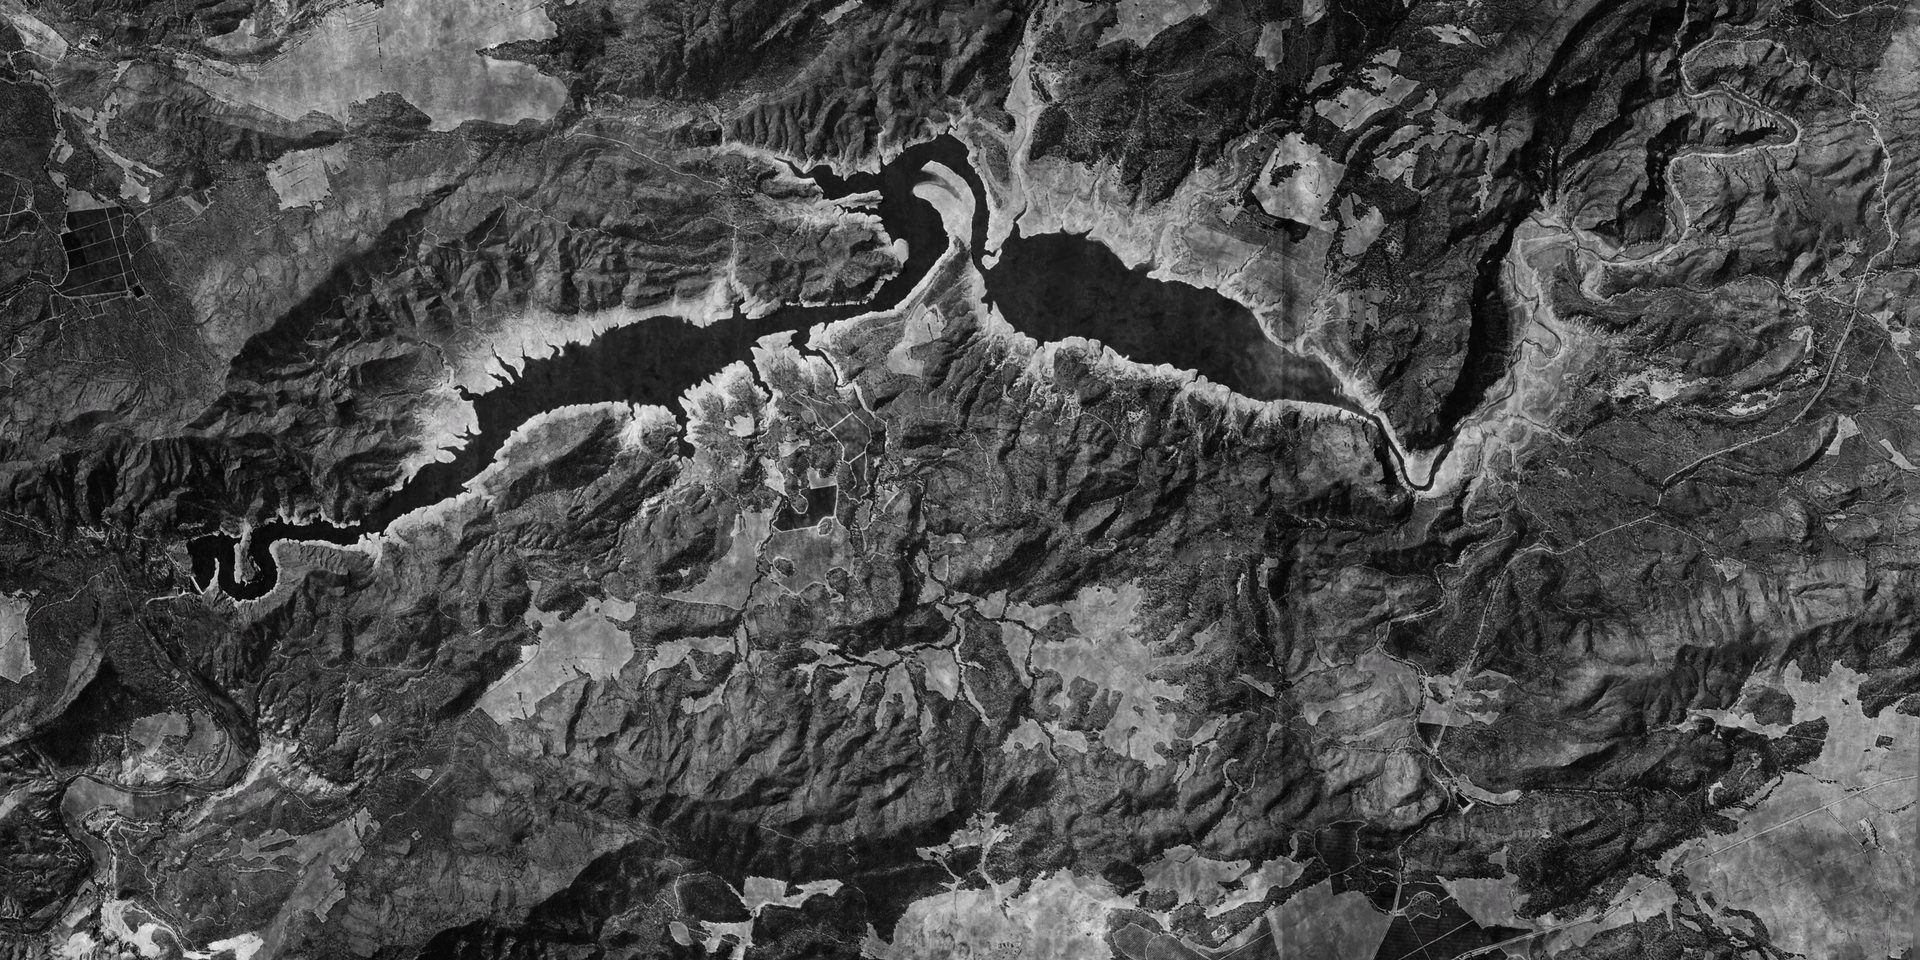
OPERATION OVERVIEW
These campaign values are guaranteed minimums when the mission loads, not a forced reset. Existing RC or Powder Charges above the listed amount are retained. Learn how the balance is used in the Requisition Credits guide.
Completion unlocks
Completing The Gorge unlocks the following Punchcards. Select a card to open its guide.
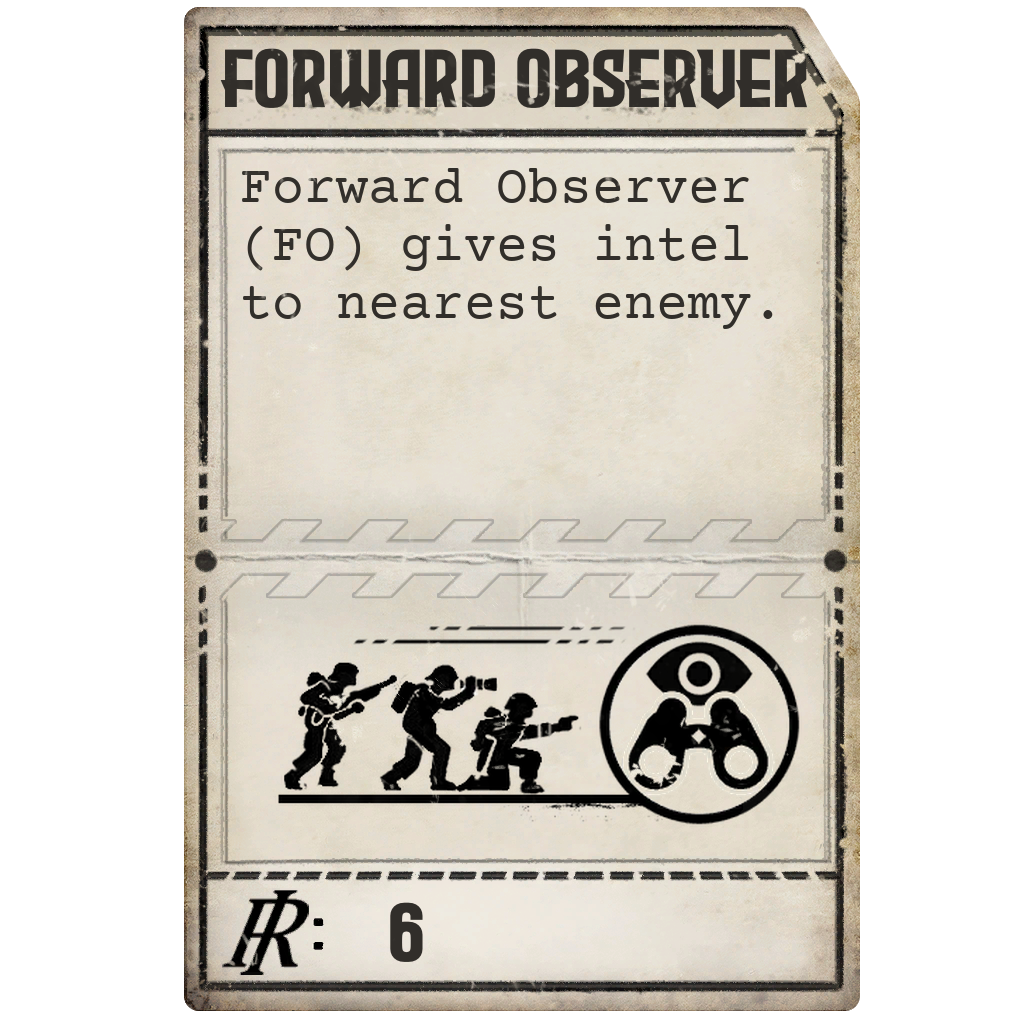
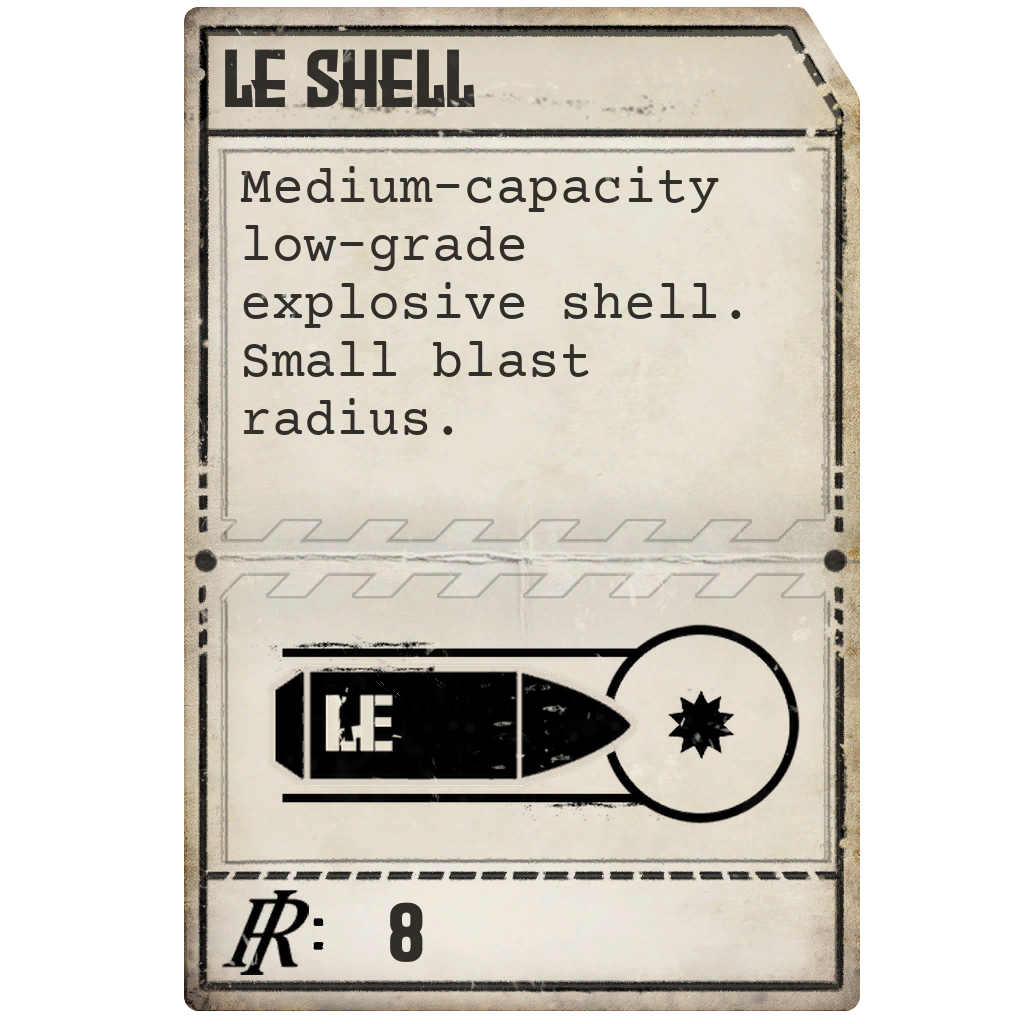
Utility requests are processed at the Requisition Table.
OBJECTIVES
- 01
Respond to the ambush against the Iron Nest convoy.
- 02
Destroy the enemy forward element holding the gorge.
- 03
Complete the operation without the ballistics calculator, which is disabled by the scripted attack.
- 04
Continue against the rear enemy force if desired after the primary objective completes.
TARGETS AND PROTECTED UNITS

Ambush ridge infantry
- Quantity
- 3
- Priority
- 0 stars
- Armor
- Unarmored
- Placement
- Ridge ambush area
These units form the opening attack on the convoy.
Forward infantry
- Quantity
- 8
- Priority
- 0 stars
- Armor
- Unarmored
- Placement
- Enemy frontline
Part of the primary forward element.

Anti-armor positions
- Quantity
- 3
- Priority
- 1 star each
- Armor
- Unarmored
- Placement
- Enemy frontline
These accompany the forward element.

Forward armor
- Quantity
- 4
- Priority
- 0 stars
- Armor
- Unarmored
- Placement
- Enemy frontline
Four armour units are placed with the forward force.

Enemy commander
- Quantity
- 1
- Priority
- 3 stars
- Armor
- Unarmored
- Placement
- Enemy frontline
The command target inside the forward force.
Rear force
- Quantity
- 7 infantry and 5 mechanized
- Priority
- 0 stars
- Armor
- Unarmored
- Placement
- Enemy backline
These targets remain available after the main gorge objective.
REVEAL MAP DETAILS (SPOILER)View possible battlefield locations and mission-specific map information.REVEAL MAP DETAILS
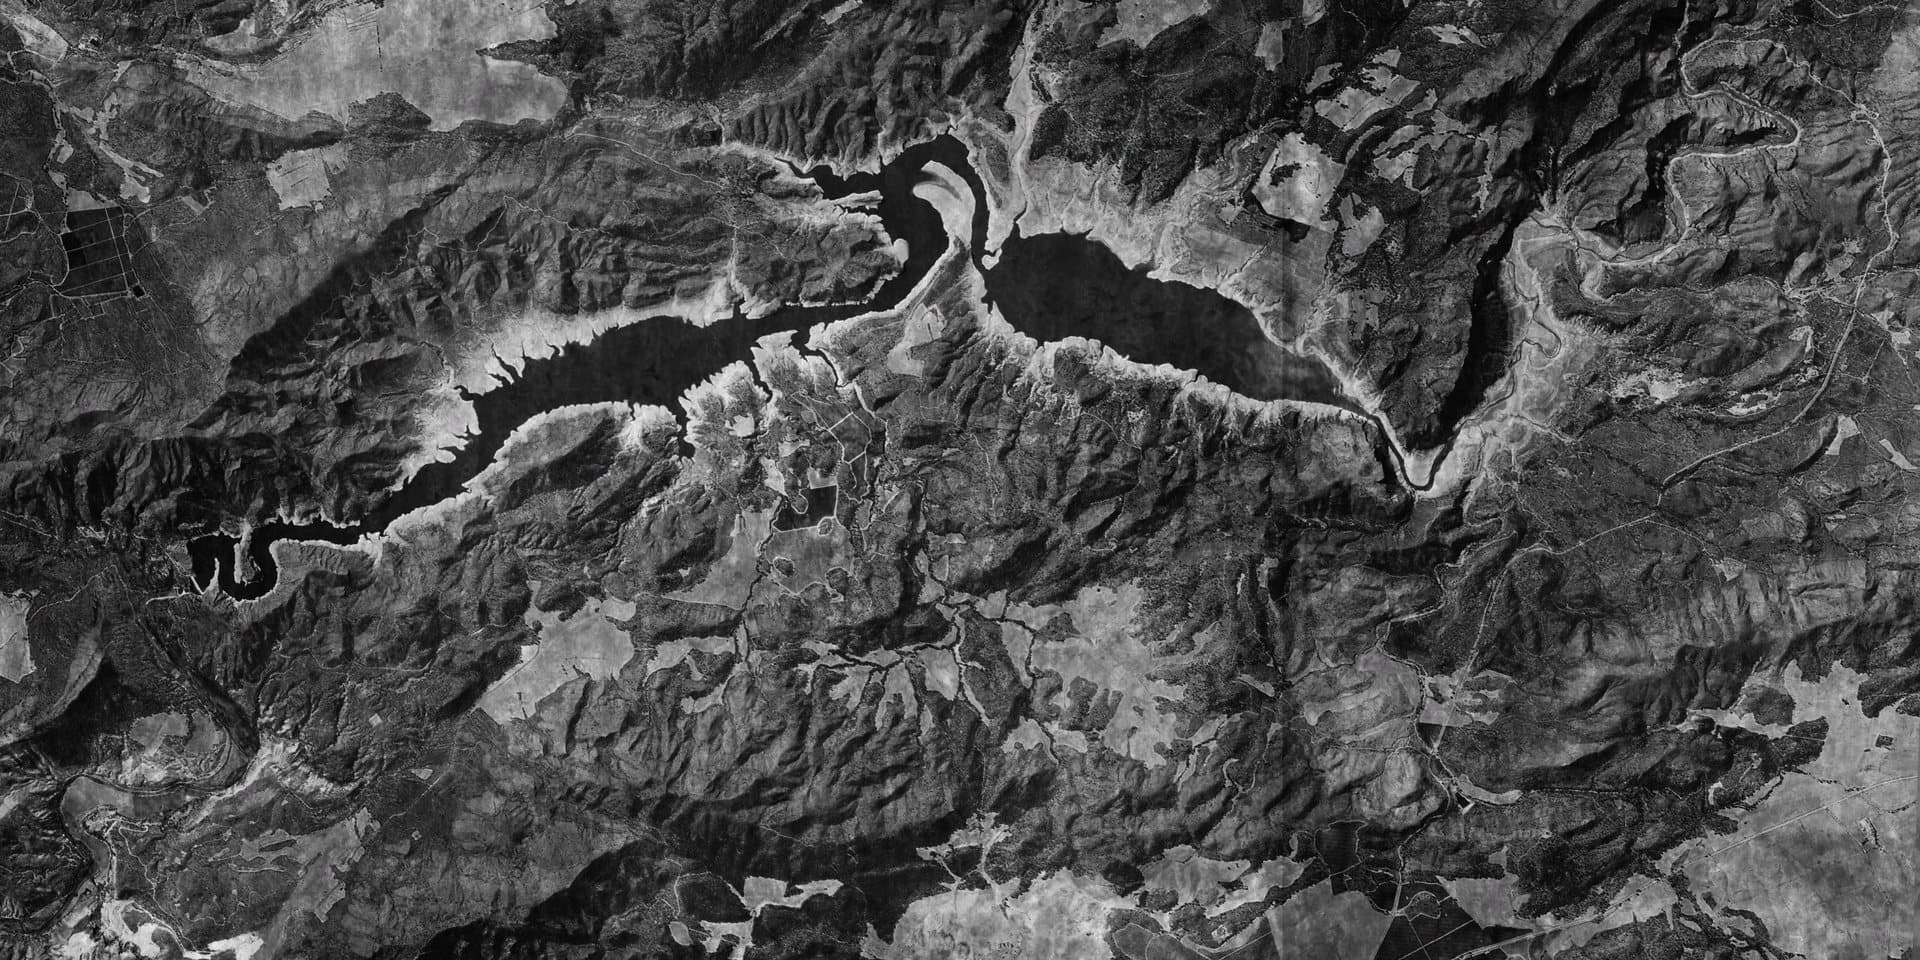
These outlines show the areas from which the mission can select positions. They are possible placement zones, not fixed spawn coordinates. A numbered badge identifies an area; it does not enlarge that area.
- 1Turret Spawn
1 Iron Nest. Mission-defined placement area.
- 2Ambush Ridge
3 Enemy Infantry. Mission-defined placement area.
- 3Enemy Frontline
8 Enemy Infantry, 3 Enemy Anti Armor, 4 Enemy Armor, 1 Enemy Commander. Mission-defined placement area.
- 4Enemy Backline
7 Enemy Infantry, 5 Enemy Mechanized. Mission-defined placement area.
- 5Allied Frontline
3 Infantry, 2 Mechanized, 1 Spotter. Mission-defined placement area.
- 6Allied Backline
3 Infantry, 1 Commander, 2 Military Police. Mission-defined placement area.
The Tactical Map uses a 20 × 10 main grid, with ten subdivisions on each axis inside every square. The overlay follows those same boundaries. Large overlapping allied areas mean that individual units can appear across a broad part of the battlefield.
MISSION WALKTHROUGH
MISSION SPOILERSReveal the complete objective order and firing guidance.REVEAL WALKTHROUGH
Absorb the ambush
The opening ridge attack damages the convoy and disables the ballistics calculator. The escort engages the nearest ambushers.
Find the forward element
Use the available field reports and Forward Observer support to locate the hostile force holding the gorge.
Clear the pass
Destroy the forward infantry, anti-armour positions, armour and commander. The primary mission completes when the forward element is broken; rear targets can still be engaged.
Operational notes
- The setup contains 31 hostile units across the opening ambush, forward element and rear force.
- The mission explicitly expects the Operator to complete the engagement without the ballistics calculator after it is disabled during the ambush.
- Backline targets are separate from the force used for the primary completion condition.
MEDAL REQUIREMENTS
| Medal | Bronze | Silver | Gold |
|---|---|---|---|
| Measured Fire Star | 2 or fewer allied kills | 1 or fewer allied kills | No allied kills |
| Unrelenting Volley Medal | Kill streak of 4 | Kill streak of 7 | Kill streak of 10 |
| No Quarter Cross | 10 enemy kills | 20 enemy kills | 30 enemy kills |
| Ordnance Efficiency CrossRequires at least 10 target kills at every rank. | 0.8 kills/shot | 1.5 kills/shot | 2 kills/shot |
Compare these awards with every other mission requirement in the Medal Guide.