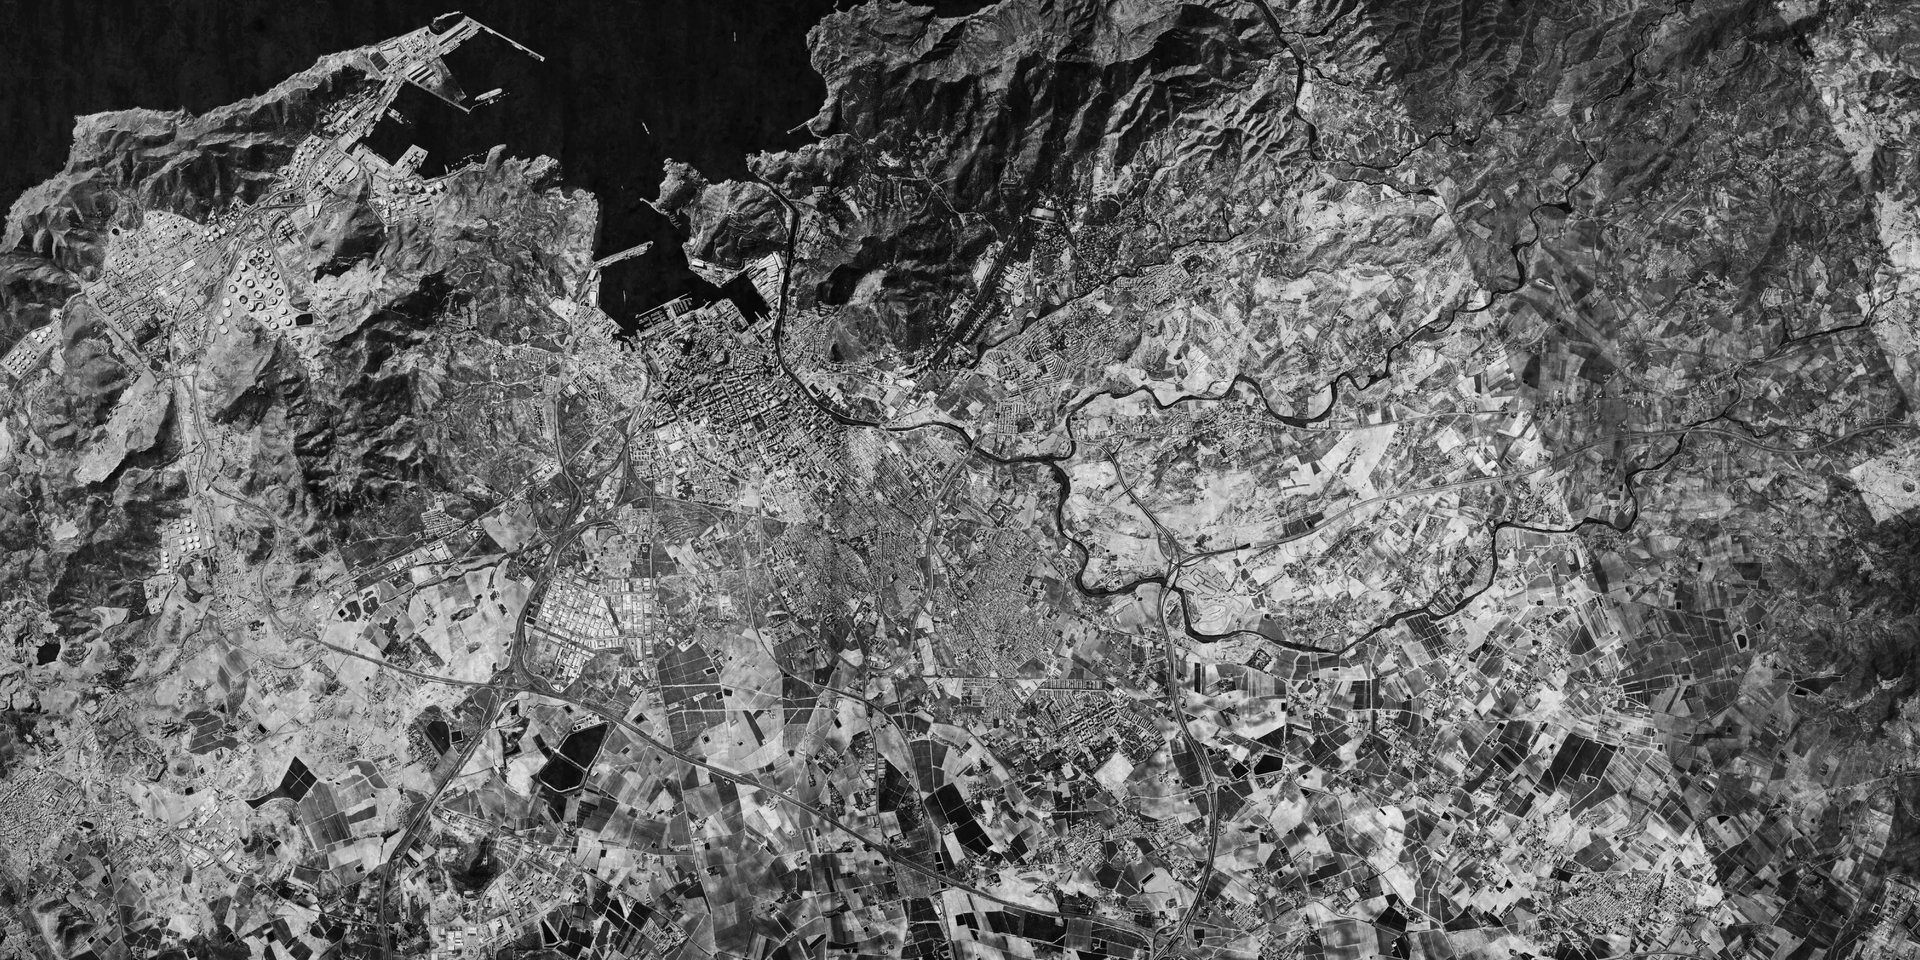
OPERATION OVERVIEW
These campaign values are guaranteed minimums when the mission loads, not a forced reset. Existing RC or Powder Charges above the listed amount are retained. Learn how the balance is used in the Requisition Credits guide.
Completion unlocks
This mission graph does not assign a completion unlock.
OBJECTIVES
- 01
Destroy every hostile element in the exposed resupply position.
- 02
Use AP against underground or armoured supply positions.
- 03
Complete the engagement without a counter-battery deadline.
TARGETS AND PROTECTED UNITS

Priority targets
- Quantity
- 3
- Priority
- 3 stars each
- Armor
- Armored
- Placement
- Mission-defined enemy area
These are separate armoured high-priority targets.
Hostile bunkers
- Quantity
- 4
- Priority
- 3 stars each
- Armor
- Armored
- Placement
- Mission-defined bunker areas
The bunkers form part of the force that must be destroyed.

Hostile infantry
- Quantity
- 18
- Priority
- 0 stars
- Armor
- Unarmored
- Placement
- Enemy and frontline areas
Twelve and six infantry are created by separate mission spawns.

Hostile tanks
- Quantity
- 7
- Priority
- 0 stars
- Armor
- Mission data marks these unarmored
- Placement
- Enemy area
The displayed unit type is Tank; its mission Armour value is 0.

Fire-direction centres
- Quantity
- 3
- Priority
- 0 stars
- Armor
- Unarmored
- Placement
- Enemy area
These are present even though this Chill variant has no active counter-battery threat.
Supply cache
- Quantity
- 1
- Priority
- 3 stars
- Armor
- Armored
- Placement
- Supply-cache zone
The operation text identifies underground supply caches as AP targets that provide additional requisition.
Additional target
- Quantity
- 1
- Priority
- 0 stars
- Armor
- Unarmored
- Placement
- Enemy area
A separate generic hostile target is included in the setup.
REVEAL MAP DETAILS (SPOILER)View possible battlefield locations and mission-specific map information.REVEAL MAP DETAILS
These outlines show the areas from which the mission can select positions. They are possible placement zones, not fixed spawn coordinates. A numbered badge identifies an area; it does not enlarge that area.
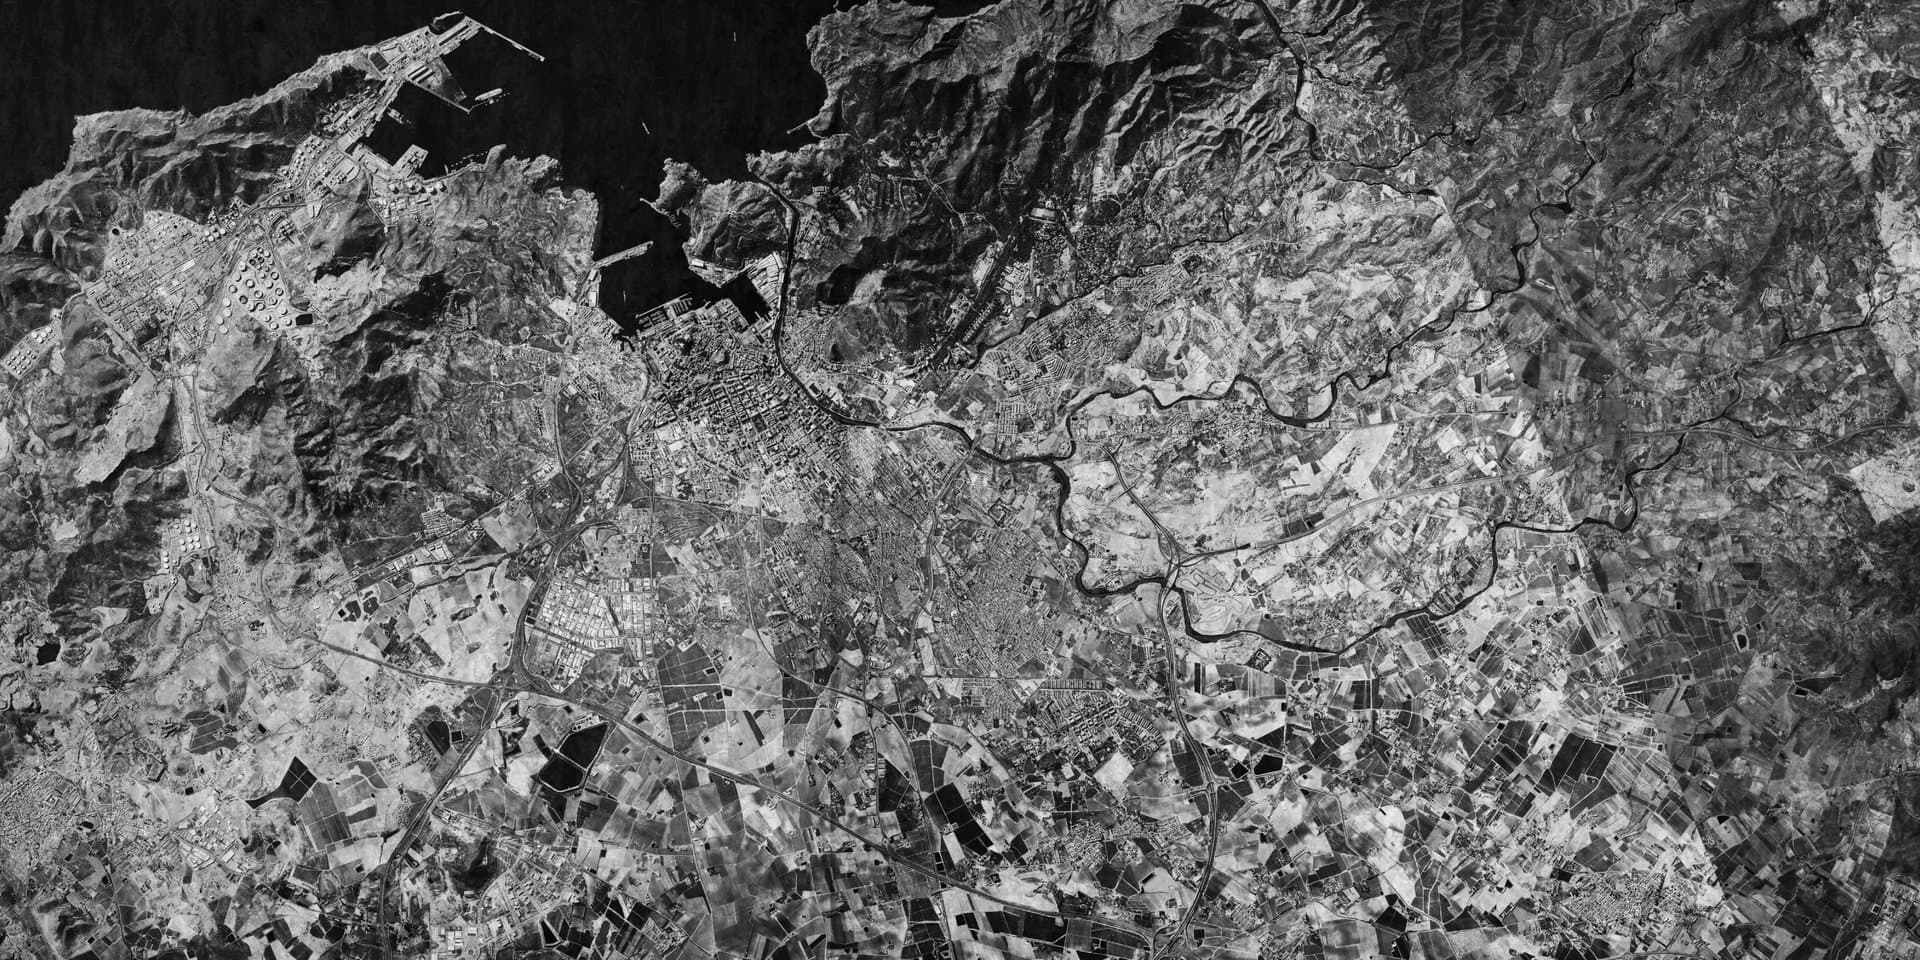
The Tactical Map uses a 20 × 10 main grid, with ten subdivisions on each axis inside every square. The overlay follows those same boundaries. Large overlapping allied areas mean that individual units can appear across a broad part of the battlefield.
MISSION WALKTHROUGH
MISSION SPOILERSReveal the complete objective order and firing guidance.REVEAL WALKTHROUGH
Survey the force
Use the initial reports and reference point Alpha to separate the exposed formations from the armoured and underground positions.
Clear the surface formations
Engage infantry, tanks and other exposed targets at discretion. No counter-battery timer is configured for this skirmish.
Break the hardened positions
Use penetrating ammunition against the armoured bunkers, priority targets and supply cache, then eliminate every remaining hostile element.
Operational notes
- This is an official Mission Type 3 branch connected to Liberation, not one of the 15 numbered campaign missions.
- The graph assigns four medals specifically to this skirmish, including a Quartermaster award that rewards higher RC spending.
- All fixed placement areas come from the skirmish graph; entities created relative to other units do not have a universal map position.
MEDAL REQUIREMENTS
| Medal | Bronze | Silver | Gold |
|---|---|---|---|
| Ordnance Efficiency CrossRequires at least 20 target kills at every rank. | 0.8 kills/shot | 1.2 kills/shot | 1.5 kills/shot |
| Unrelenting Volley Medal | Kill streak of 5 | Kill streak of 10 | Kill streak of 20 |
| Quartermaster's Distinction | Spend at least 150 RC | Spend at least 350 RC | Spend at least 600 RC |
| Single Impact Star | 2 kills in one impact | 3 kills in one impact | 5 kills in one impact |
Compare these awards with every other mission requirement in the Medal Guide.