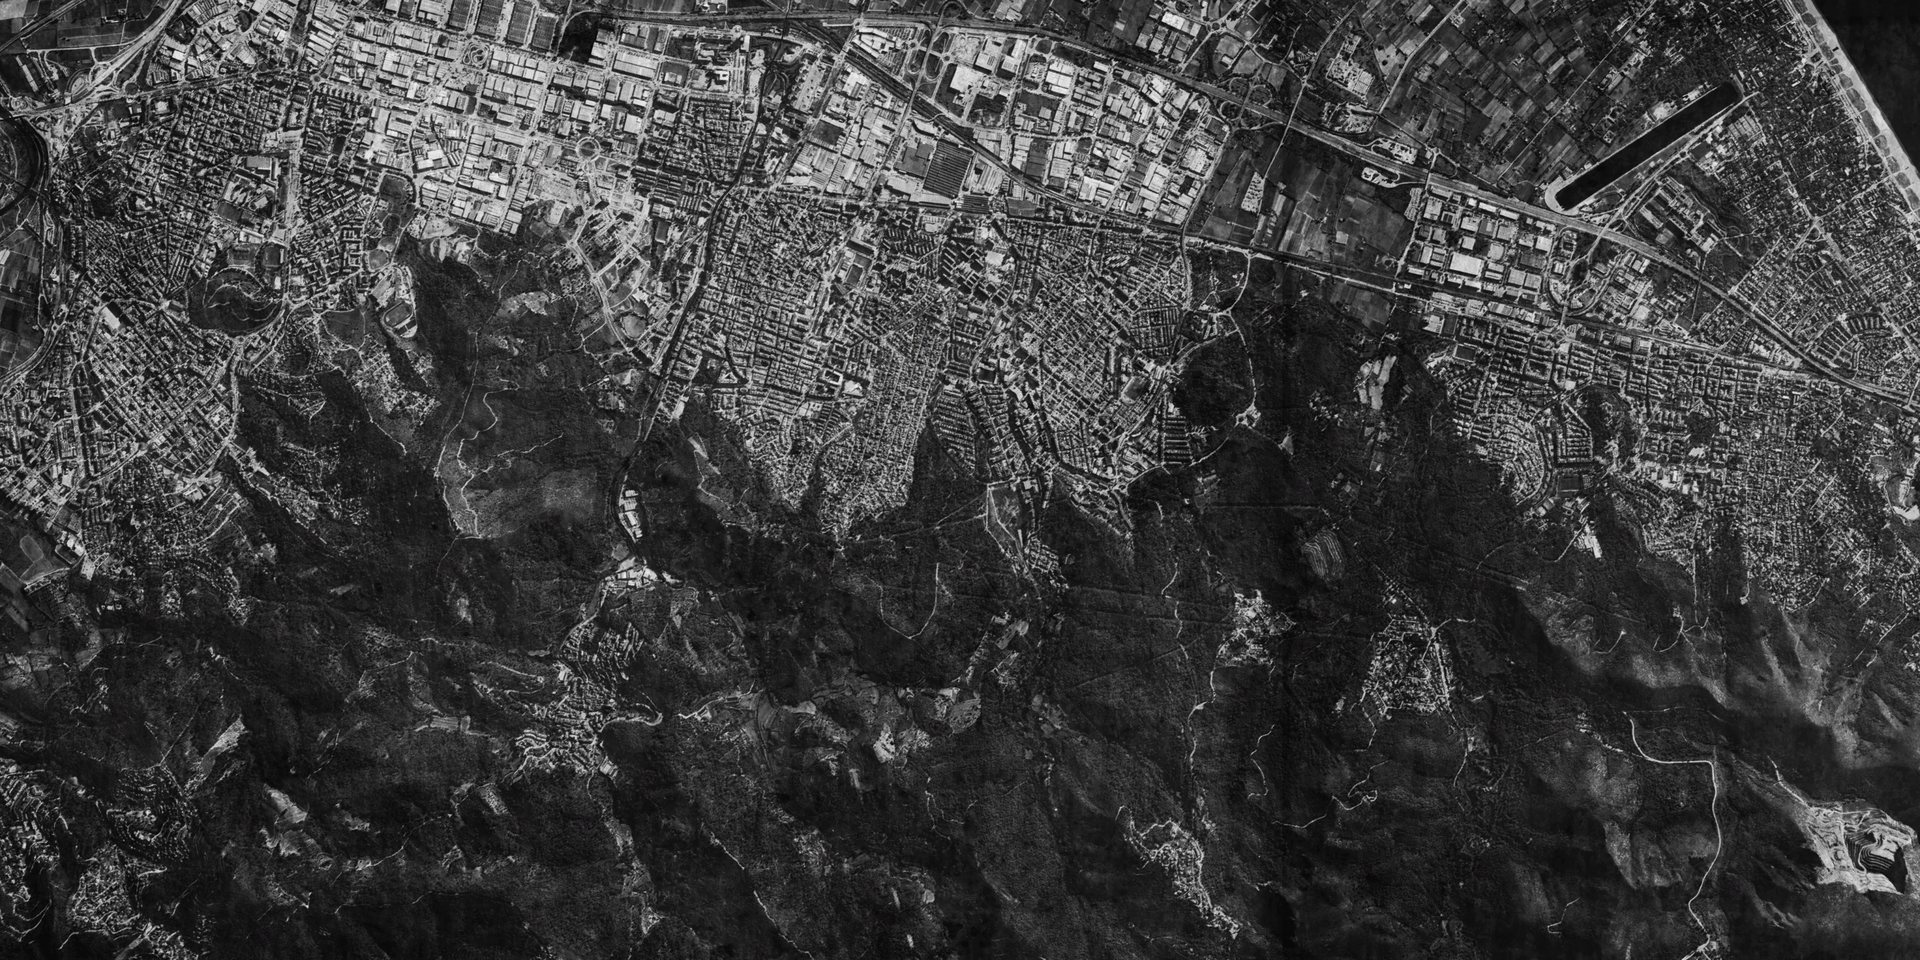
OPERATION OVERVIEW
These campaign values are guaranteed minimums when the mission loads, not a forced reset. Existing RC or Powder Charges above the listed amount are retained. Learn how the balance is used in the Requisition Credits guide.
Completion unlocks
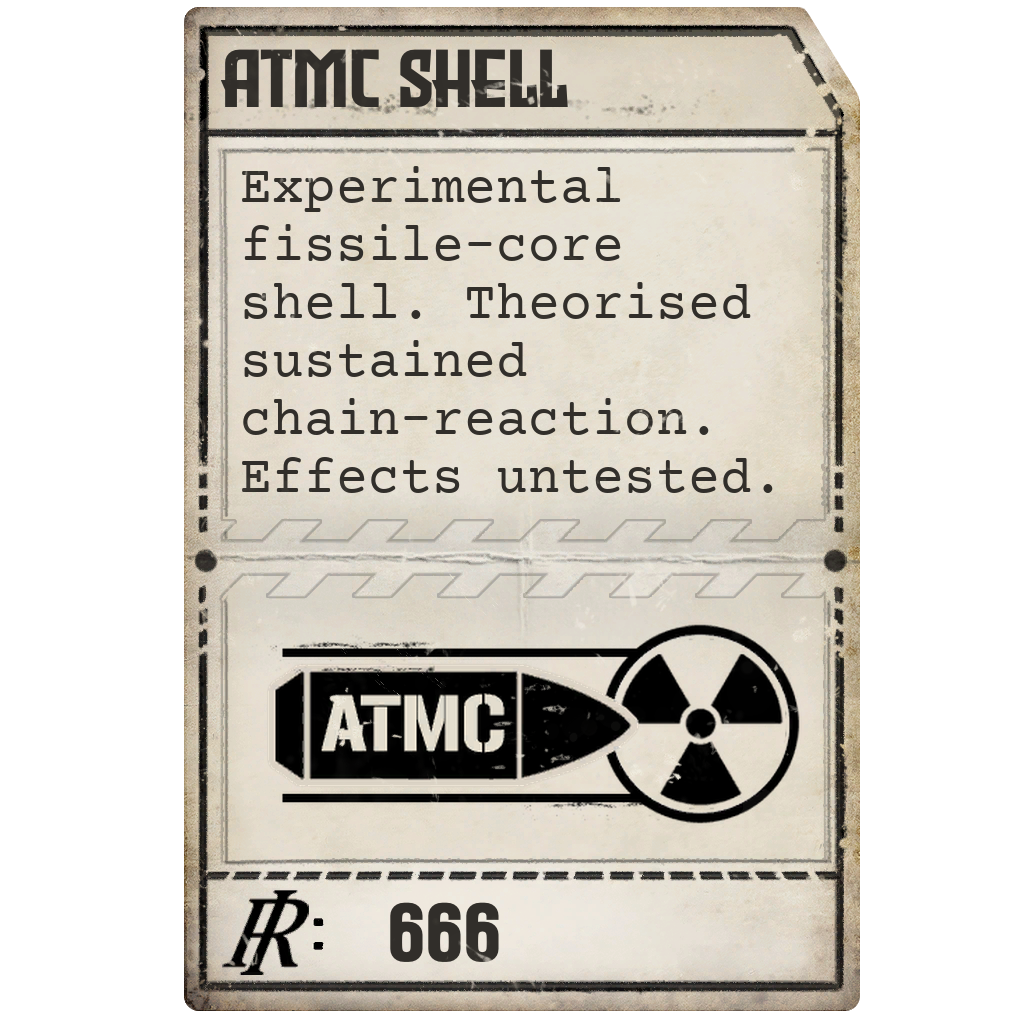
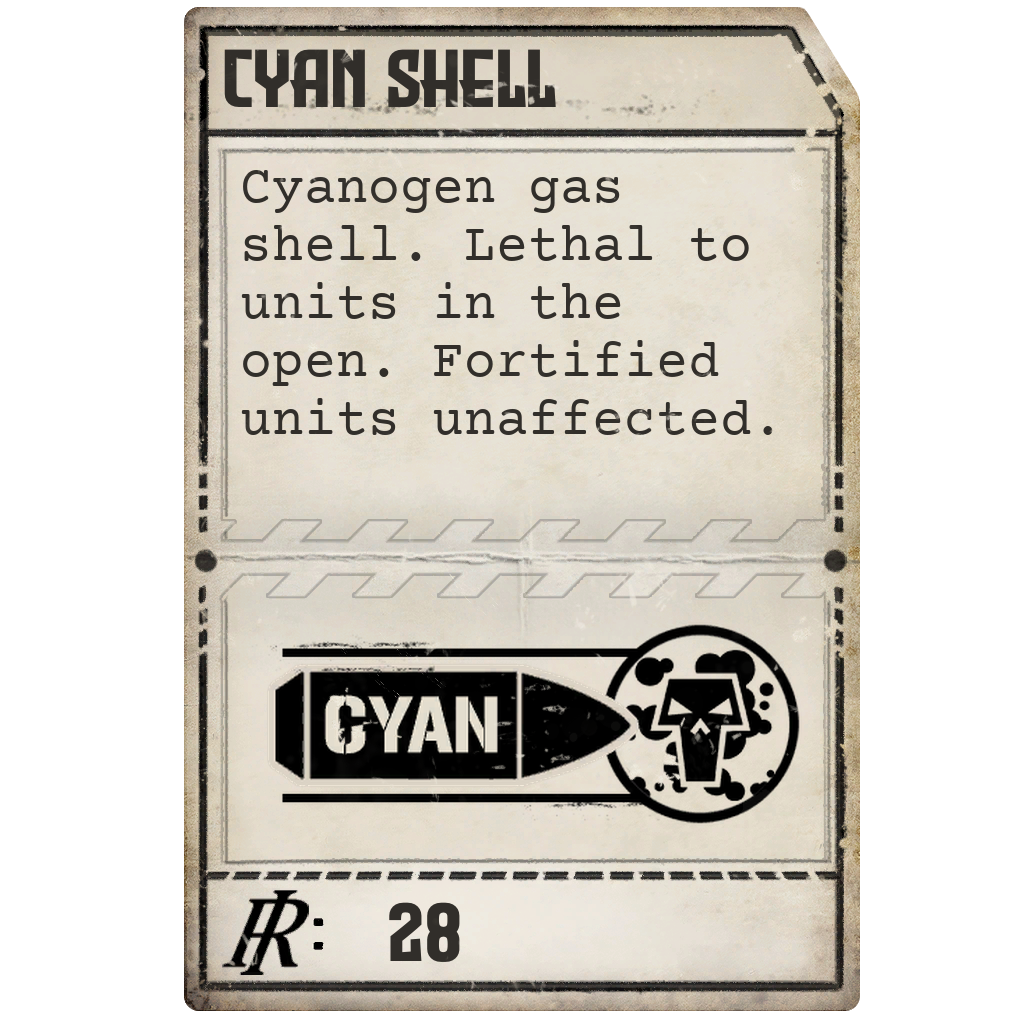
Completing Final Harvest unlocks the following Punchcards. Select a card to open its guide.
OBJECTIVES
- 01
Inflict mass casualties until the organised enemy battle line collapses.
- 02
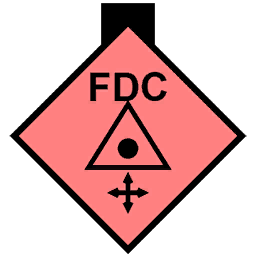
Destroy the three fire-direction centres to pause counter-battery fire.
- 03
Intercept the reinforcement train or destroy the troops that disembark.
- 04
Optionally answer allied HE, TEAR-to-HE and SMK support requests during the battle.
TARGETS AND PROTECTED UNITS

Main battle line
- Quantity
- 20 infantry, 7 tanks and 7 artillery
- Priority
- 0 stars
- Armor
- Unarmored
- Placement
- Enemy frontline and artillery areas
Six and one artillery groups form the seven-gun total.
Fire-direction centres
- Quantity
- 3
- Priority
- 3 stars each
- Armor
- Armored
- Placement
- FDC zones
Destroying the FDC positions pauses the counter-battery timer entirely.
Supply bunkers
- Quantity
- 2
- Priority
- 3 stars each
- Armor
- Armored
- Placement
- Supply-bunker zones
Two additional hardened positions support the resistance.

Anti-aircraft battery
- Quantity
- 1
- Priority
- 2 stars
- Armor
- Unarmored
- Placement
- Enemy AA zone
A separate anti-aircraft target is present.
Reinforcement train
- Quantity
- 5 cars
- Priority
- 1 star each
- Armor
- Unarmored
- Placement
- Moves through four waypoint references to the station
The consist can be intercepted before arrival.

Train station
- Quantity
- 1
- Priority
- 2 stars
- Armor
- Unarmored
- Placement
- Station zone
The destination is represented as its own mission target.
Disembarked reinforcements
- Quantity
- 3 infantry and 2 armor
- Priority
- 0 stars
- Armor
- Unarmored
- Placement
- Created relative to the arrived train
These units enter only through the train-arrival branch.
REVEAL MAP DETAILS (SPOILER)View possible battlefield locations and mission-specific map information.REVEAL MAP DETAILS
These outlines show the areas from which the mission can select positions. They are possible placement zones, not fixed spawn coordinates. A numbered badge identifies an area; it does not enlarge that area.
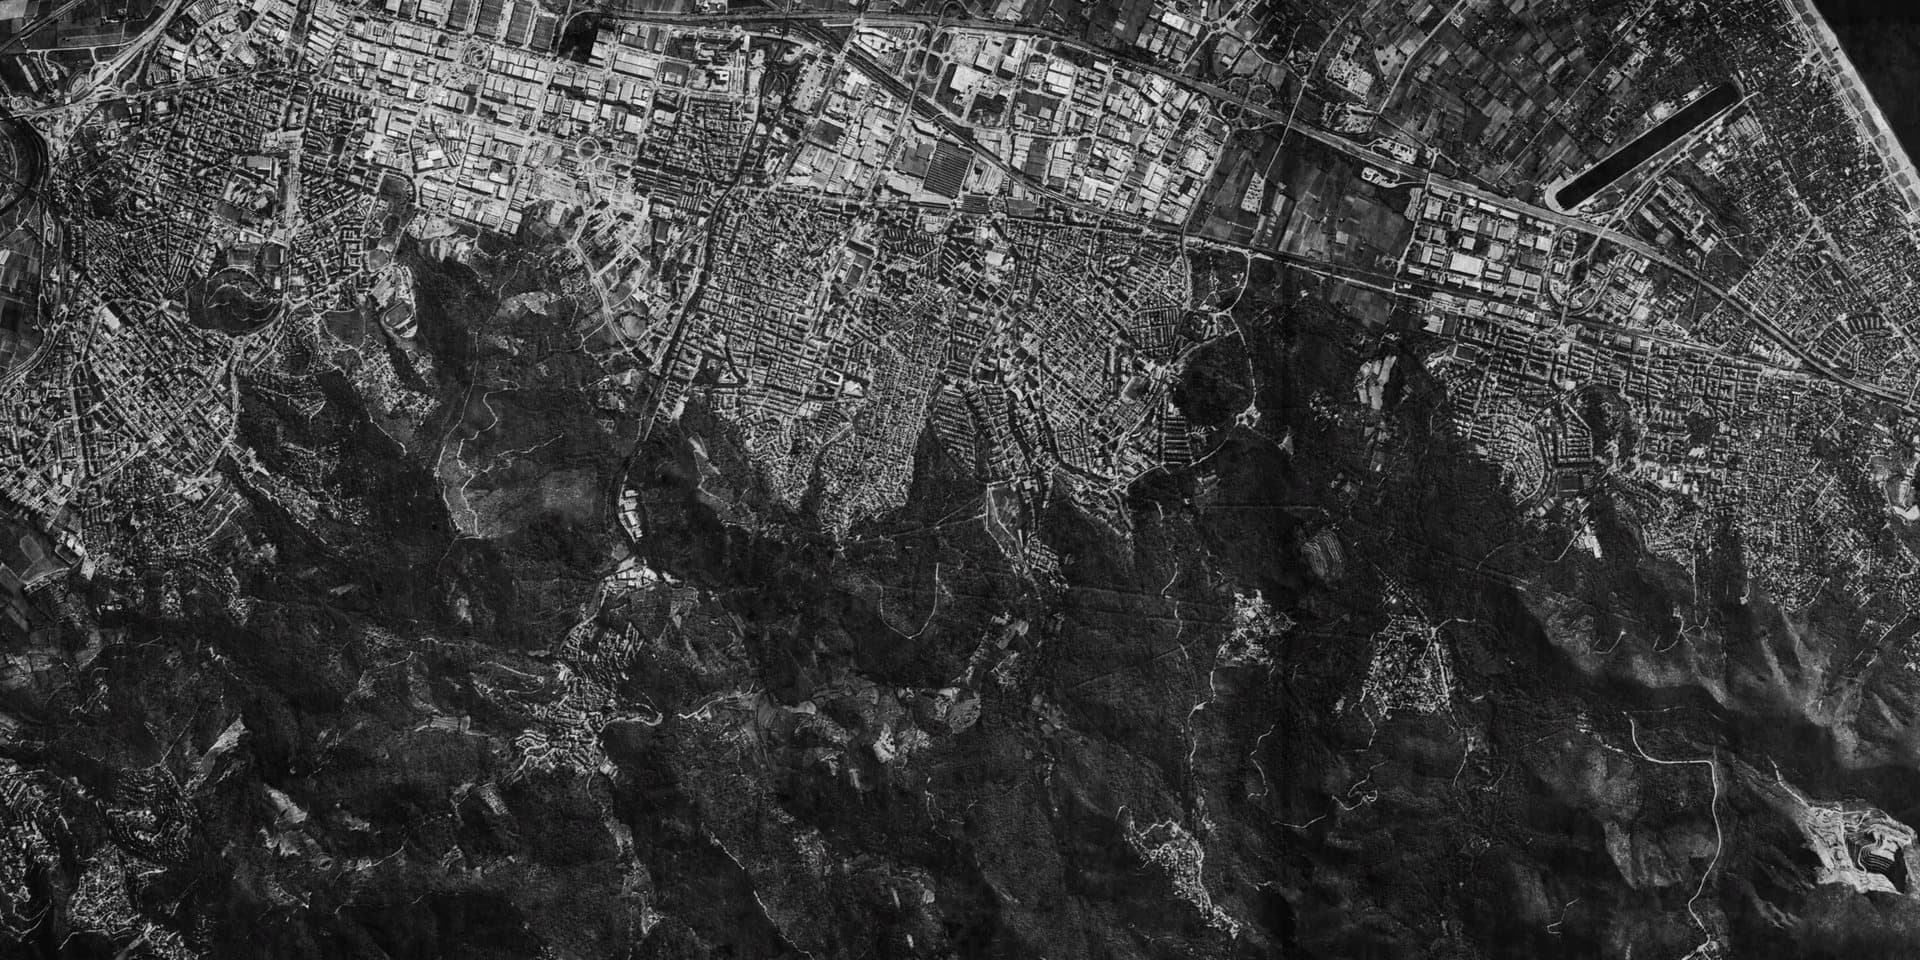
- 1Enemy Backline
Hostile: 7 Enemy Tank, 6 Enemy Artillery, 3 Enemy Fire Direction Center, 1 EnemyArtillery, 2 Enemy Supply Bunker, 1 Enemy Anti Aircraft Battery; Reference: 1 Alpha; Protected: 3 Tank. Mission-defined placement area.
- 2City Allied
2 Hospital. Mission-defined placement area.
- 3Allied Frontline
8 Infantry. Mission-defined placement area.
- 4Turret Spawn
1 Iron Nest. Mission-defined placement area.
- 5Enemy Frontline
20 Enemy Infantry. Mission-defined placement area.
- 6Allied Backline
3 Spotter. Mission-defined placement area.
- 7Train Car A Spawn
1 Locomotive. Mission-defined placement area.
- 8Train Car B Spawn
1 Platform Car. Mission-defined placement area.
- 9Train Car C Spawn
1 Troop Car A. Mission-defined placement area.
- 10Train Car D Spawn
1 Troop Car B. Mission-defined placement area.
- 11Train Car E Spawn
1 Caboose. Mission-defined placement area.
- 12Waypoint 1
1 Waypoint B. Mission-defined placement area.
- 13Waypoint 2
1 Waypoint C. Mission-defined placement area.
- 14Waypoint 3
1 Waypoint D. Mission-defined placement area.
- 15Train Station
1 Main Station. Mission-defined placement area.
- 16Waypoint 4
1 Waypoint A. Mission-defined placement area.
The Tactical Map uses a 20 × 10 main grid, with ten subdivisions on each axis inside every square. The overlay follows those same boundaries. Large overlapping allied areas mean that individual units can appear across a broad part of the battlefield.
MISSION WALKTHROUGH
MISSION SPOILERSReveal the complete objective order and firing guidance.REVEAL WALKTHROUGH
Begin the bombardment
The counter-battery estimate is ten minutes and starts with the first player shell. The mission prioritises casualties across the organised battle line.
Silence fire direction
Locate and destroy the three armoured, three-star fire-direction centres. Their destruction pauses the counter-battery sequence entirely.
Stop the train
Track the reinforcement consist through its four waypoints. If it reaches the station, engage the infantry and armour that disembark.
Support the collapse
Allied formations can request HE, a TEAR-then-HE sequence or SMK. These requests are optional; the primary operation ends when resistance collapses, after which remaining targets can still be engaged.
Operational notes
- The fixed hostile setup contains 34 battlefield units, 3 FDCs, 2 supply bunkers, 1 AA position, a station and a five-car train before conditional reinforcements.
- The mission graph defines train-arrival troops separately, so they are not fixed map-zone spawns.
- ATMC and CYAN are completion unlocks; their presence in the unlock list does not mean they are available for the first playthrough of this mission.
MEDAL REQUIREMENTS
| Medal | Bronze | Silver | Gold |
|---|---|---|---|
| Measured Fire Star | 2 or fewer allied kills | 1 or fewer allied kills | No allied kills |
| Unaided Fire Distinction | No recon; more than 5 kills | No recon; more than 10 kills | No recon; more than 18 kills |
| No Quarter Cross | 10 enemy kills | 20 enemy kills | 30 enemy kills |
| Rapid Engagement Medal | First shot within 120 sec; more than 5 kills | First shot within 80 sec; more than 10 kills | First shot within 50 sec; more than 20 kills |
Compare these awards with every other mission requirement in the Medal Guide.