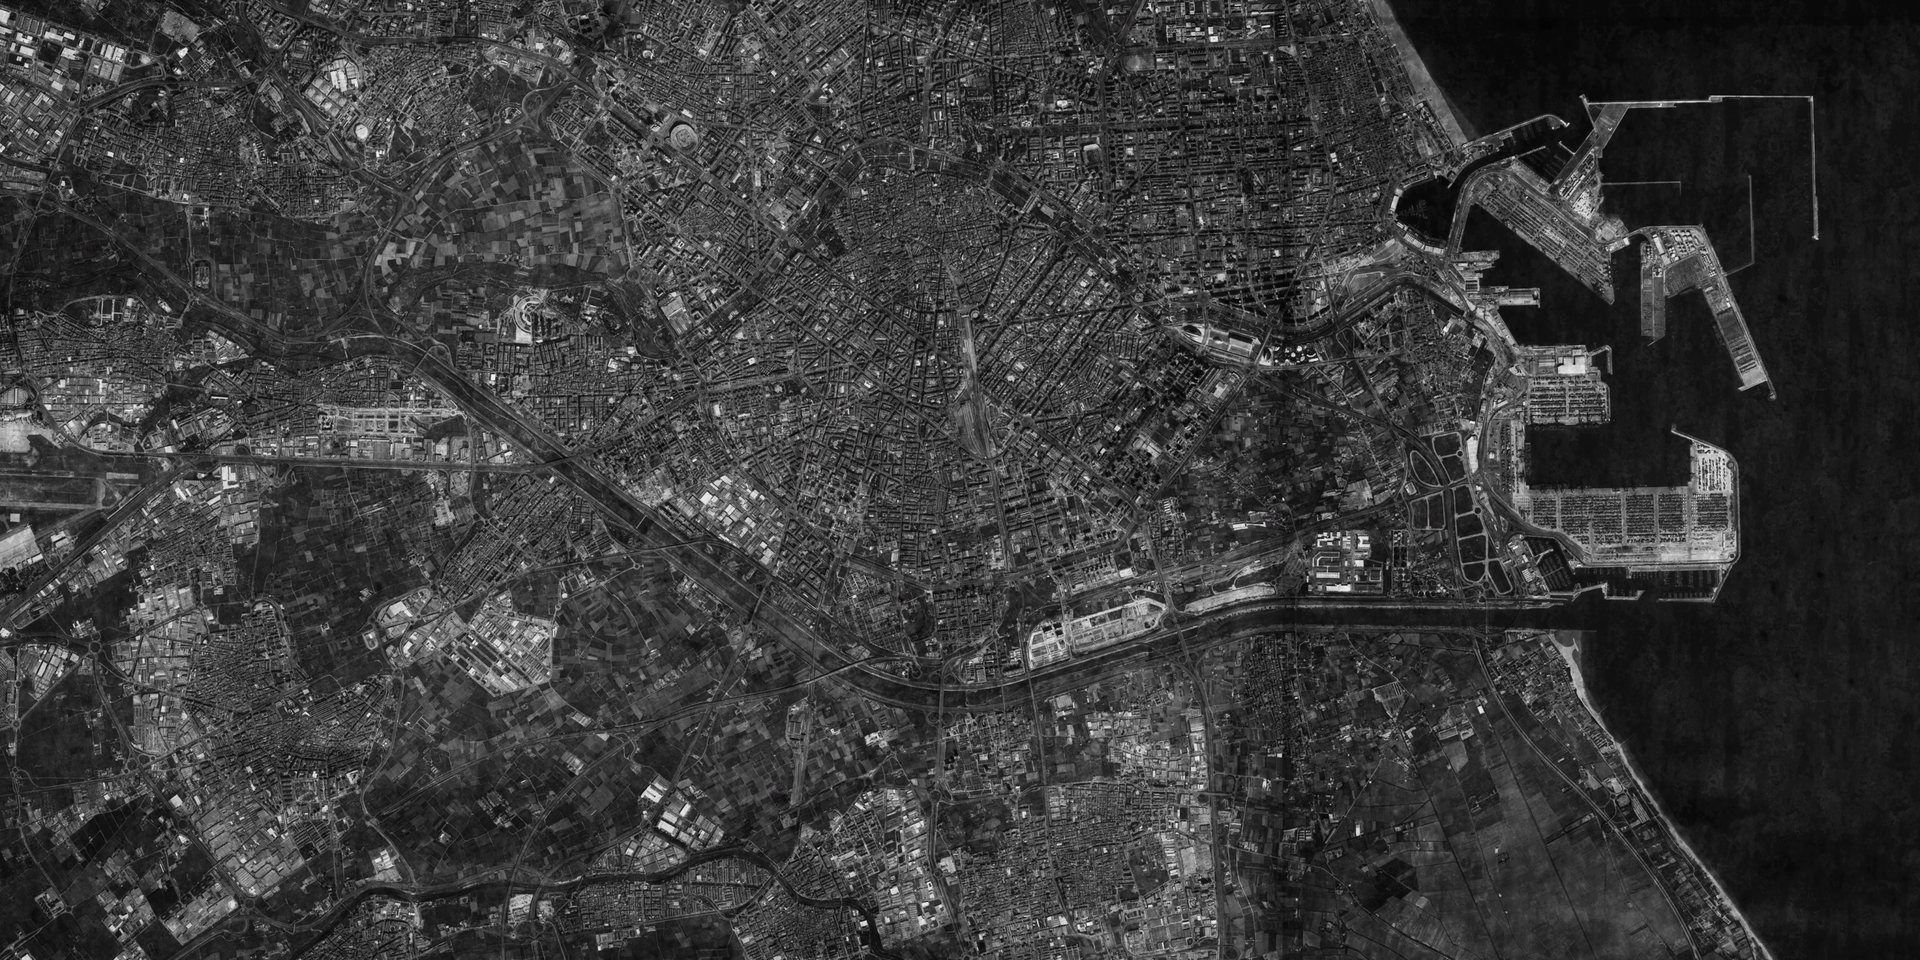
OPERATION OVERVIEW
These campaign values are guaranteed minimums when the mission loads, not a forced reset. Existing RC or Powder Charges above the listed amount are retained. Learn how the balance is used in the Requisition Credits guide.
Completion unlocks
Completing Blind Fire unlocks the following Punchcards. Select a card to open its guide.
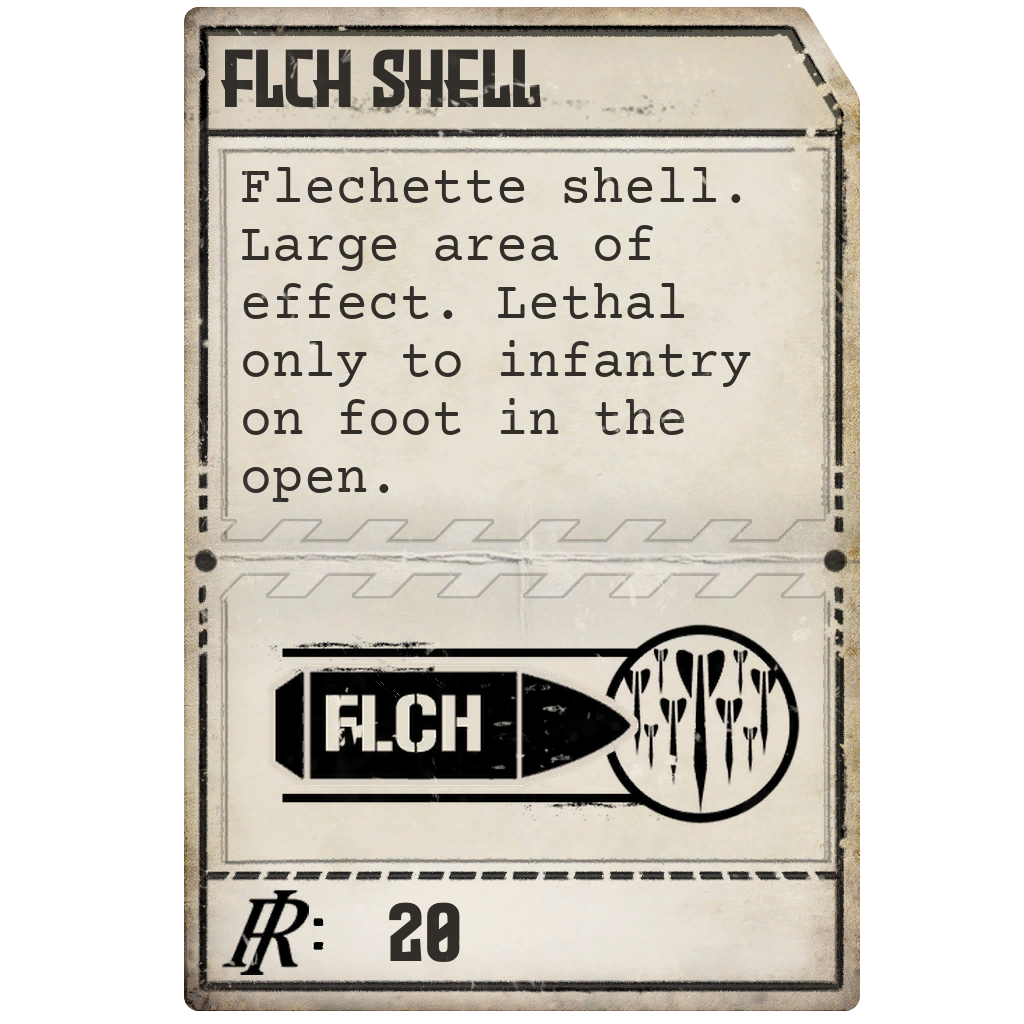
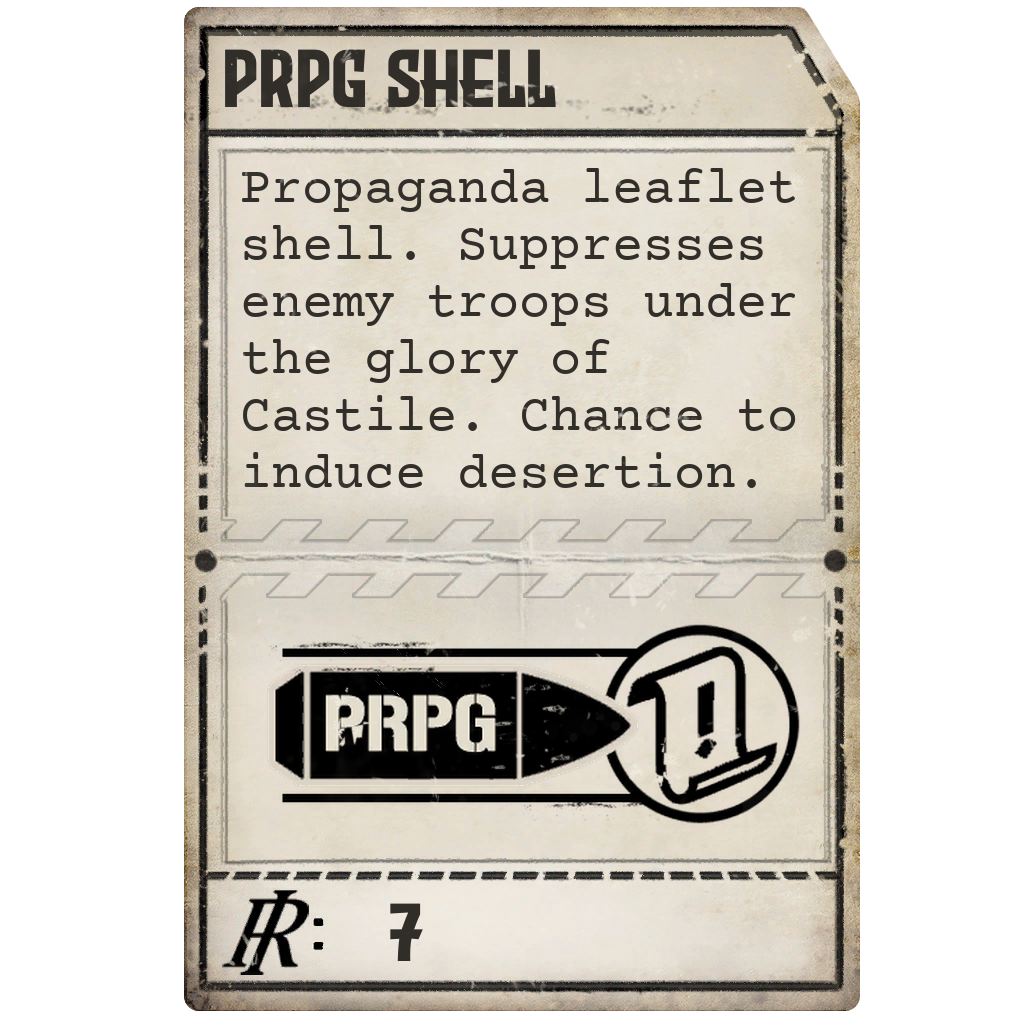
OBJECTIVES
- 01
Locate and destroy all four anti-aircraft batteries while reconnaissance is unavailable.
- 02
Use the three spotters, two reference points and teleprinter impact corrections to adjust fire.
- 03
After air observation is restored, engage the remaining hostile force optionally.
TARGETS AND PROTECTED UNITS

Anti-aircraft batteries
- Quantity
- 4
- Priority
- 2 stars each
- Armor
- Unarmored
- Placement
- Separate AA zones
Every active battery blocks reconnaissance and shell-impact photographs.

City force
- Quantity
- 6 infantry and 1 commander
- Priority
- 2 infantry: 1 star; commander: 3 stars
- Armor
- Unarmored
- Placement
- Enemy city area
These units remain separate from the four required AA batteries.
Frontline force
- Quantity
- 6 infantry, 4 anti-armor and 6 armor
- Priority
- 0 stars
- Armor
- Unarmored
- Placement
- Enemy frontline
These formations become easier to observe after the AA network is destroyed.
REVEAL MAP DETAILS (SPOILER)View possible battlefield locations and mission-specific map information.REVEAL MAP DETAILS
These outlines show the areas from which the mission can select positions. They are possible placement zones, not fixed spawn coordinates. A numbered badge identifies an area; it does not enlarge that area.
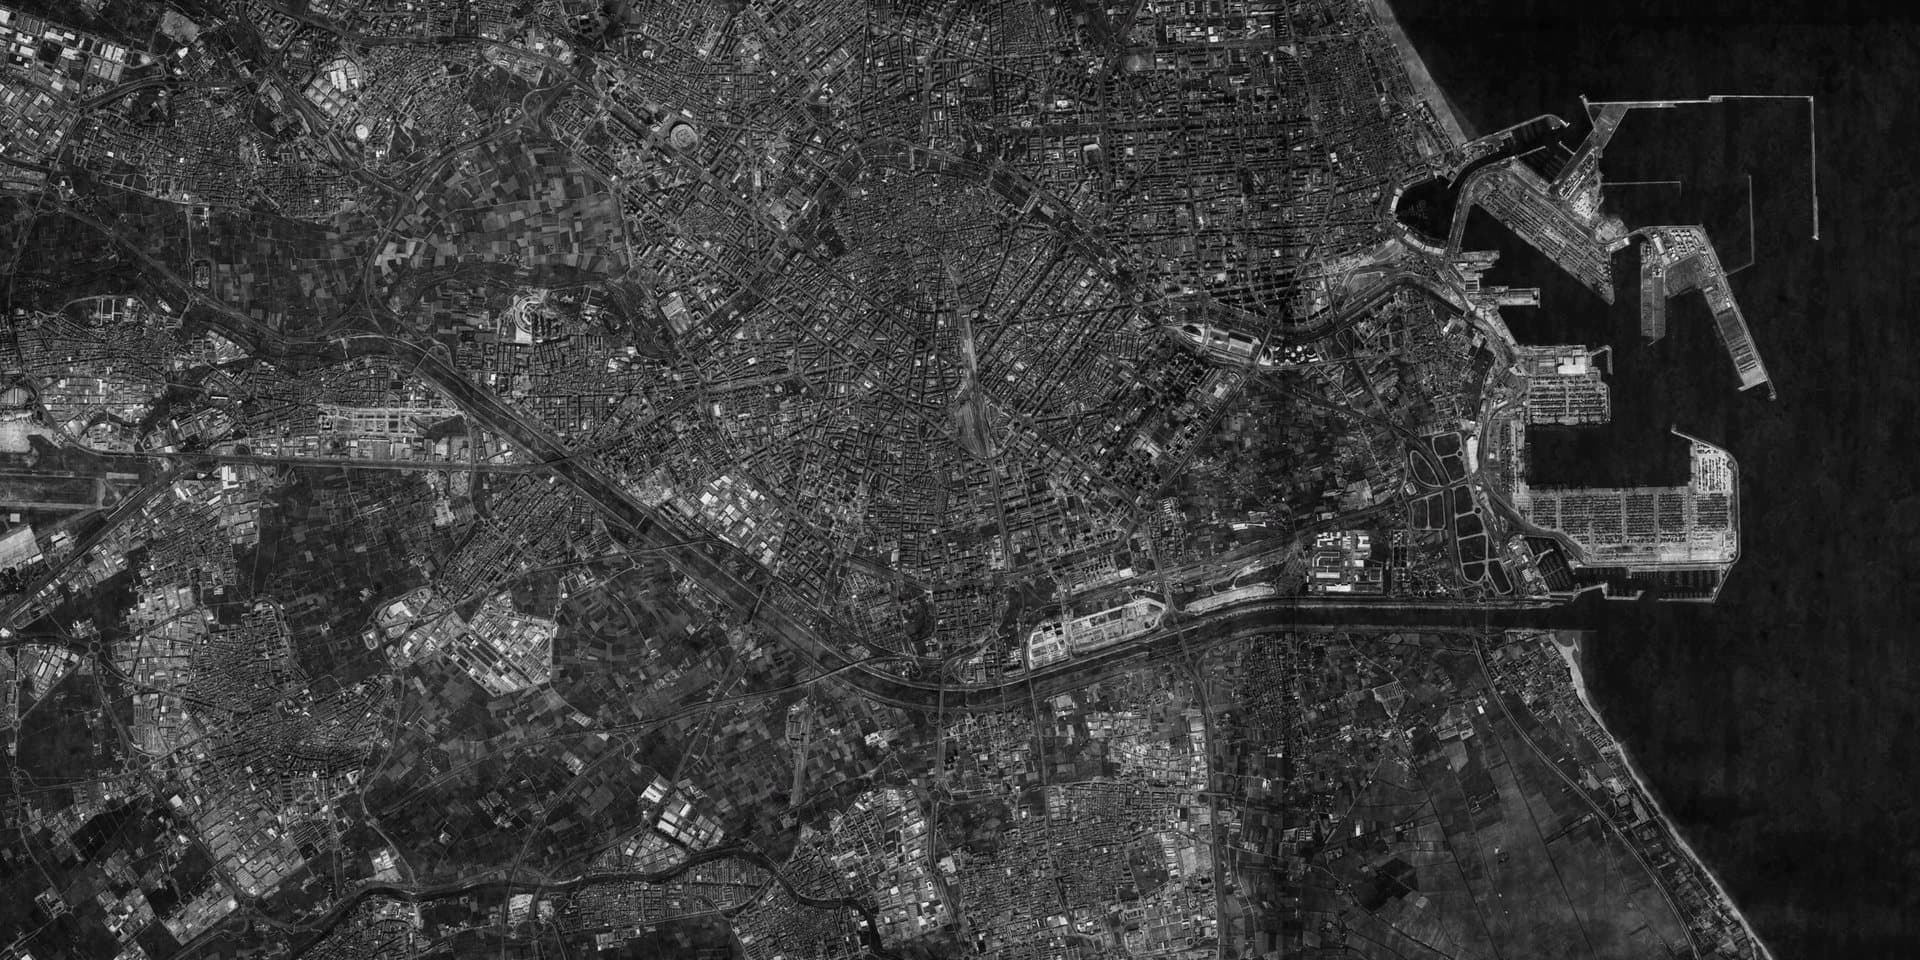
- 1Spotter Zone 1
1 Spotter. Mission-defined placement area.
- 2Spotter Zone 2
1 Spotter. Mission-defined placement area.
- 3Spotter Zone 3
1 Spotter. Mission-defined placement area.
- 4Zone Alpha
1 Alpha. Mission-defined placement area.
- 5Zone Bravo
1 Bravo. Mission-defined placement area.
- 6AA Zone 1
1 AA Battery. Mission-defined placement area.
- 7AA Zone 3
1 AA Battery. Mission-defined placement area.
- 8AA Zone 4
1 AA Battery. Mission-defined placement area.
- 9AA Zone 2
1 AA Battery. Mission-defined placement area.
- 10Phantom Battery
1 PhantomBattery. Mission-defined placement area.
- 11Turret Spawn
1 Iron Nest. Mission-defined placement area.
- 12City Enemy
4 Enemy Infantry, 2 Enemy Infantry, 1 Enemy Commander. Mission-defined placement area.
- 13Allied Frontline
12 Allied Infantry. Mission-defined placement area.
- 14Enemy Frontline
6 Enemy Infantry, 4 Enemy Anti armor, 6 Enemy Armor. Mission-defined placement area.
The Tactical Map uses a 20 × 10 main grid, with ten subdivisions on each axis inside every square. The overlay follows those same boundaries. Large overlapping allied areas mean that individual units can appear across a broad part of the battlefield.
MISSION WALKTHROUGH
MISSION SPOILERSReveal the complete objective order and firing guidance.REVEAL WALKTHROUGH
Work without imagery
Normal reconnaissance and shell photographs remain unavailable while any AA battery survives. Plot from the spotters' bearings and distances to the two fixed reference points.
Apply impact corrections
After each shot, use the teleprinter's correction relative to the nearest enemy to refine the next solution.
Restore reconnaissance
Destroy all four two-star AA positions. Air observation then returns, and any other surviving hostile formations become optional targets.
Operational notes
- The four AA batteries are the only required primary targets in the setup.
- A mission-only dummy entity supports impact-report logic; it is not listed as a player target.
- The remaining fixed hostile setup totals 23 units beyond the four batteries.
MEDAL REQUIREMENTS
| Medal | Bronze | Silver | Gold |
|---|---|---|---|
| Austere Service Medal | Spend 180 RC or fewer | Spend 100 RC or fewer | Spend 50 RC or fewer |
| Unbroken Volley Medal | Kill streak of 3 | Kill streak of 5 | Kill streak of 6 |
| No Quarter Cross | 5 enemy kills | 10 enemy kills | 20 enemy kills |
| Unaided Fire Distinction | No recon; more than 5 kills | No recon; more than 10 kills | No recon; more than 18 kills |
Compare these awards with every other mission requirement in the Medal Guide.